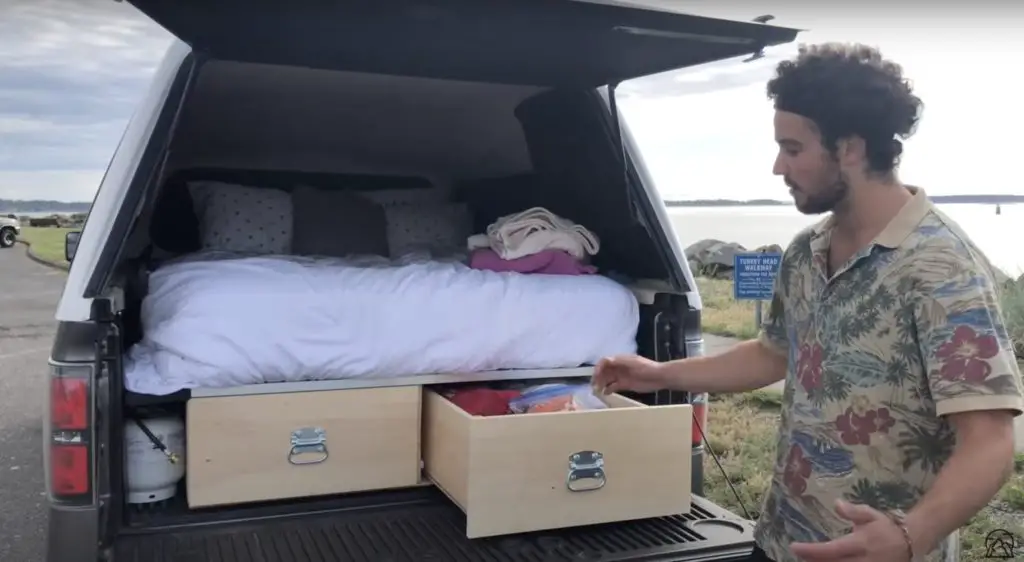
I absolutely love my truck camping setup. It was my full time home for four months in the summer/fall. It’s PERFECT (I’m biased) and was a dream come true to me. I’d rather be driving this big silver hunk of house than a Ferrari. This setup enabled Laura and I to live and travel exactly how we like. It’s extremely rogue, has ample storage, a perfect cooking setup, a full size double bed and it stays dark all night long. The design is very easy to disassemble. It takes about 5 minutes with two people to set everything up and take the entire bed setup out. This is really helpful in case you still need to use your pickup for other applications that are not camping related.
Designing and planning my truck camping setup was the hard part. The physical build took the better part of two weekends. Hopefully my Truck Bed Camper step by step guide can help provide some inspiration and direction for your truck bed camping setup!
Table of Contents
Getting Started
Find A Well Fitted Canopy
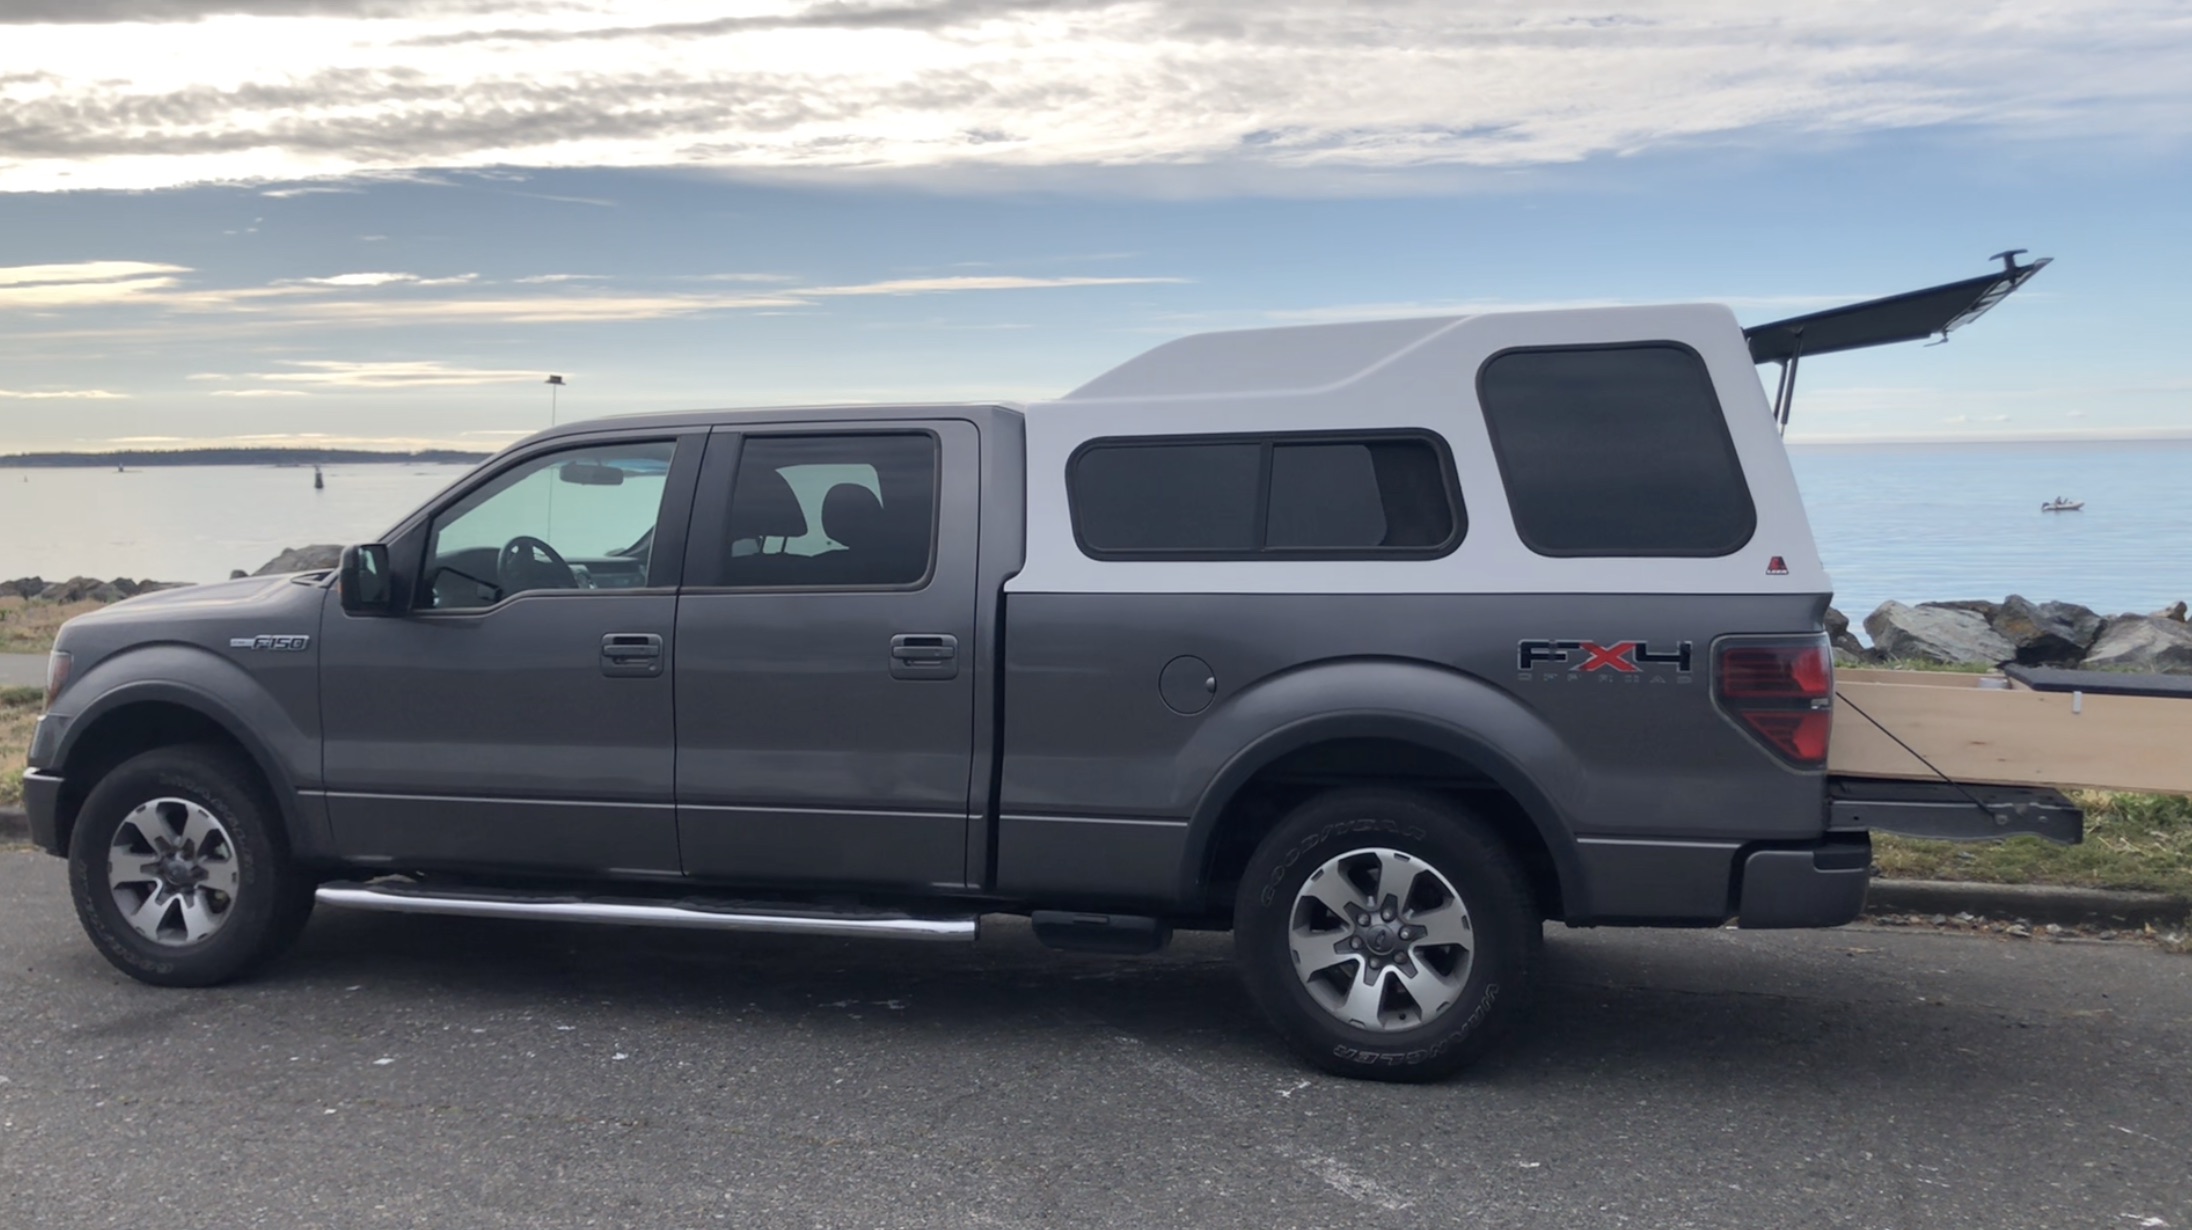
Unless you want to sleep under a tarp, the first and most important step to comfortably sleeping in the bed of your truck is to purchase a Canopy. Canopy’s are the hard fibreglass covers you see covering pickup truck beds. They go by many names, Truck Cap’s, Campershell’s, Topper’s and Canopy’s to name a few.
There are many different brands and options when it comes to truck canopies. Truck canopy’s are meant for specific makes, models, and years of pickups so you need to do a little bit of research and make sure you are buying the right sized fit for your truck.
You can opt to buy a brand new canopy, or, if you are like me and have a small budget, buy the cap used. Regardless of if you are buying the canopy new or used there are a few features you want to have. First, I would absolutely recommend going with a mid or high rise version of the canopy. This will enable you to have increased head room when you are messing around in the back. Second, make sure the canopy has two sliding windows on the side (you need airflow in there) and that these windows have screens (sleeping with bugs sucks). If you happen to find the perfect canopy and it doesn’t have screens, or they are broken, don’t worry, you can install them pretty easily.
Check the Truck Cap For Leaks
Don’t be like me and fail to check for leaks until after you build. Check for leaks first! Truck Caps, even if fitted right, can still leak. Get a hose and drench your truck parked in different positions on hills, and leave it out in the rain. The last thing you want is to build out your camper and then have everything soaked because you didn’t check for leaks. Leaks will usually happen on the seals where the truck cap sits on the truck bed.
My Leer 122 Canopy has a nice lip around the side edges of the truck bed so it does not leak on the sides. However, on the front portion of the canopy where the rear window of my truck is there was no lip. Water was seeping in every-time it rained. I tried putting in truck cap seal and it still didn’t make too much of a difference.
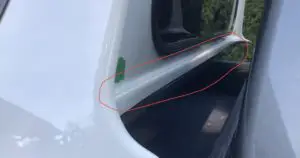
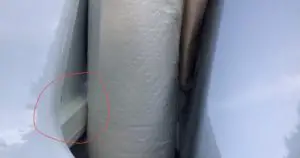
I had to get creative and decided to glue a piece of plastic gutter/siding to the bottom part of the cap where the seal is to force water to run down the tailgate and not into the truck bed. I loaded it with caulking, dropped the cap back down, and popped everything back into place. It worked perfectly!
I also added a bead of caulking at the bottom of the back window because I found out that it leaked as well.
Moral of the story here, check for leaks before you head out camping so you can save yourself some serious headaches if you get caught in a storm.
Plan It Out
I scoured the internet and YouTube for hours looking at designs and getting inspiration. After a lot of contemplation I planned out a design that would allow me to maximize storage space and fit a full mattress into the back of my truck bed. A lot of people on the internet seem to design sleeping setups that fold up so they can cook/sleep/chill in the back of their truck.
In my design the only thing I would be doing inside the truck cap is sleep. Frankly, if you are camping, why the hell would you want to sit in the back of a tiny truck cap for hours. No matter how nice you make it in there you still can’t stand up. If you are planning to live in your truck full time like we did, be realistic, you will probably be working from coffee shops. Also, cooking inside such a tiny space is kind of gross, I prefer to do everything outside! Why would you give up comfortability and great sleeps for some pipe dream of doing work from the back of your truck, trust me, this is not going to be comfortable.
When I do work on the road, if I cant go to a coffee shop, I sit outside on a lawn chair, or if its raining I sit in the passenger seat of the truck which is way more comfy and productive.
When planning, BE REALISTIC. It is a very small space and every square inch matters, so think about the things that you absolutely need.
Gather The Materials
All you need is some basic woodworking tools to complete this build. Some sort of saw and drill will do the trick.
Listed Below are all of the materials I purchased when building out my camper setup.
(x1) sheet ¾” plywood (Top)
(x1) sheet ½ “ plywood (Bottom)
(x1) sheet 3/8” plywood (Shelf Bottom)
(x2) 2”x 12”x 16” lumber (Frame)
(x3) 1” x 10” x 1” lumber (Drawers)
8 Corner Brackets
Wood Screws
Countersink Drill Bit
UHMW Plastic Strips (What Drawers Slide On)
Drawer Handles
Outdoor/Carpeting
The Build
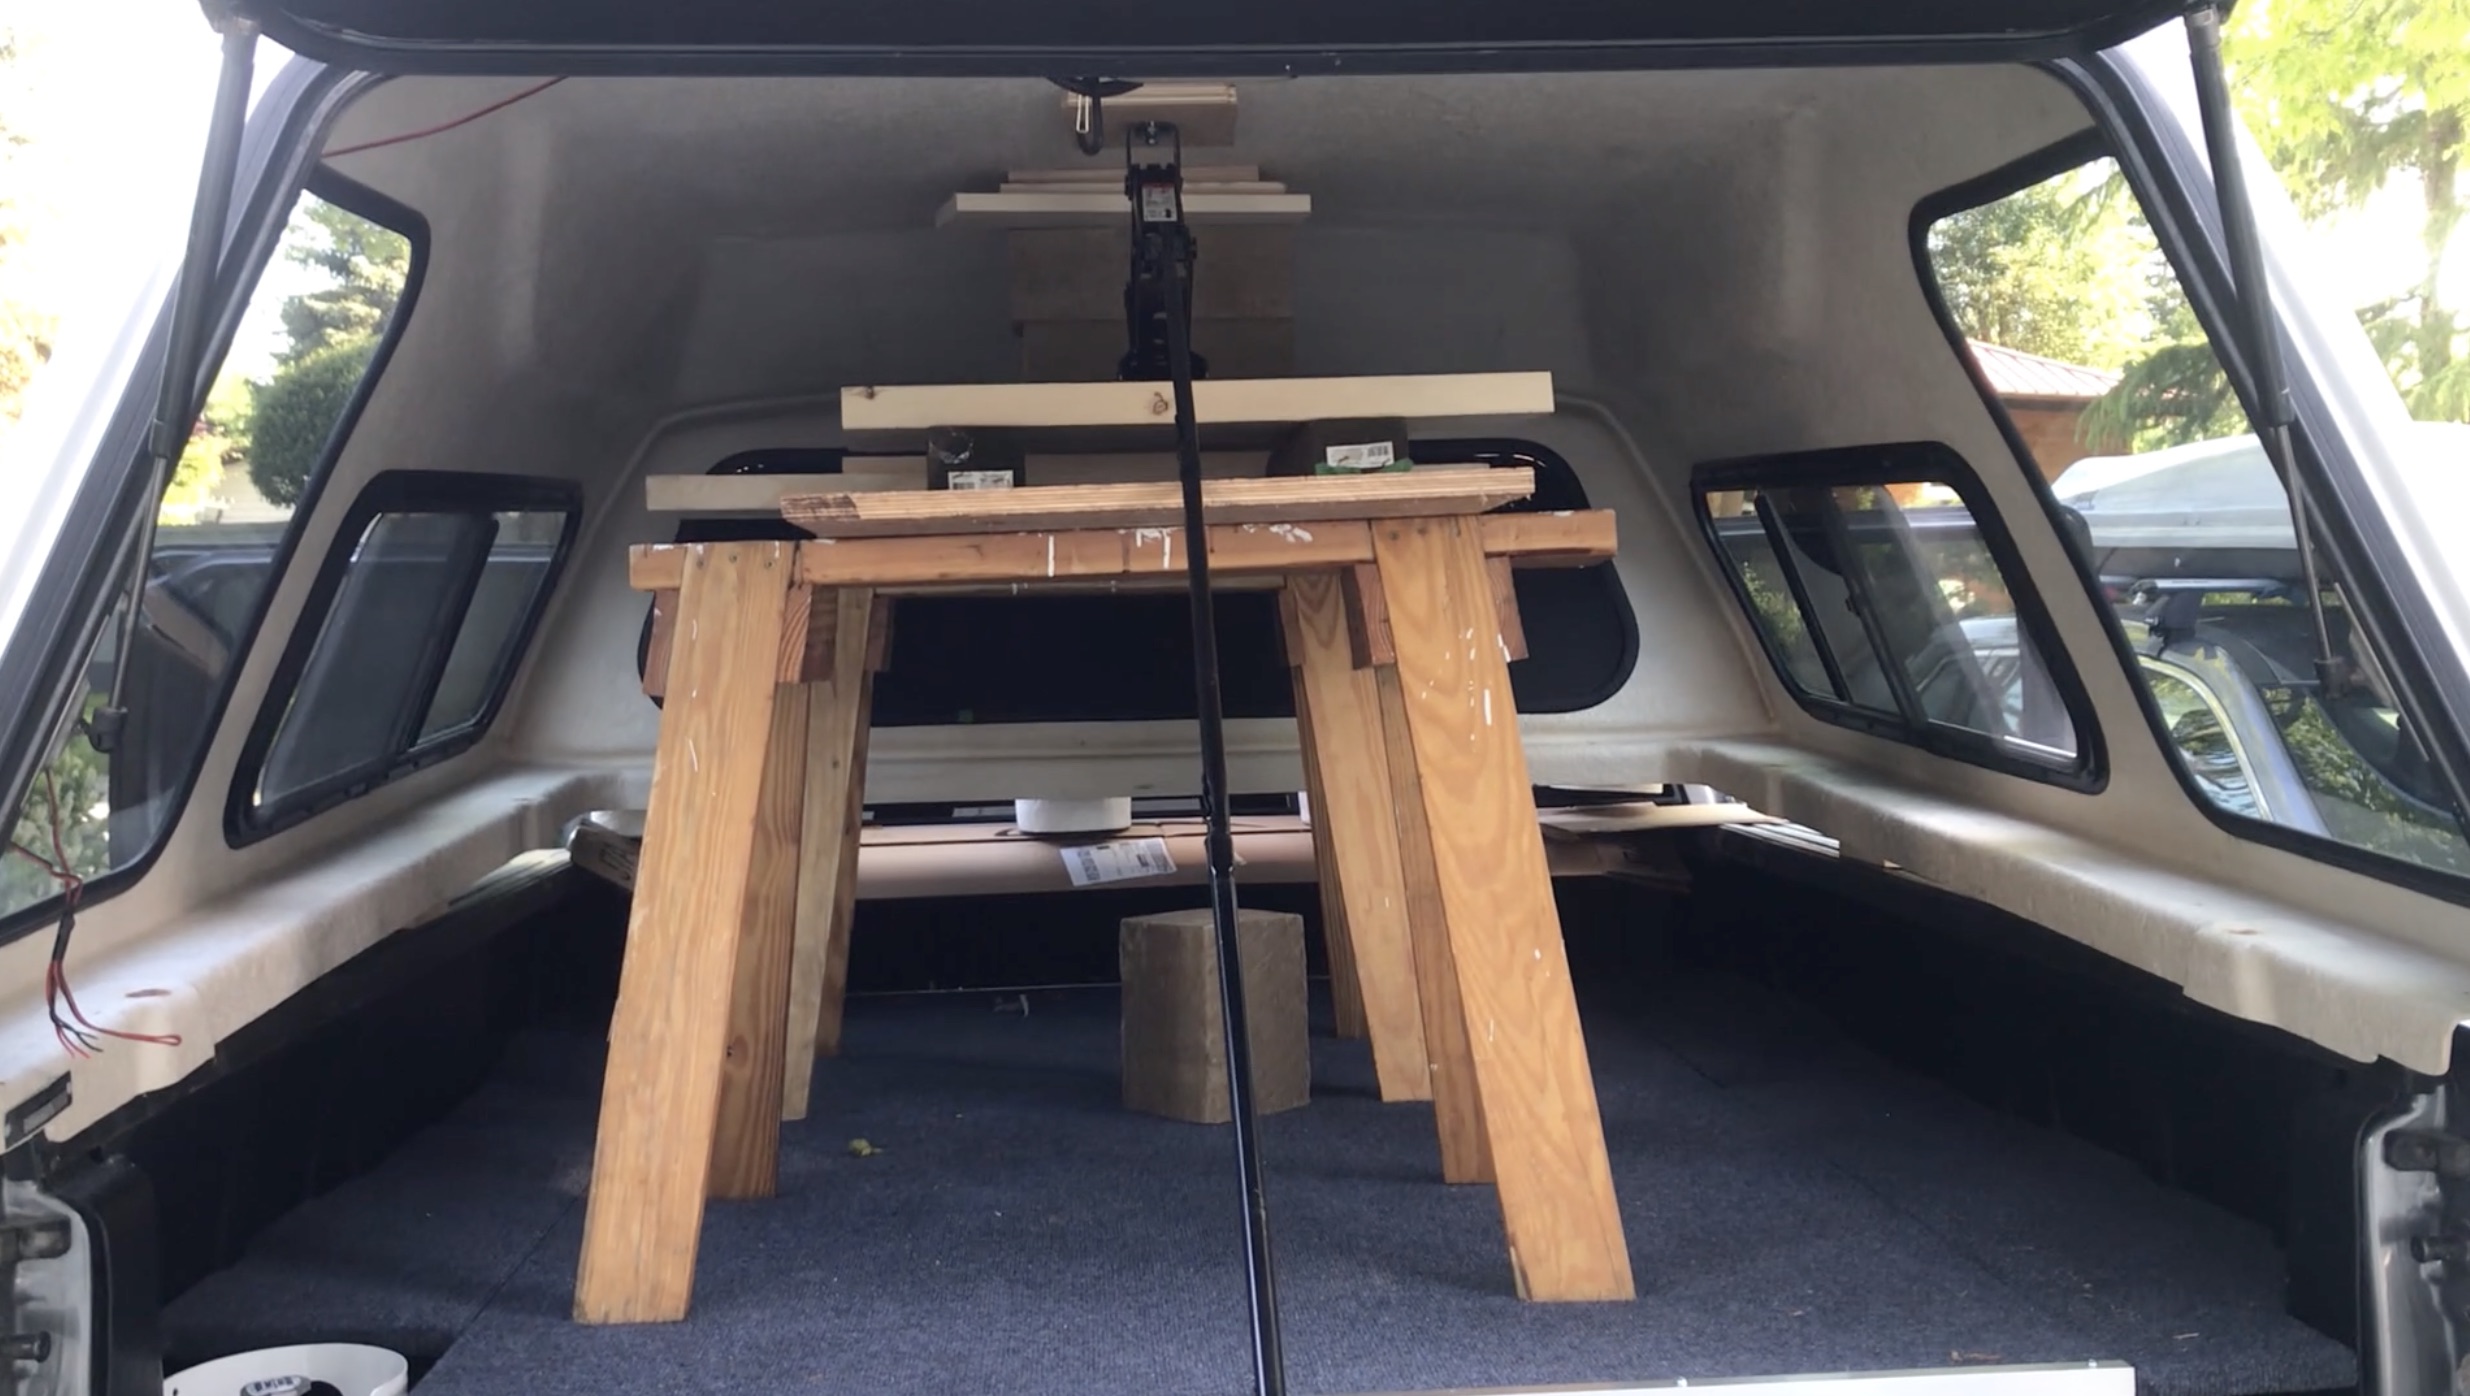
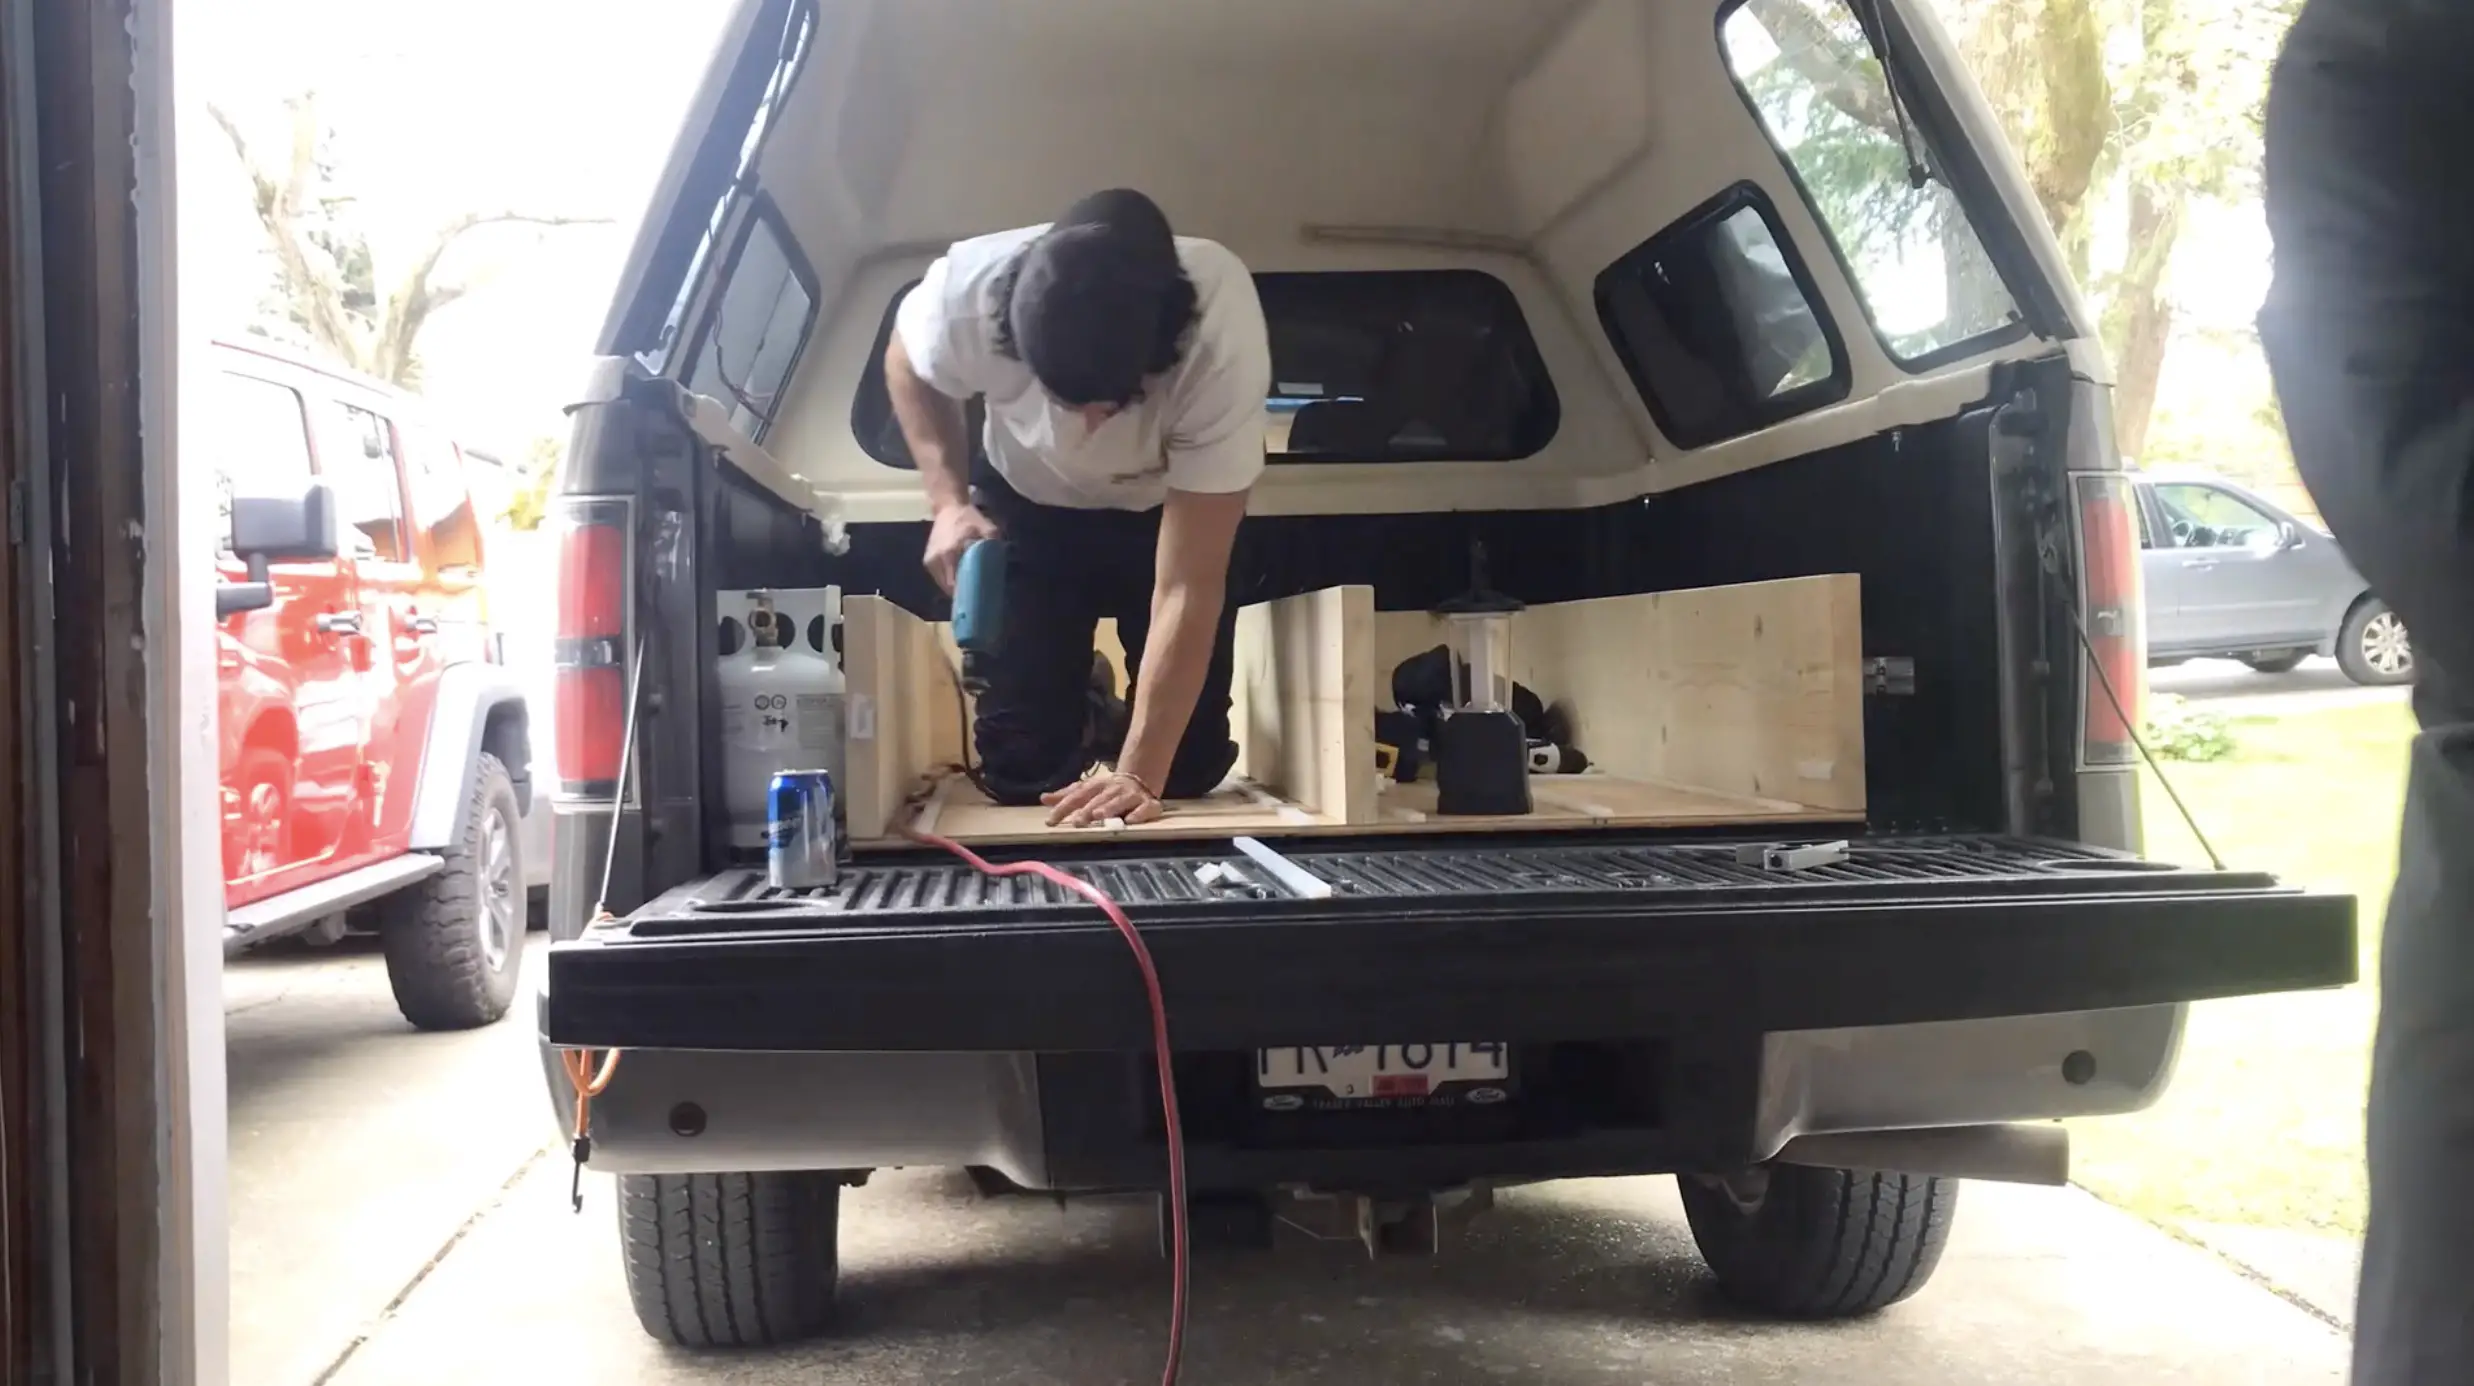
The Base and Frame
I measured out the size of the back of my truck bed and began by cutting our ½” sheet of plywood to size.
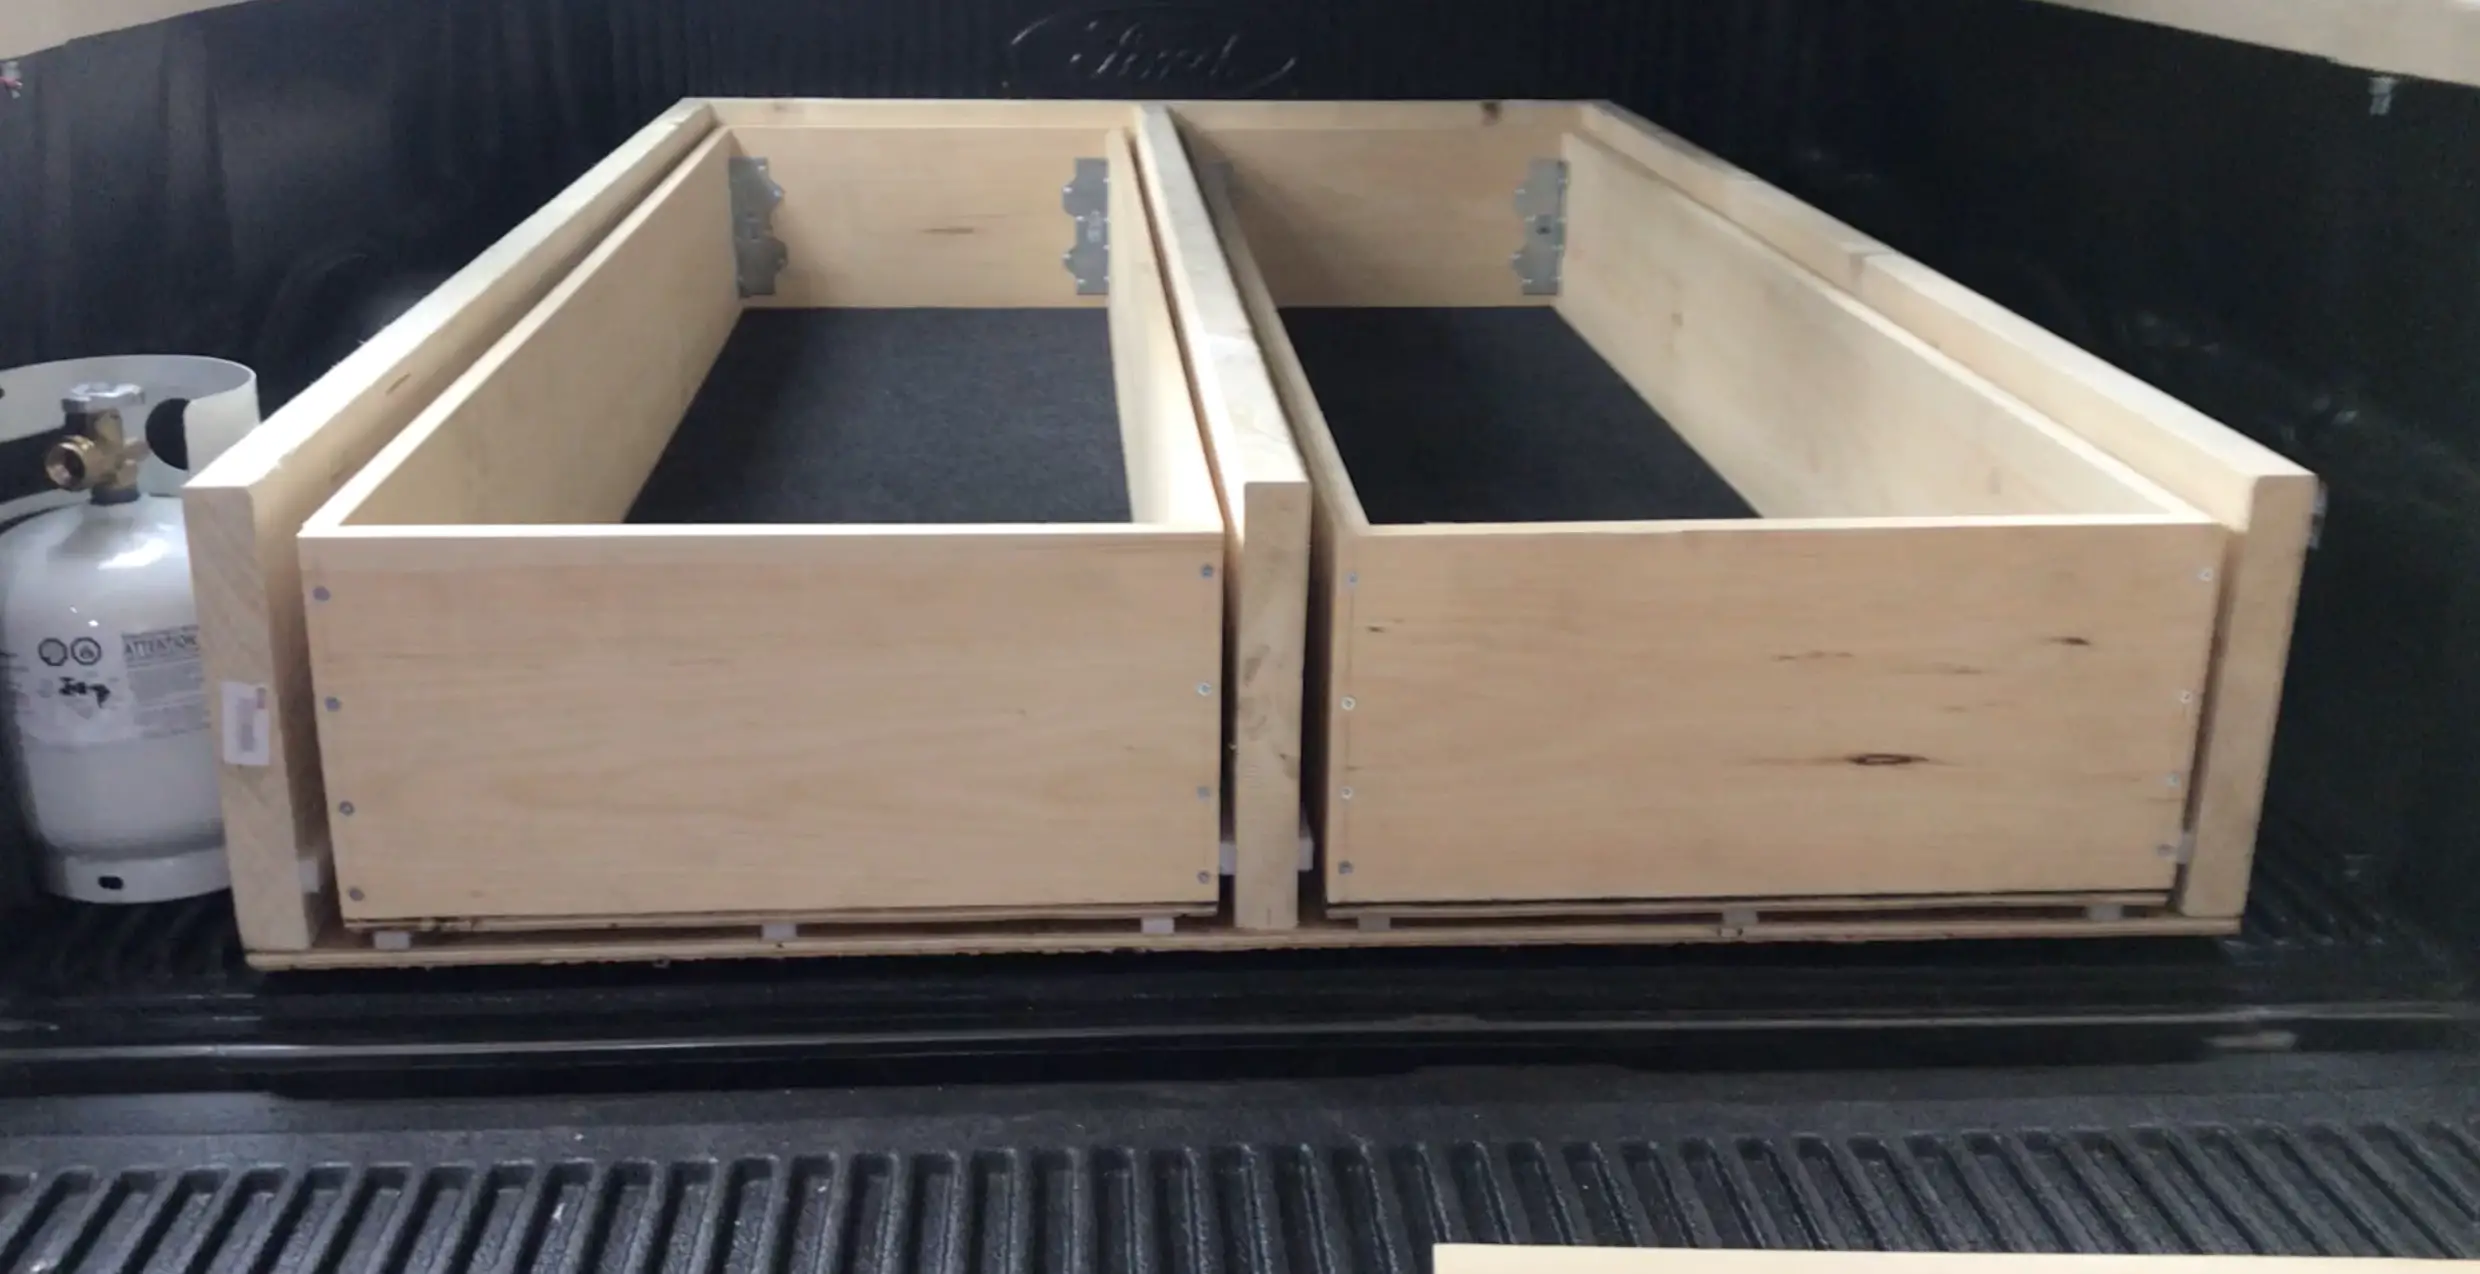
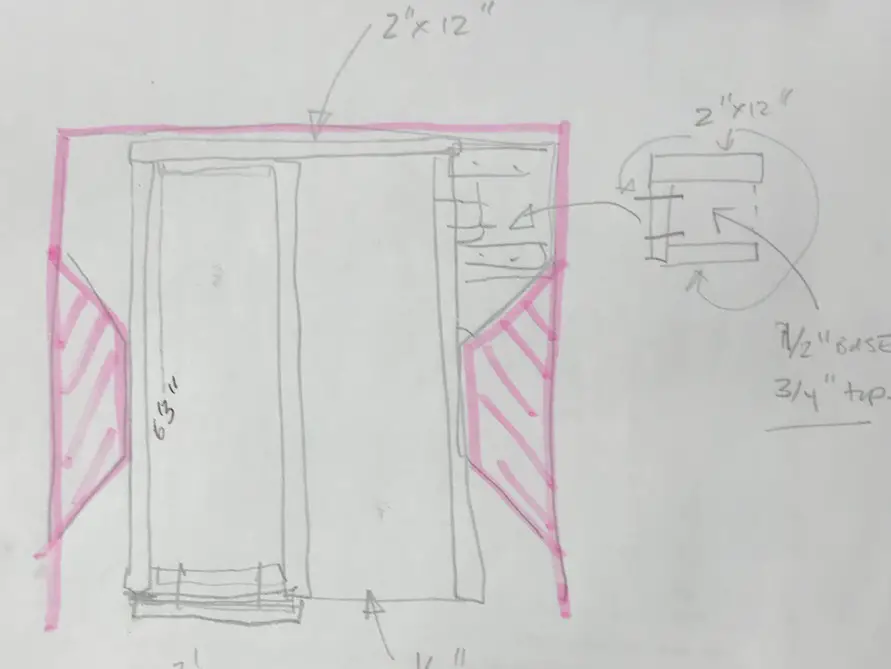
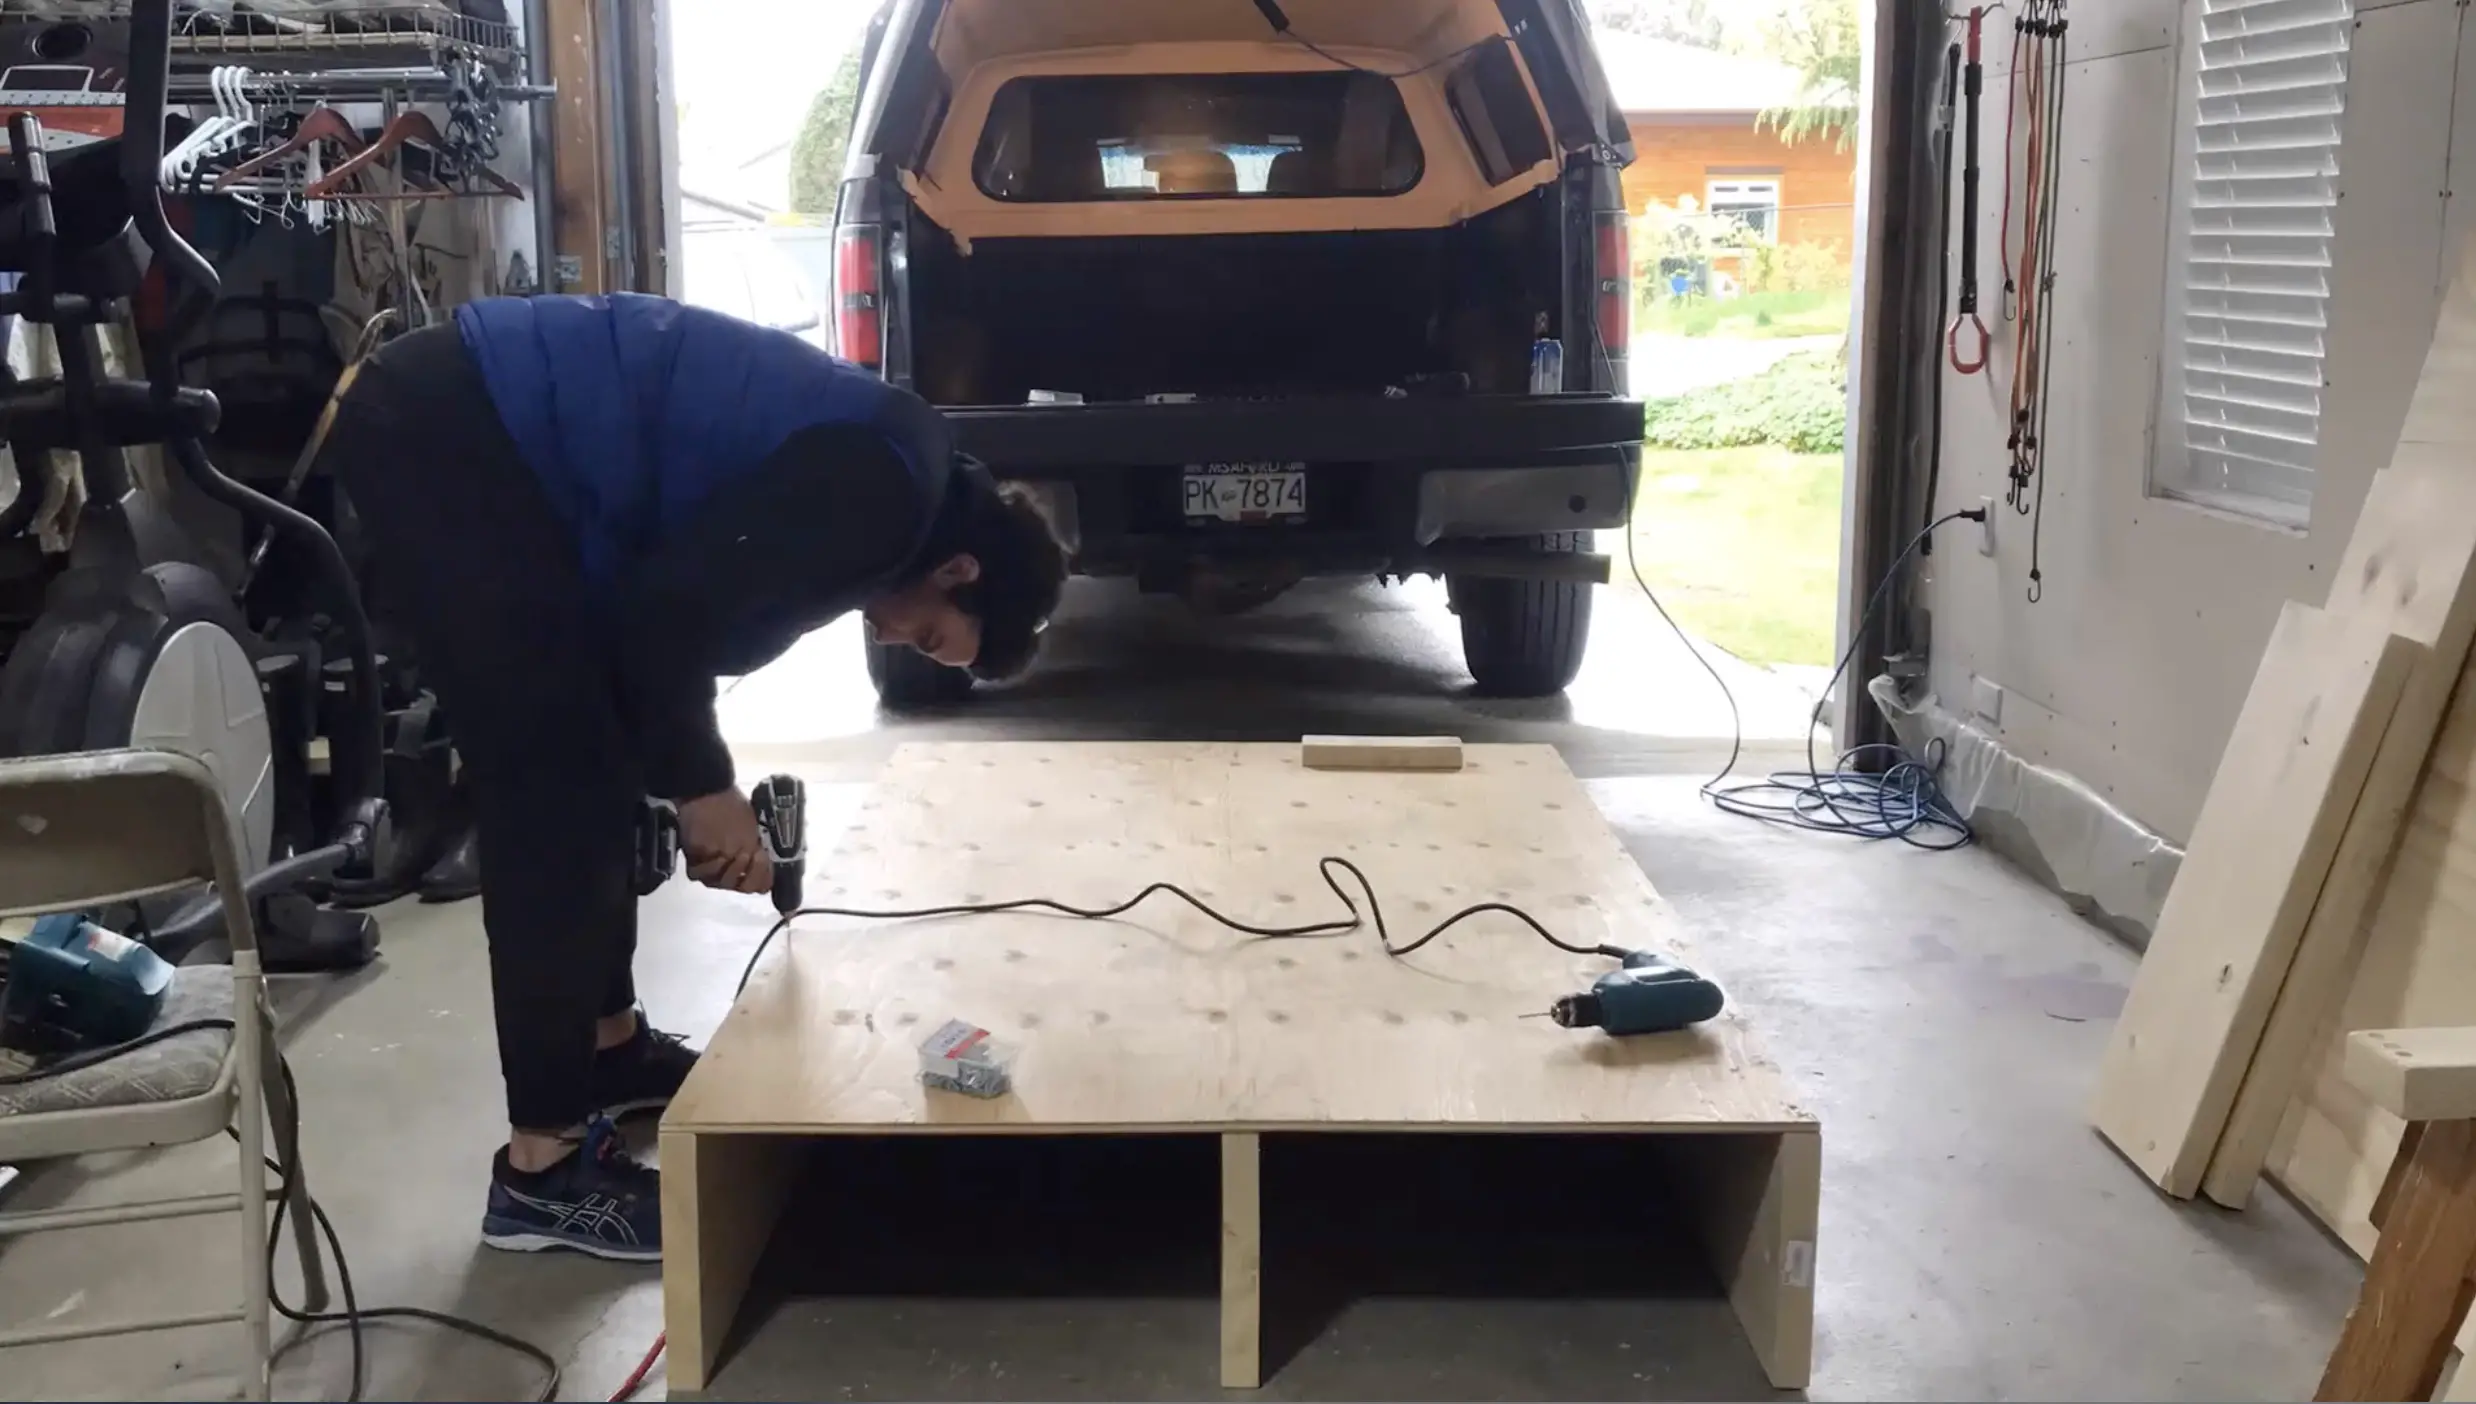
Four pieces of the 2”x 12”x 16” were used for the frame. One on each side of the plywood, one on the back, and one down the middle acting as a support and separating the two drawers. I measured and cut the four pieces.

I measured, pre drilled/counter sank and then screwed the frame together.
Once the Frame was screwed together I popped the ½” sheet of plywood on top of it and screwed it together.
The Drawers
I measured and cut the 3/8” plywood for the base of the drawers. I cut the base so there would be about ½” on either side of the frame so the drawers would be able to slide on the UHMW plastic strips. The length of the drawer base was the exact distance of the plywood base from the back of the frame to the front of the plywood.
I measured the 1” x 10” x 1” pieces of wood to the same size as the drawer base piece of plywood. I cut the wood to size, counter sank, and screwed together the drawer frame.
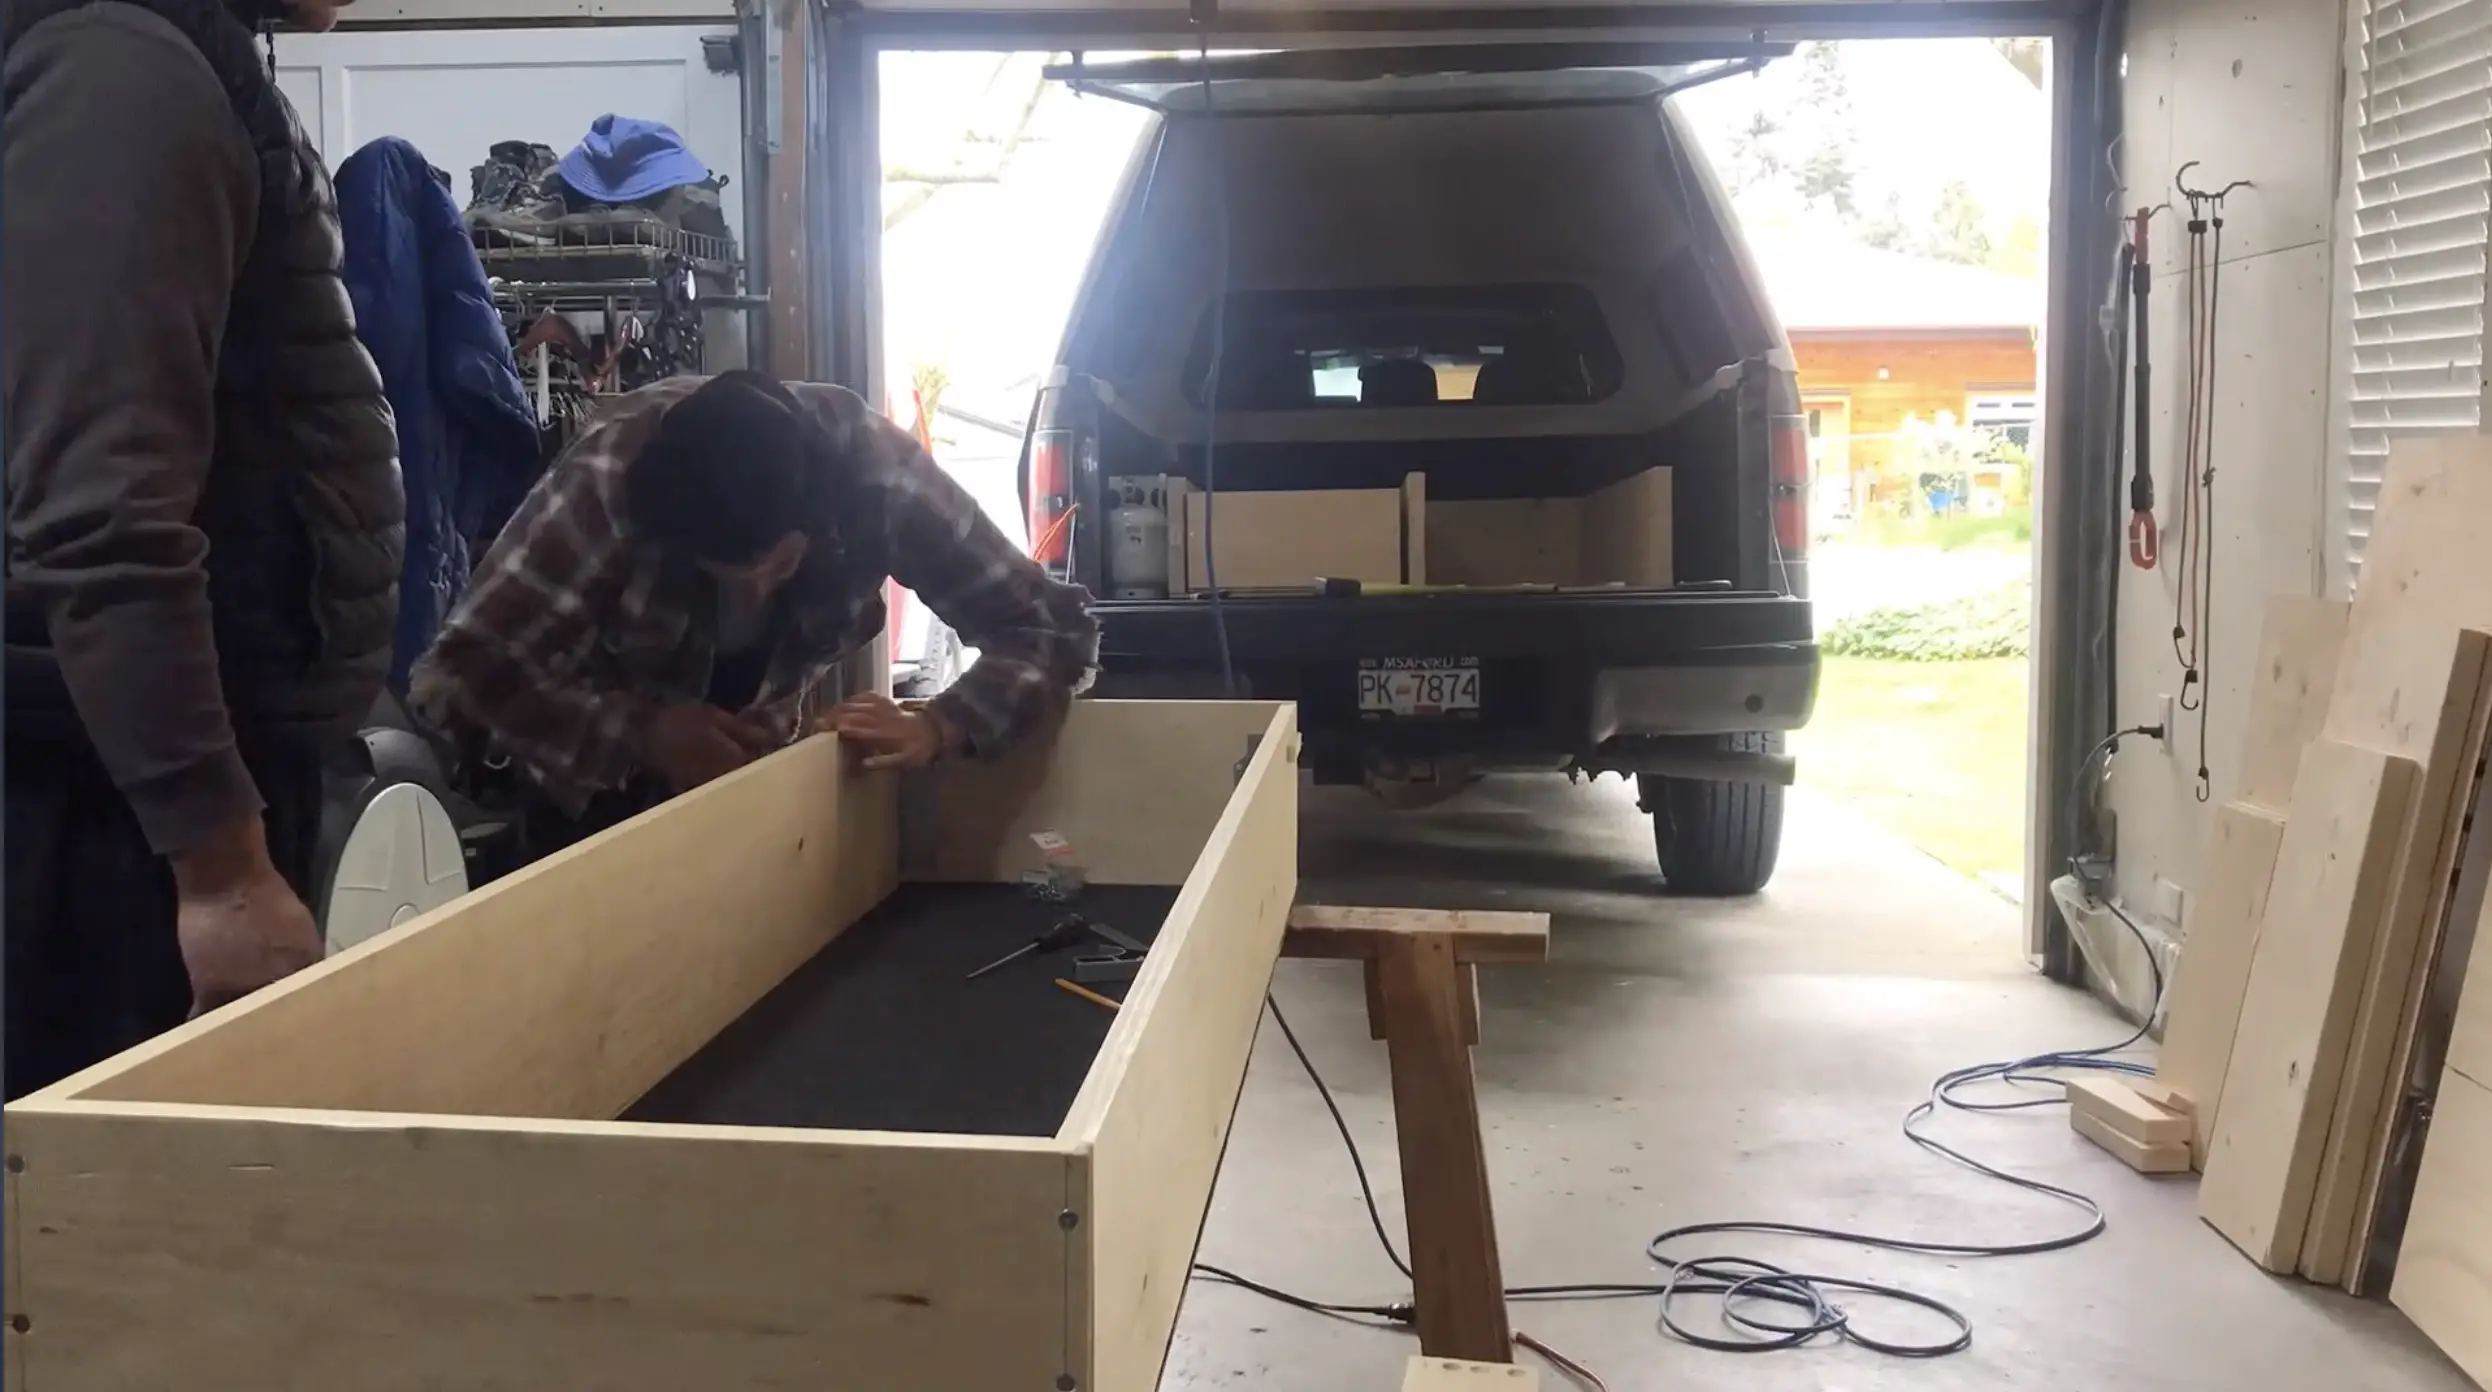
I wanted to put indoor/outdoor carpeting in the base of my drawers. Before I screwed the drawer frame to the drawer base I cut out a piece of indoor outdoor carpeting and used spray glue to adhere it to the base. I then put the frame onto the drawer base and screwed everything together. I cut off the excess indoor outdoor carpeting hanging from edges of the drawer.
To improve the structure and durability of the drawers I added corner brackets inside the drawers for extra support.
The Drawer Slides
Purchasing expensive drawer slides or using bearings can be very pricey. I decided to use UHMW strips (ultra high molecular weight Polyethylene) strips. This stuff is super durable and very slippery. It works absolutely perfectly and is a very reasonable price. Some people, if they want to keep costs down will just slide the drawers directly on the plywood, this works fine as well, but over time it may wear down.
I cut 2 inch strips and screwed them to the base and sides of the frame.
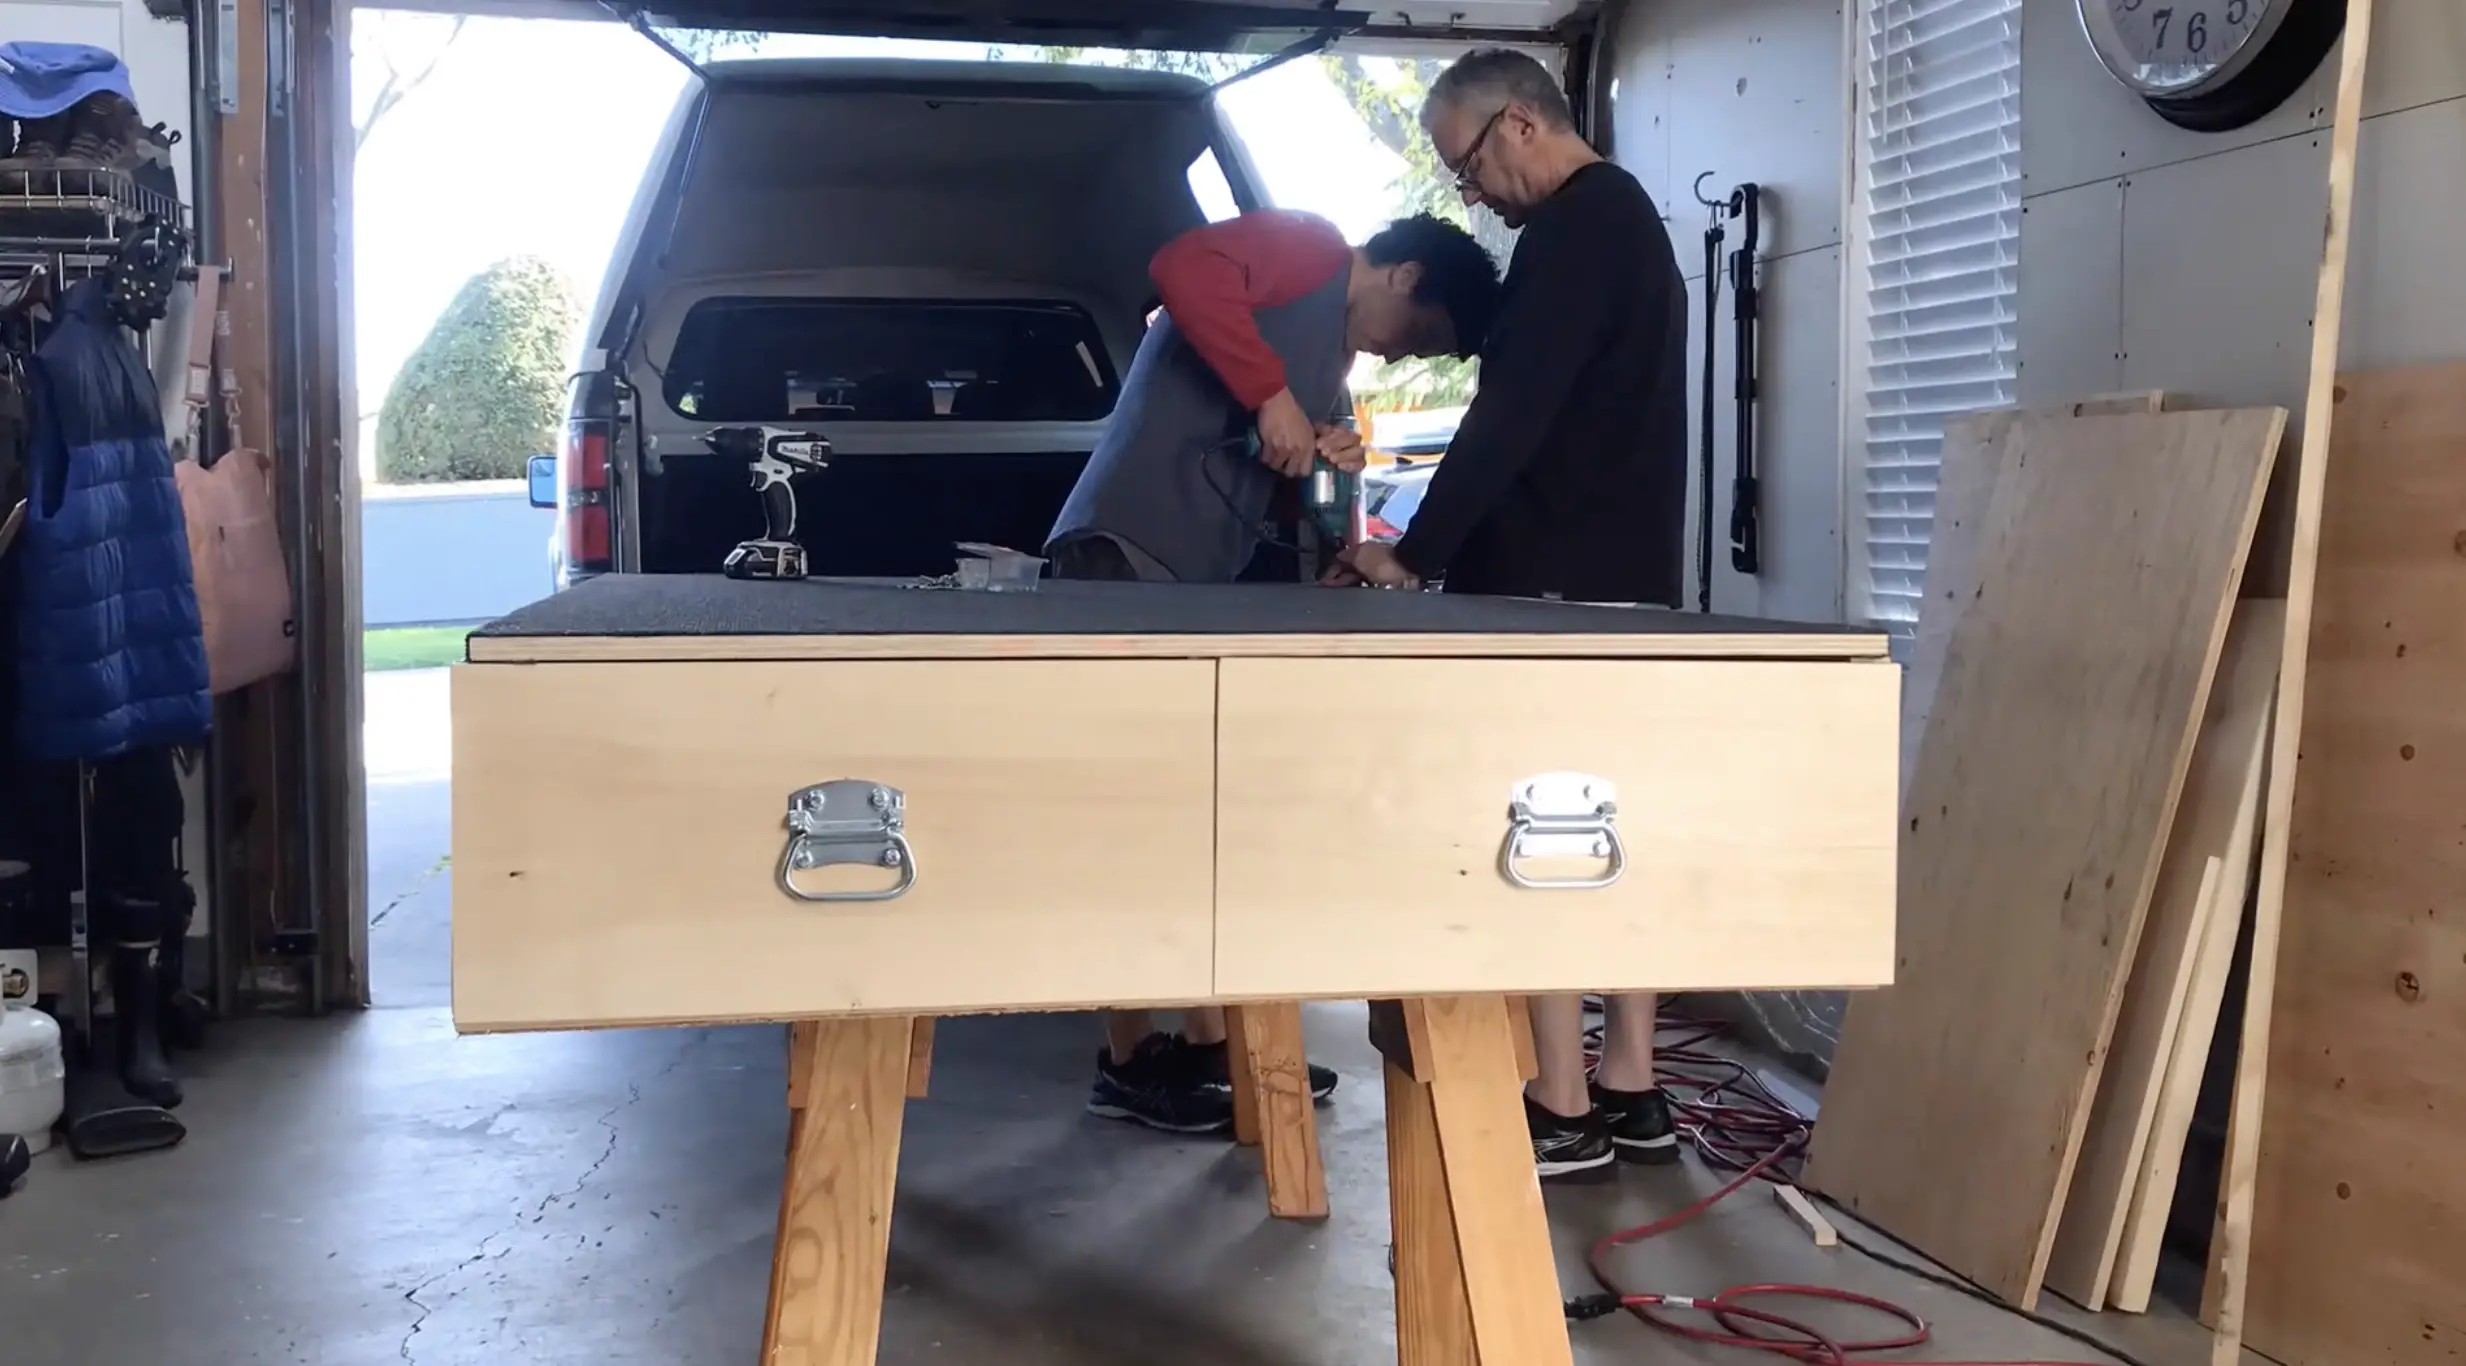
The Drawer Face Plates
To make it look clean I used the leftover pieces of 2”x 12”x 16” to make faceplates for the drawers. I measured and cut them so they fit flush on the front of the bed frame frame and screwed them onto the face of the drawer frame. I bolted on metal handles so I could easily pull the drawers out
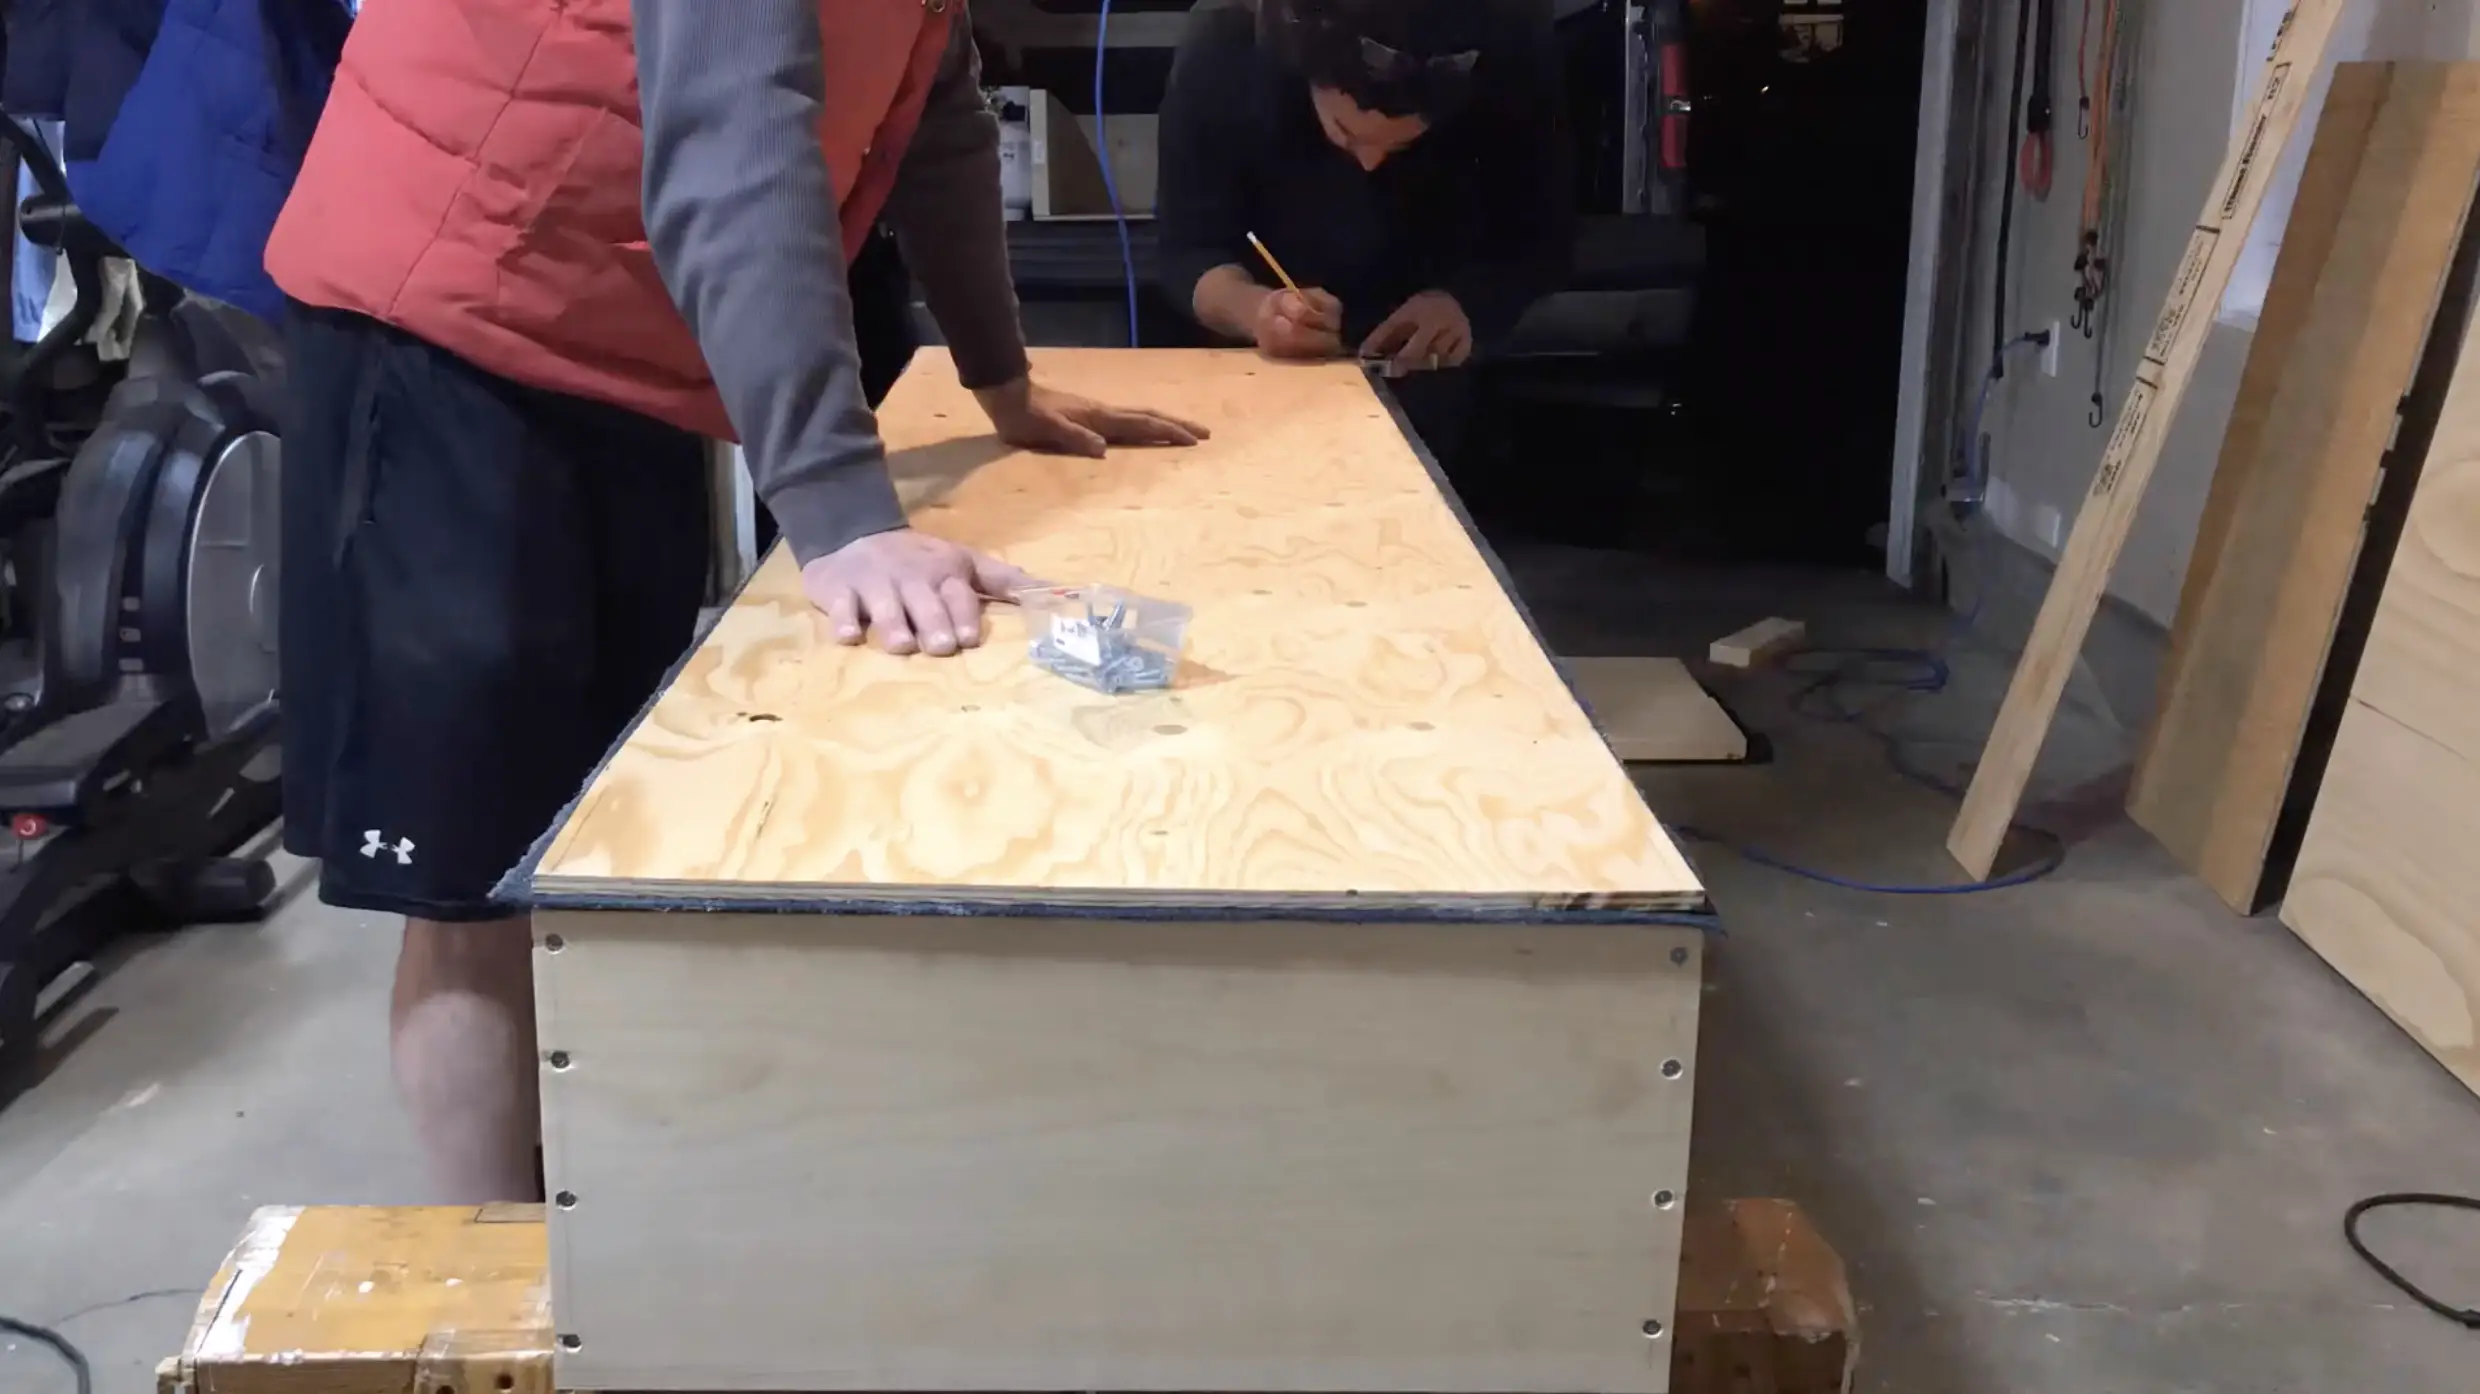
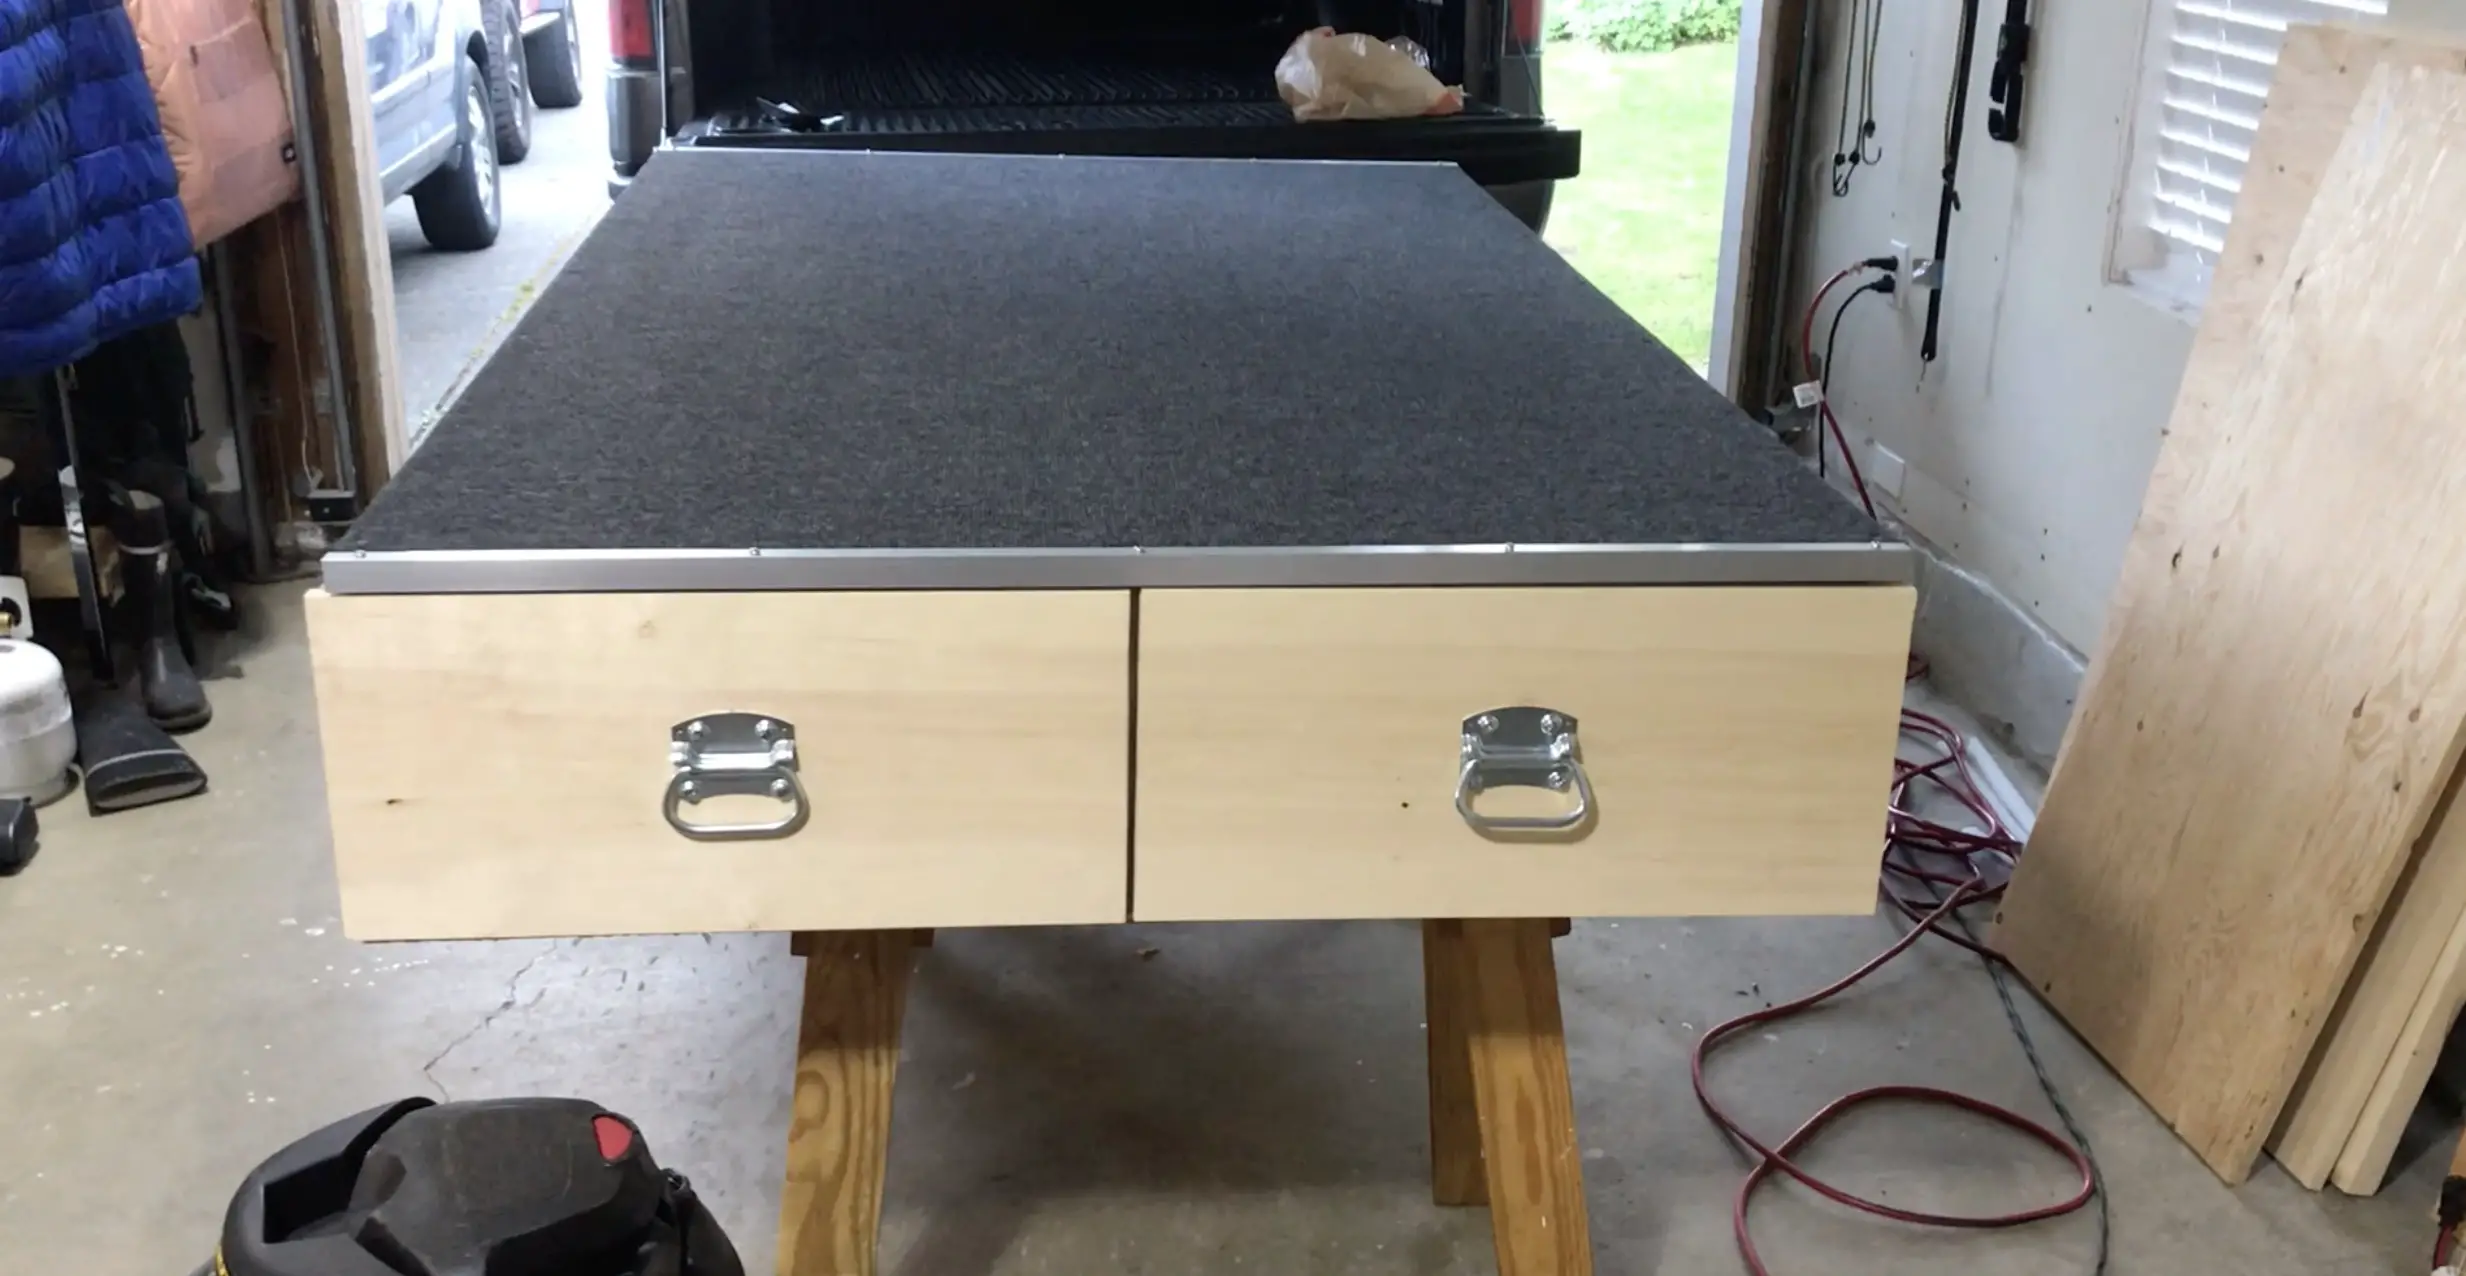
The Top Sheet
I cut the ¾” plywood piece so it would fit on the frame with exactly (1/2”) of the top of the frame exposed on the sides. (I left this area on the top of the frame because I would use it to balance plywood on to secure the side compartments.) Before securing it I added the indoor and outdoor carpeting to the top. If you leave the plywood ‘as is’ you are going to get slivers in your mattress or pop your sleeping pad (I learnt the hard way testing it out and filled my mattress with slivers) I applied spray adhesive to the back of the carpeting leaving some excess around the sides. Once the carpet adhered I counter sank holes and secured the carpeted top sheet to the frame with screws.
To make things look cleaner I purchased some metal edge trim, cut it to size, and screwed it onto the front.
.
Side Compartments
I wanted to add additional storage compartments and have the top sheet completely flush. I used what I had left of the plywood to create these side covers. I made a stencil out of cardboard and traced the edges of my truck bed. I spray glued and stapled outdoor carpet to the plywood. I cut and screwed two inch blocks of wood to the centre portion of the plywood where the wheel well is for additional support. Finally I attached some handles on the back compartments to make them easier to access.
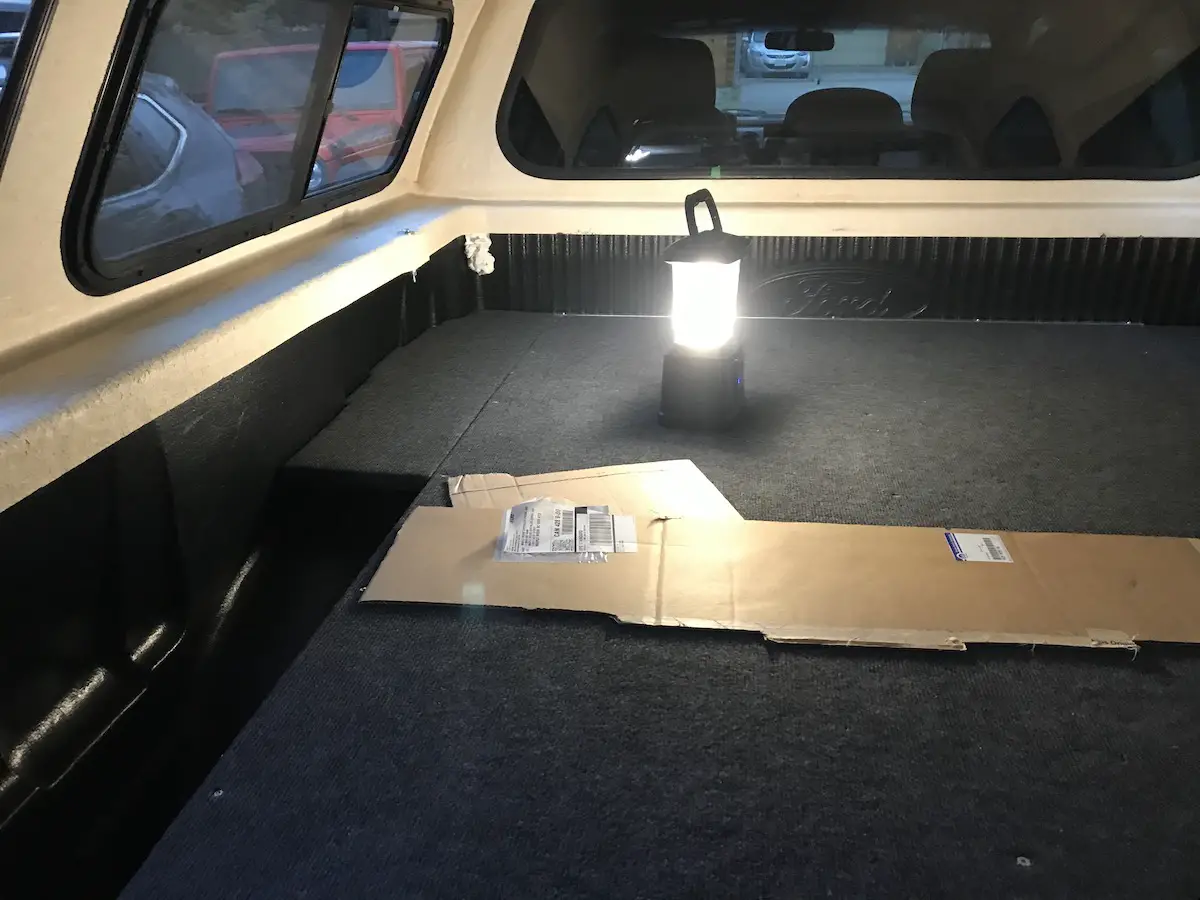
The compartment lid stays on because of the little ½” ledge I left on the frame, pressure from my plastic bed liner, and the block which adds additional support on the wheel well.
These areas are awesome and are where I house a bunch of my safety gear that I use less often.
(Click HERE to see what truck camping safety gear I store in the compartments)
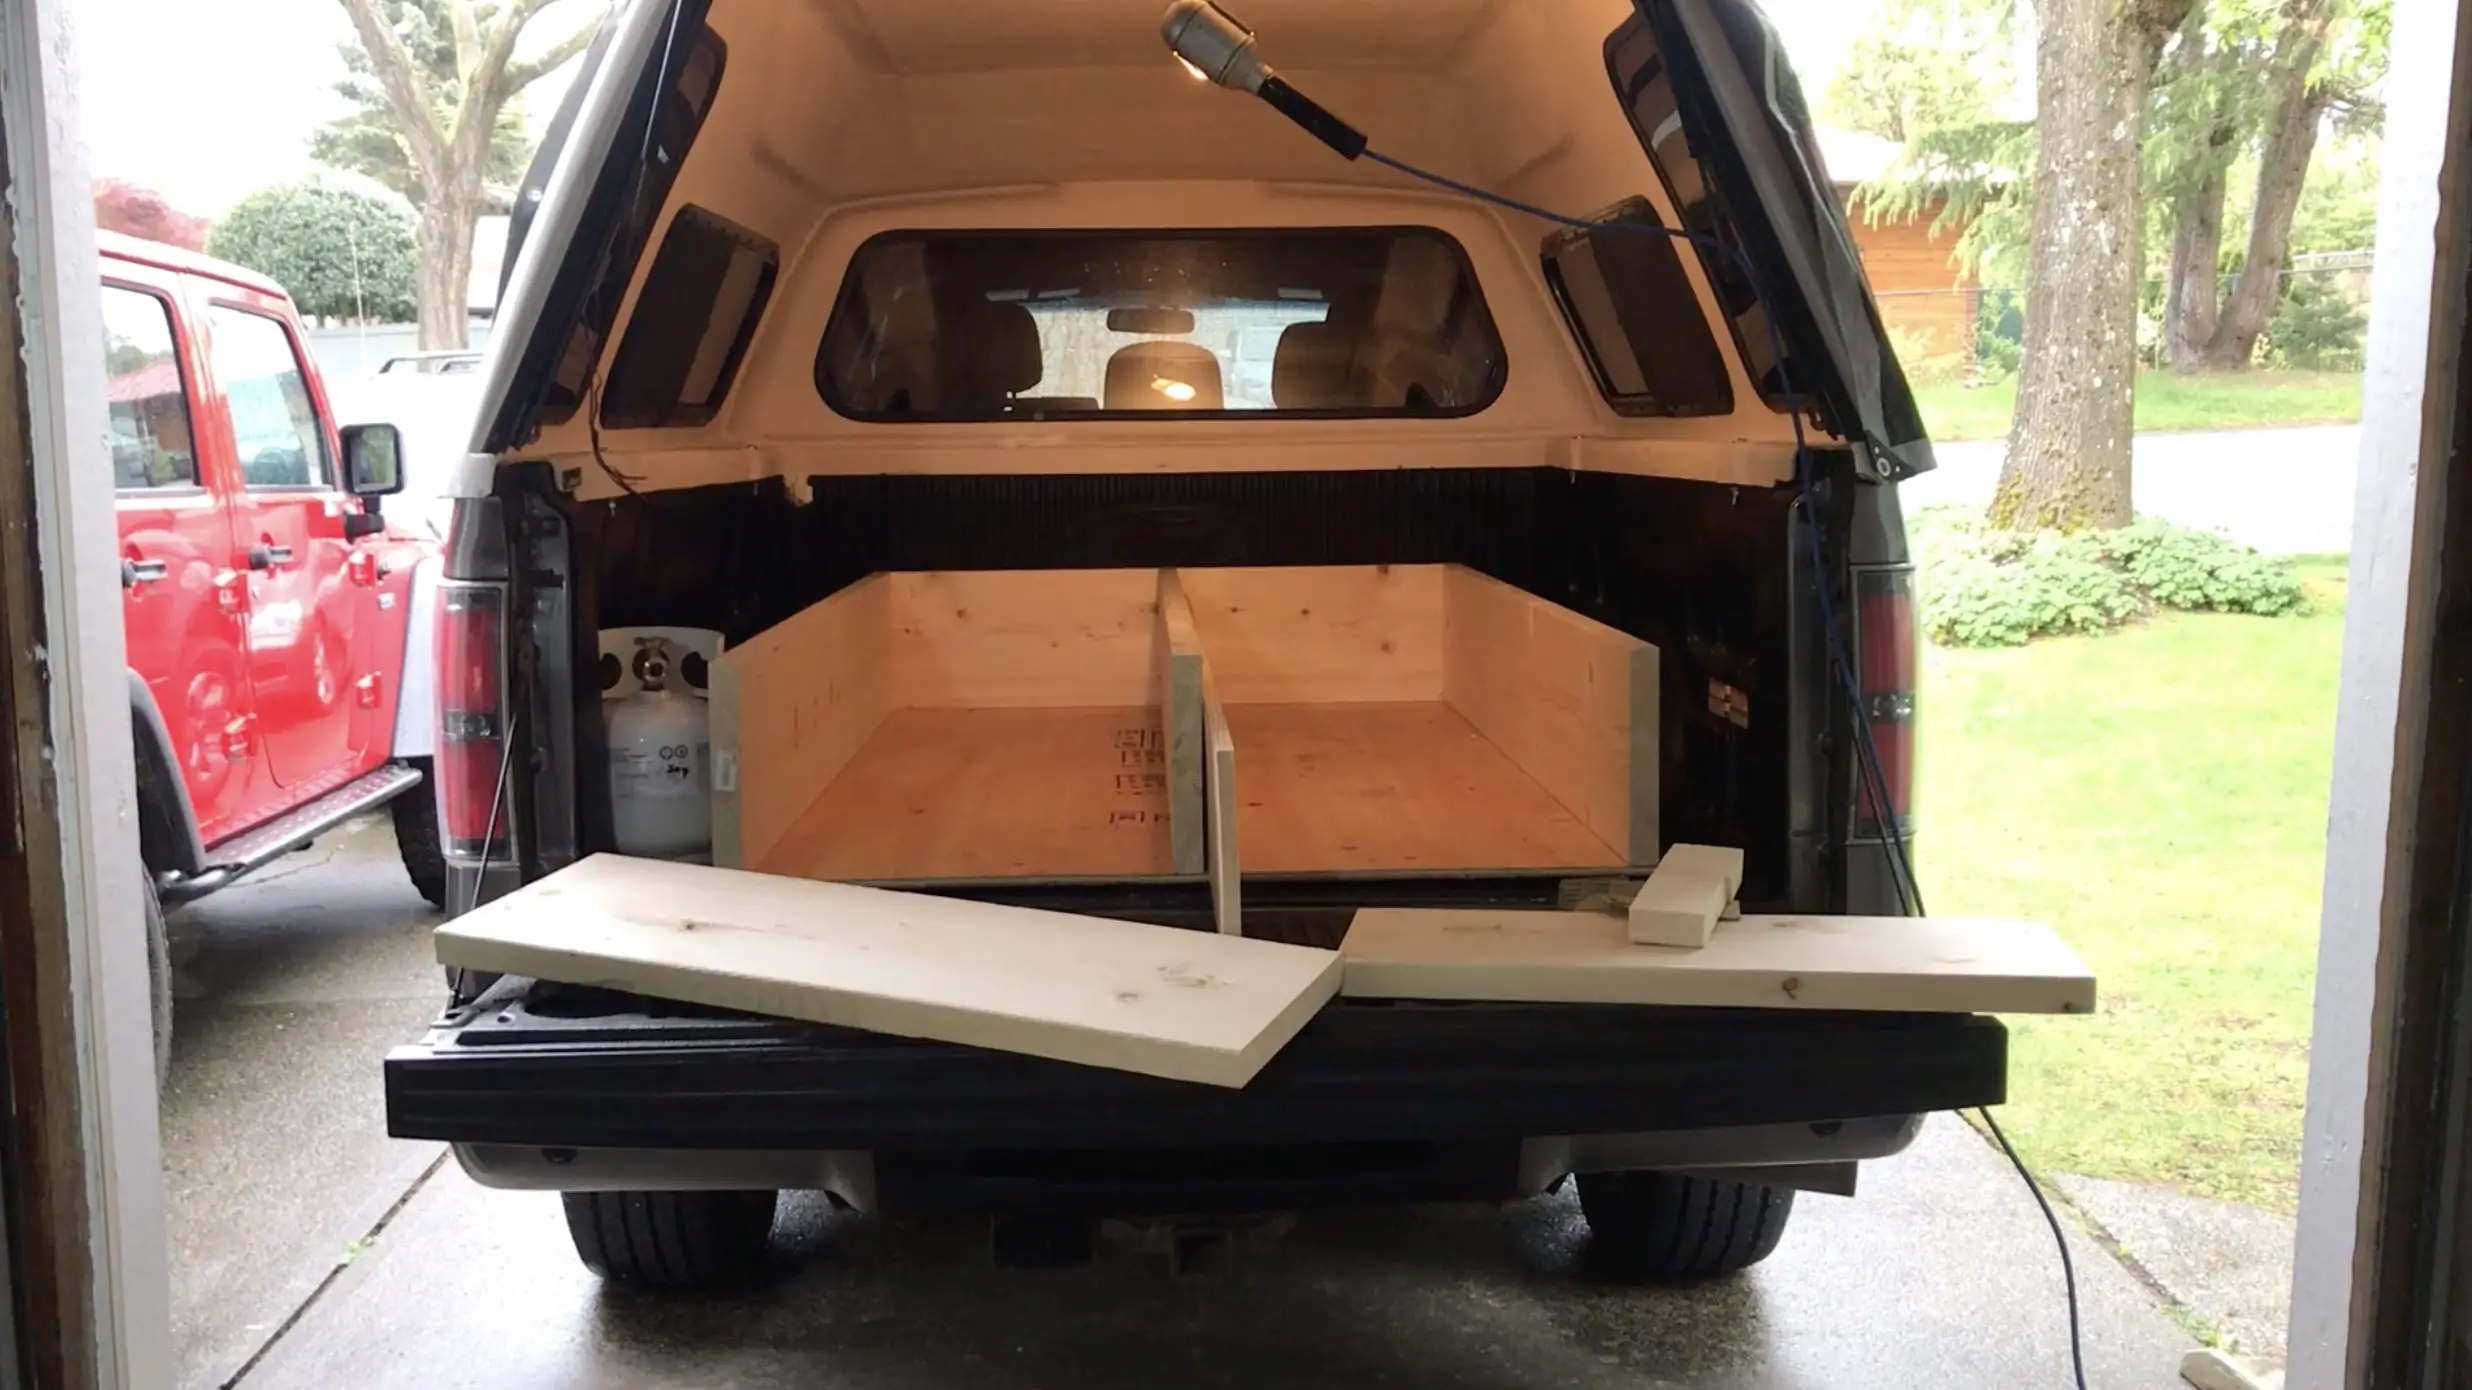
Propane Cover
I put a little cap on top of the propane tank to make everything look perfectly flush. I used a Dremel to indent the back of the plywood so it fits perfectly on the 5lb tank.

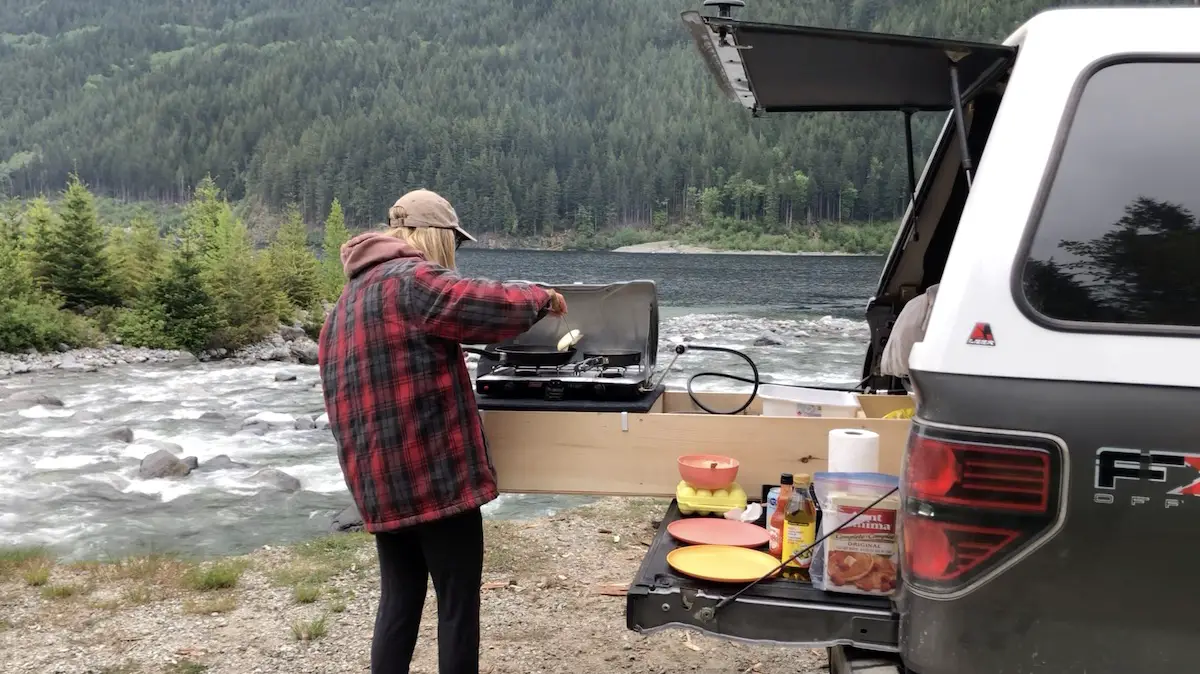
Drawers and Cooking Platform
The final thing I did was screw in some drawers. Since the propane tank was on the left side of the bed I decided to make the left drawer the kitchen/food storage area. I screwed in two drawers for storage.
The front drawer was where I was going to keep my Coleman stove and other cooking utensils. I wanted an elevated cooking platform so I used leftover plywood to create it. I cut the plywood to the size of the first drawer area. I spray glued and stapled carpeting on it. To keep it attached I screwed in little L brackets that just sit over the side so it is easy to pull off and on when cooking. It also acts as a great platform for a host of other things.
Blacking Out Windows
Like I mentioned earlier, I don’t spend anytime hanging out in the bed of my pickup truck and wanted to optimize it for sleep. I used RABBIT GOO an adhesive blackout sticker you can purchase on amazon to blackout the big side windows, the back window, and the front window. Use a stencil on the outside before you cut the rabbit glue to ensure you get the perfect fit with the sticker on the inside.
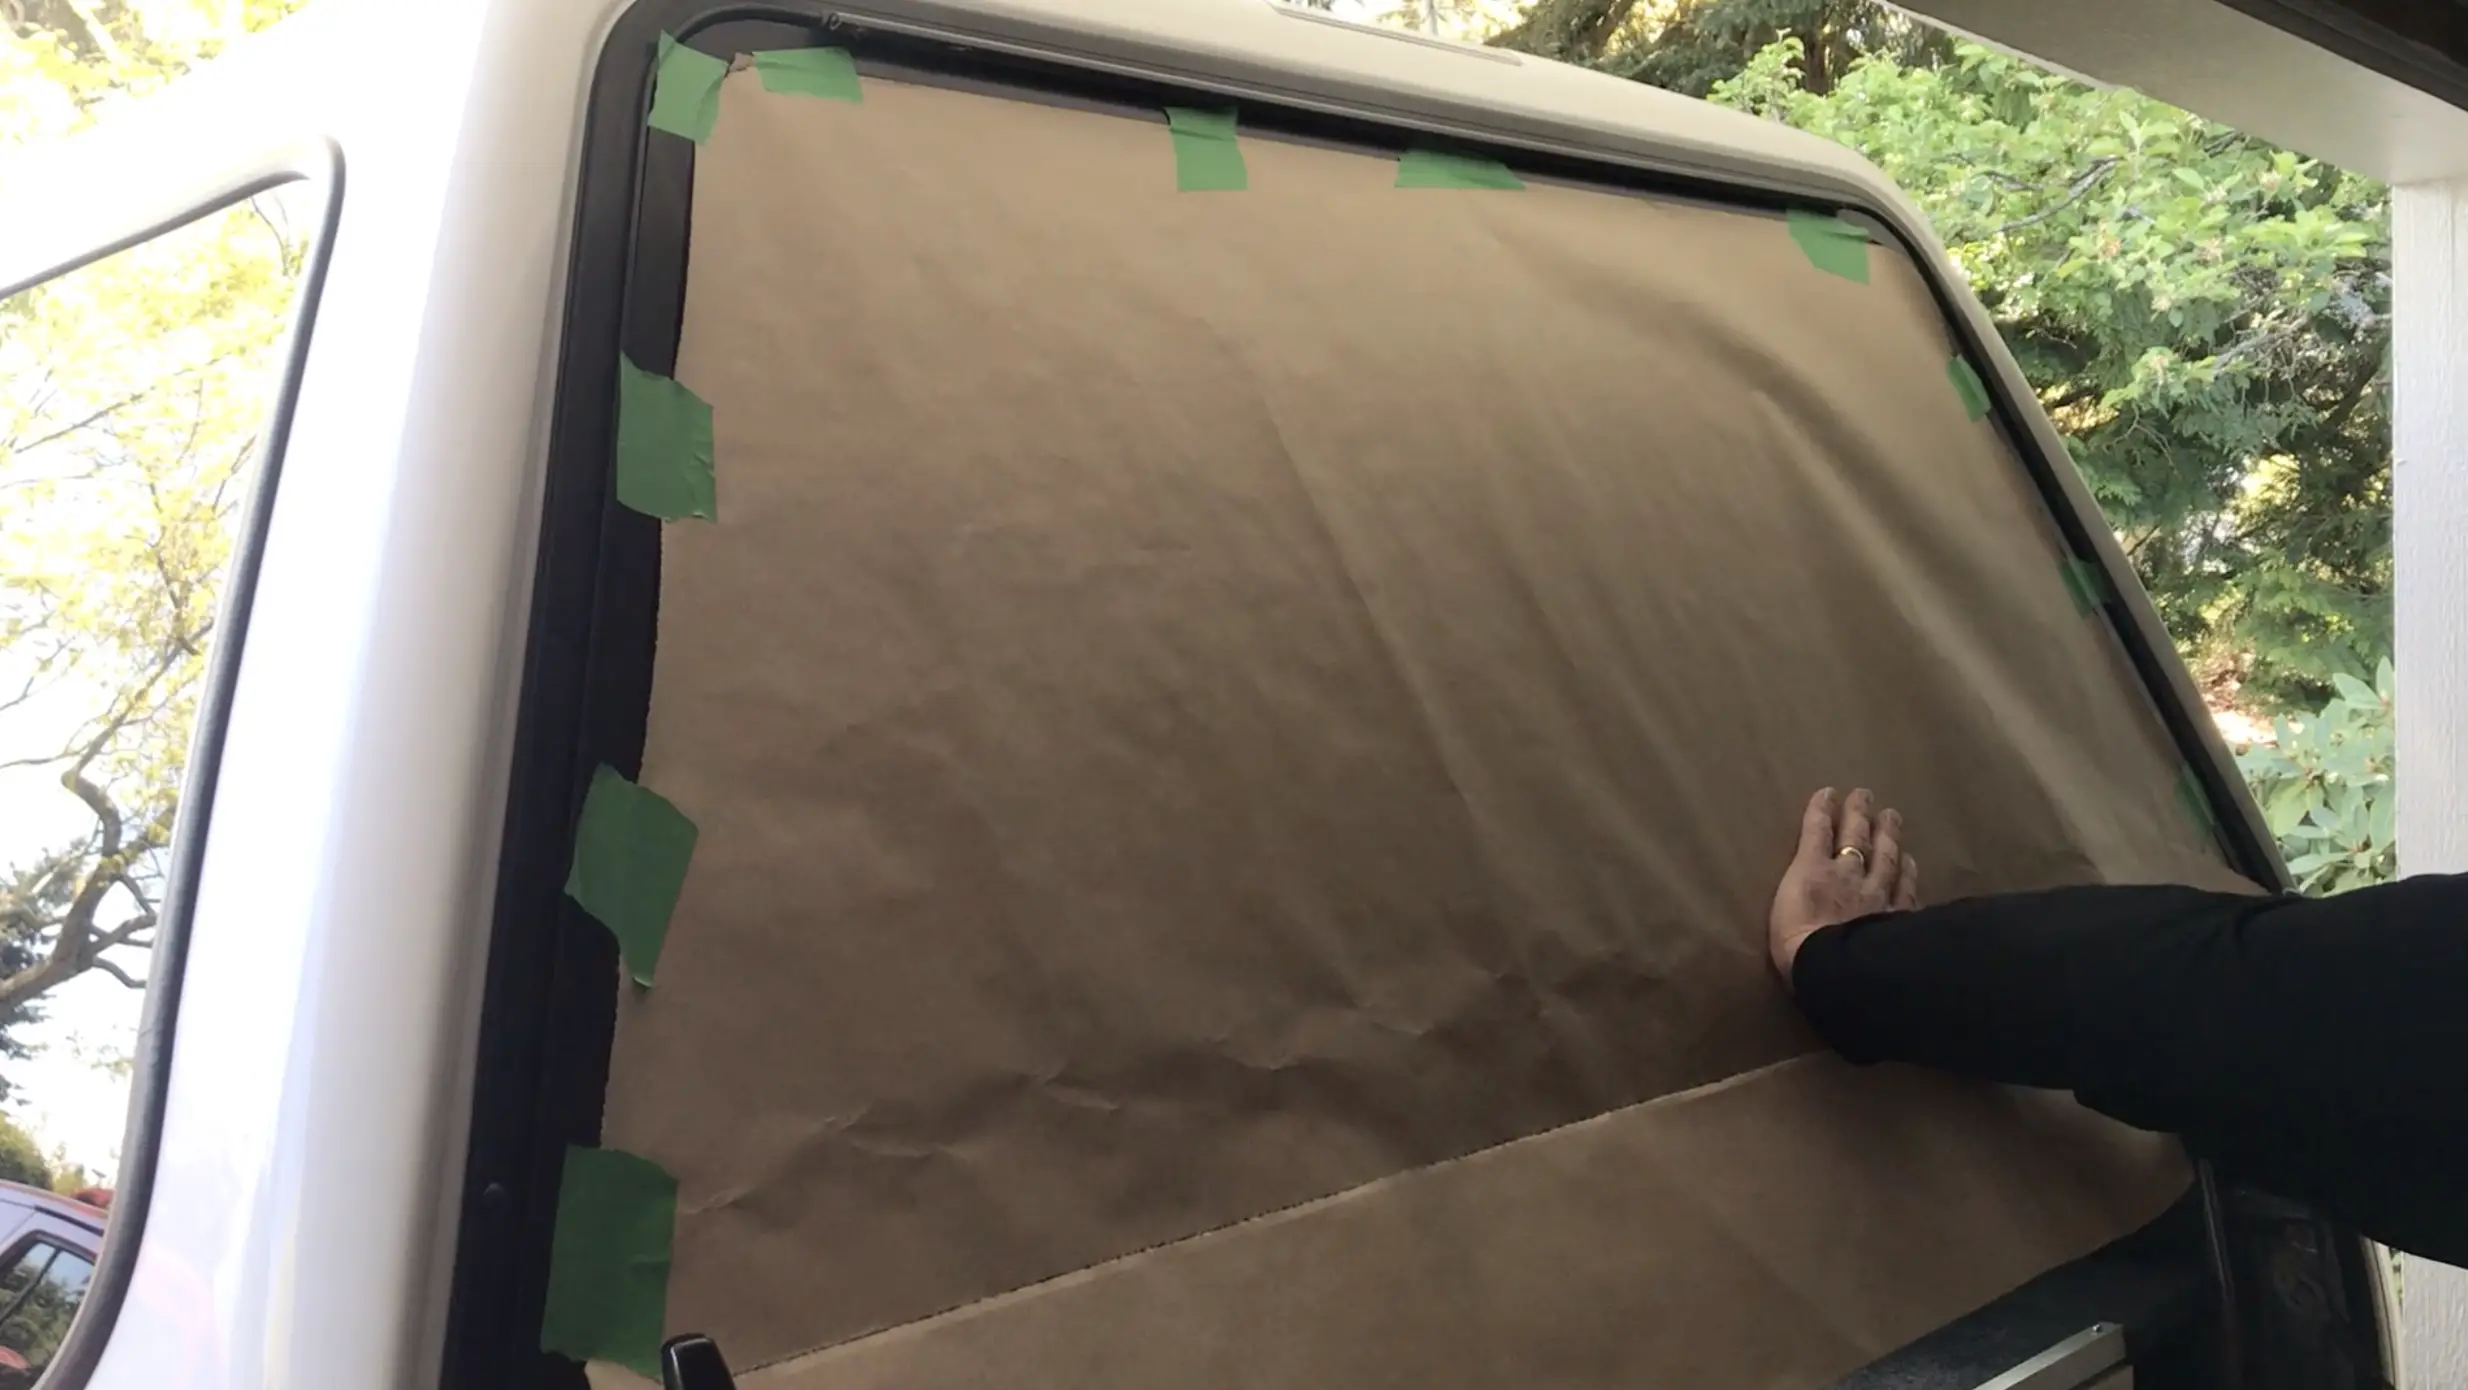
The only windows I did not black out were the side windows that have sliding windows and screens.
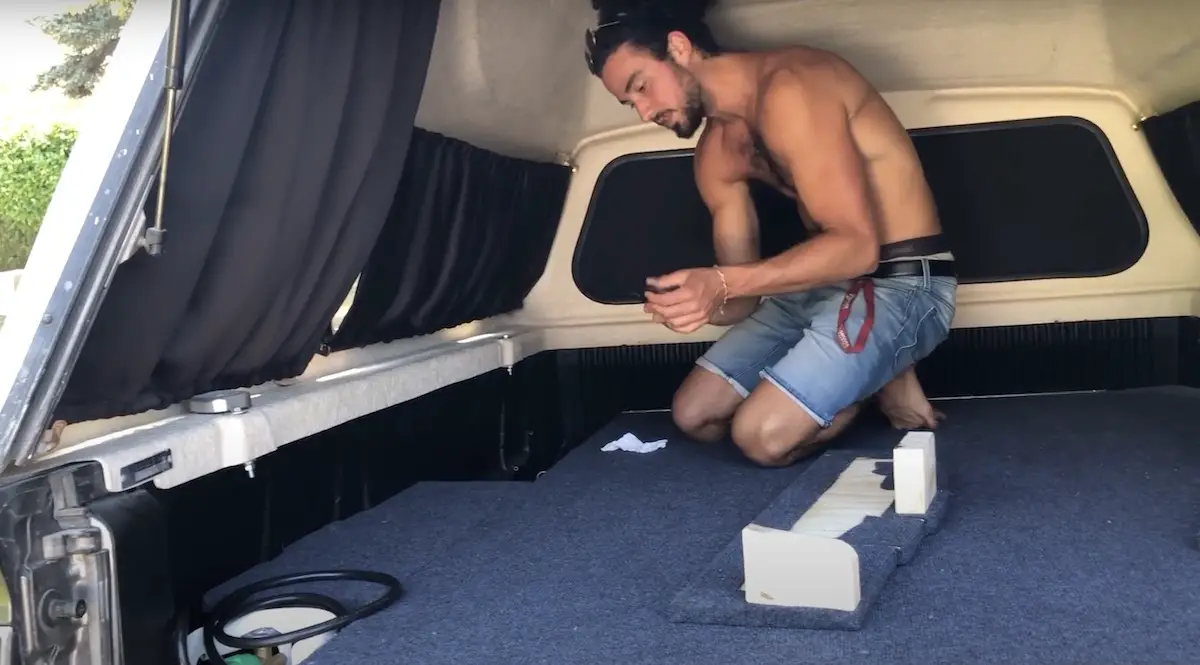
Black-out Curtains
I created blackout curtains for the side windows using small blocks of wood with the curtain holder, and curtain rods. I adhered the blocks to the truck cap using double sided 3M Stickers which I cut to size for the blocks. The curtains can slide along the rods or the rods can be completely removed off the blocks.
The mix of curtains and the rabbit glue make the truck so dark that Laura and I had no problem sleeping in the back when it was light outdoors (this was especially helpful while sleeping in residential areas where streetlights can be bright) .
I encourage you to copy everything or use bits and pieces of my setup to create something that works perfect for you!
Have fun with it and keep things simple.
If you have any questions don’t hesitate to ask in the comments!