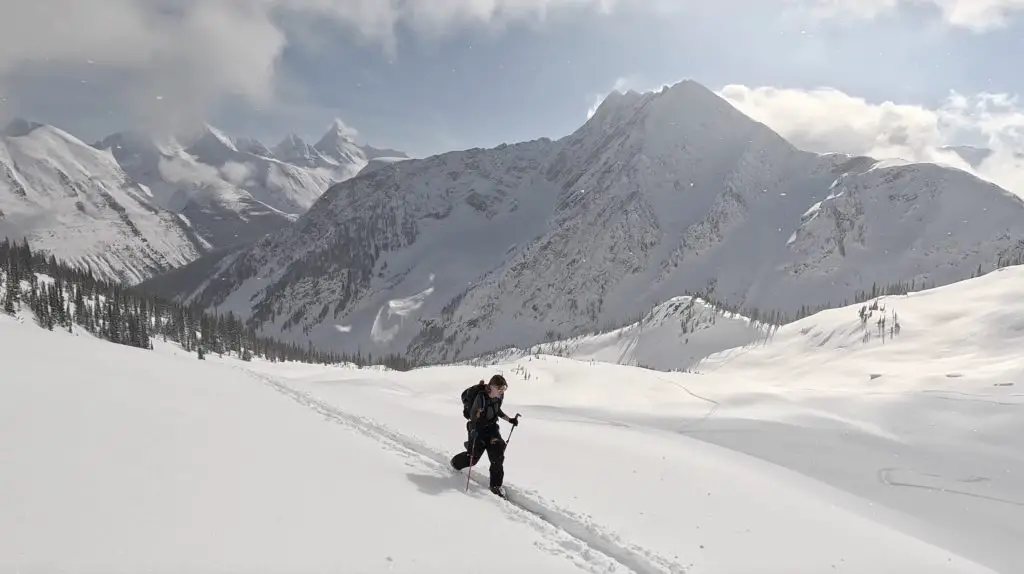
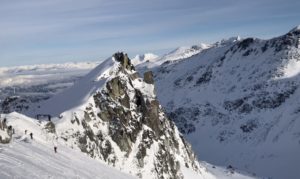
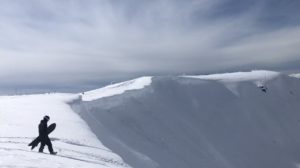
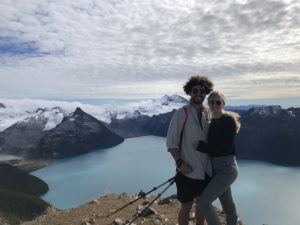
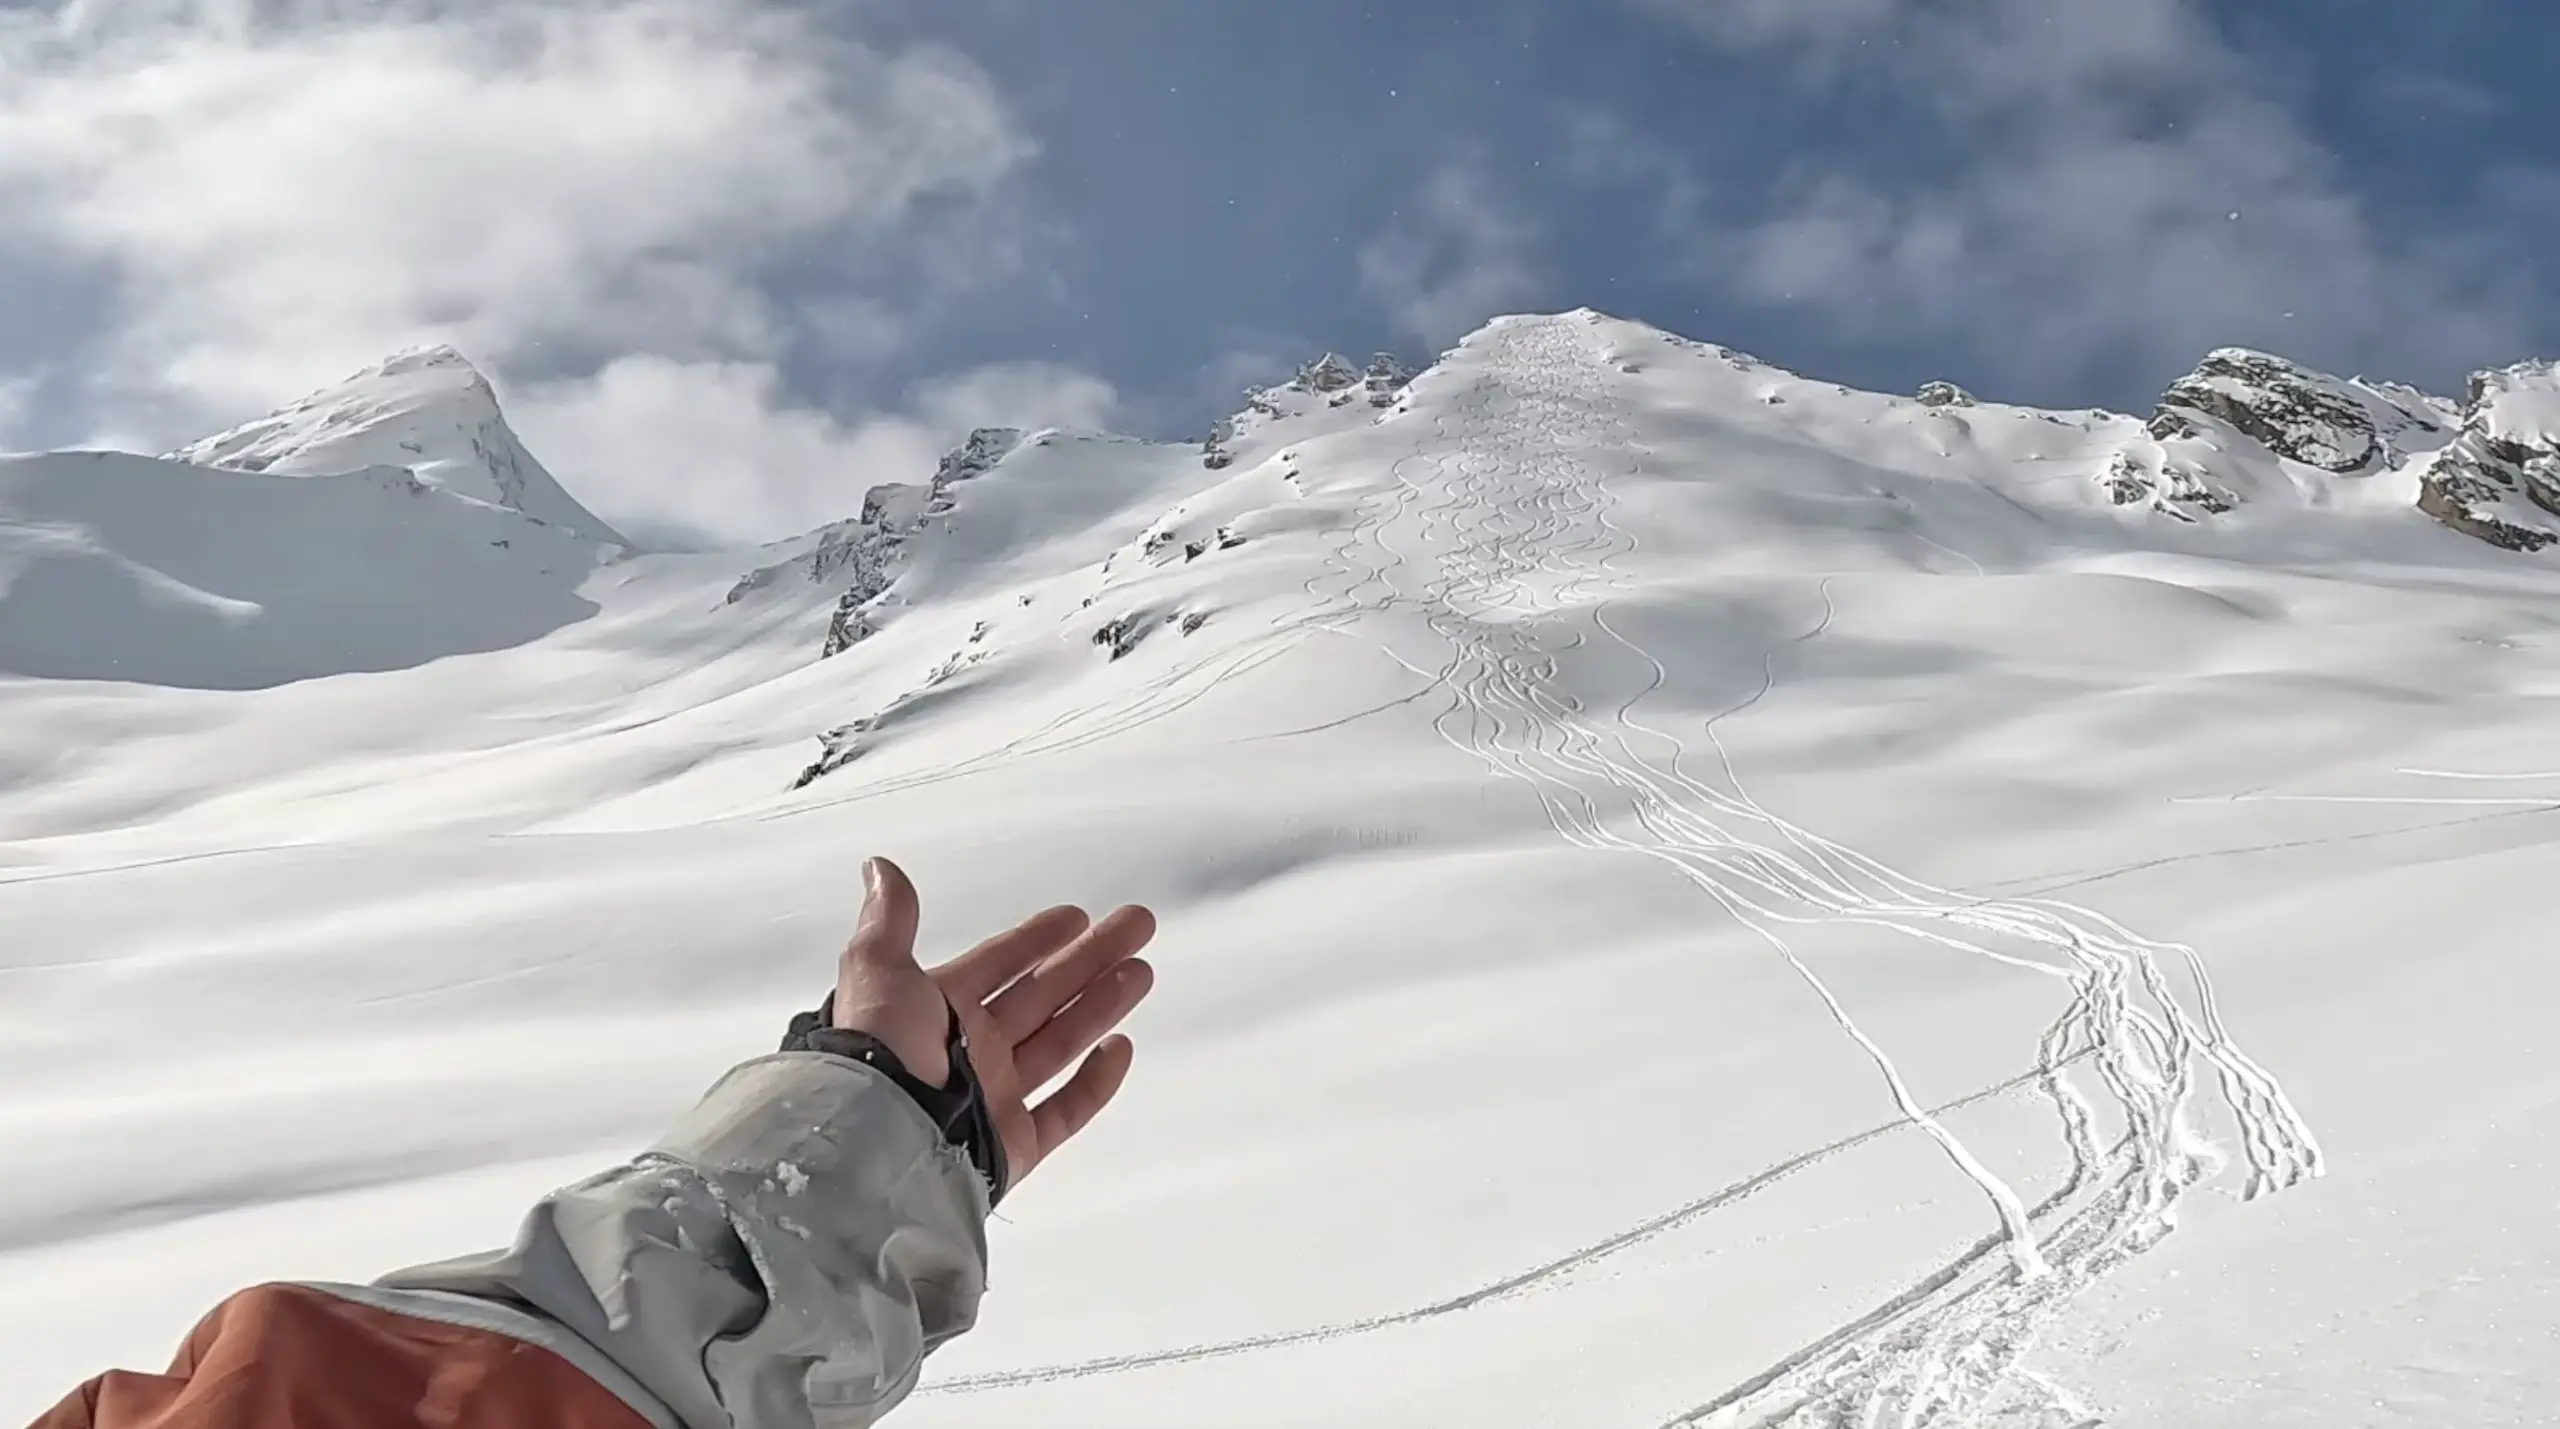
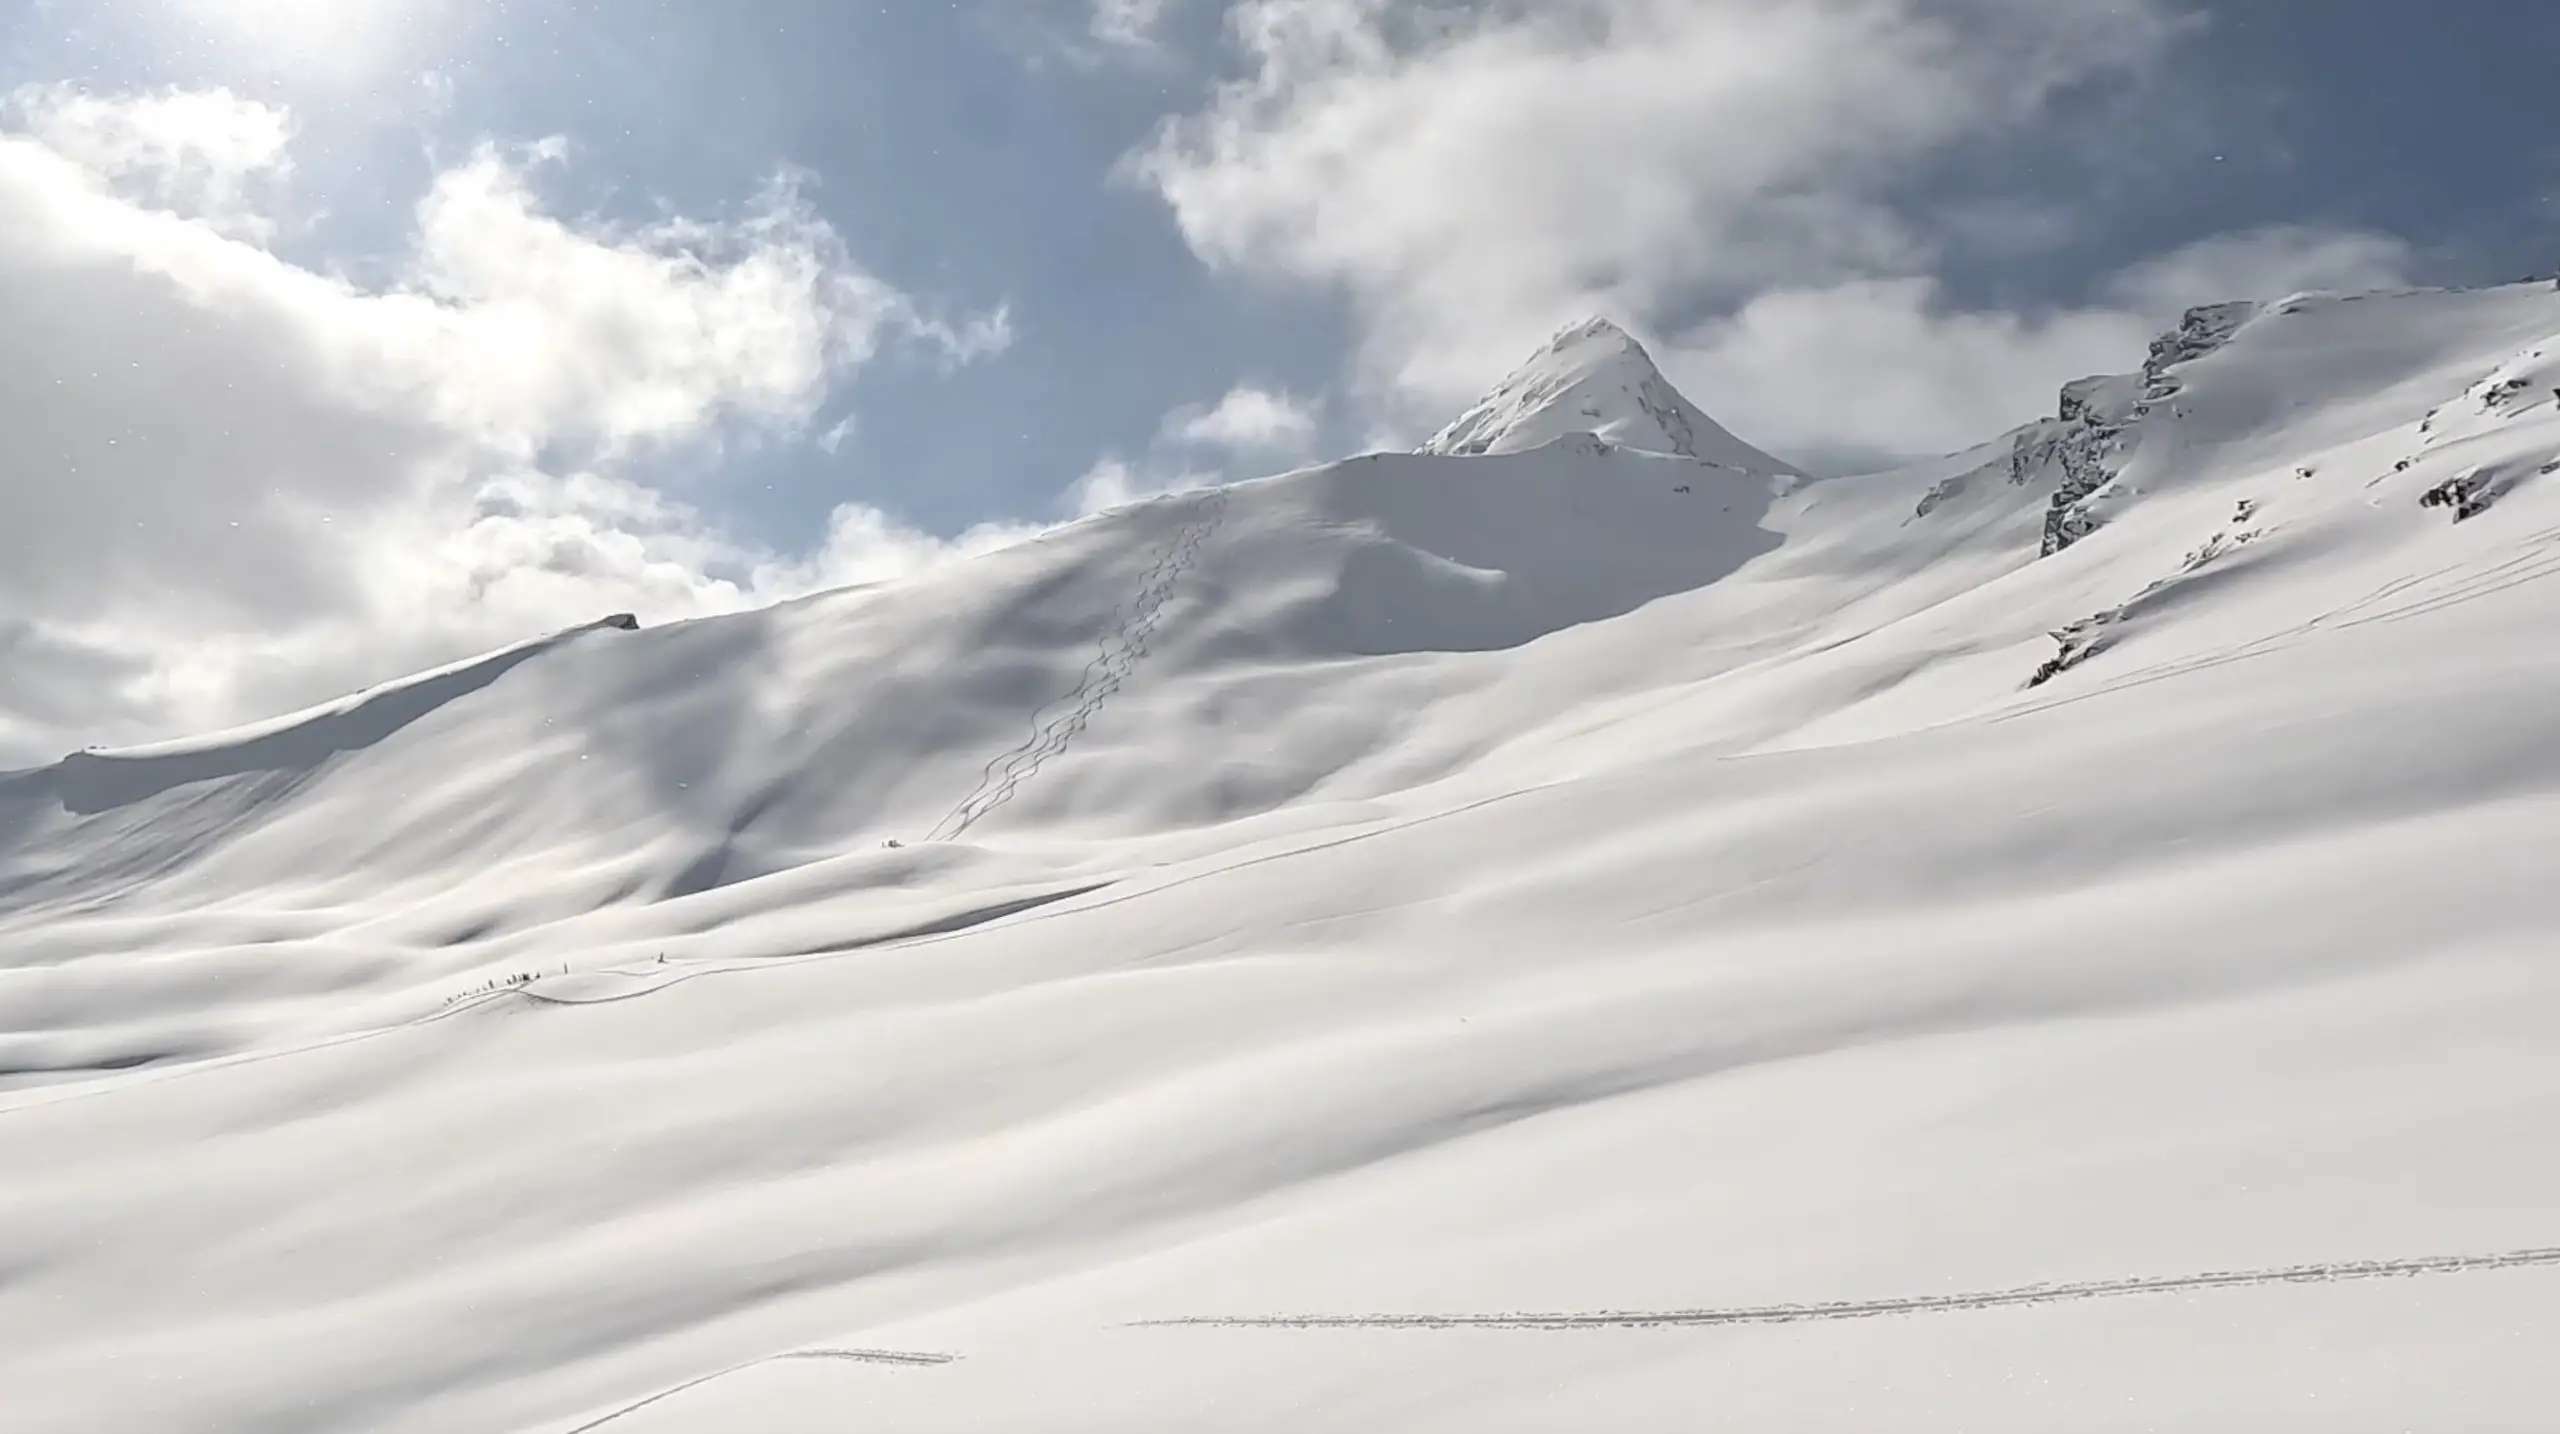
Video Peak’s SE face is one of the most legendary (and accessible) lines in Rogers Pass and needs to be on your backcountry bucket list. At 2565m it boasts over 550m of perfect 35 degree, heli-esque, open alpine turns, followed by another 700m of playful pow turns, pillows and trees right back down to the trunk of your car. Every step you take up is a turn coming down. It’s truly the most bang for your buck ski tour I’ve ever had the pleasure of doing. That’s the beauty of high mountain pass highways.
As for vibes, it’s perfect. The area is a scenic dreamland and you’ll be salivating imagining yourself skiing down the incredible mountain faces and chutes. But, it’s not all sunshine and rainbows. Don’t get fooled by Video peaks perfect appearance, the face is consequential and is a start zone for large slides. Ensure you assess the snowpack carefully before climbing up and sending it down.
Since this route is so awesome and easy to access its well known in the community and is busier than other areas. If you really want fresh tracks you are going to have to leave early. Personally, I wouldn’t sweat it as there are a plethora of amazing turns throughout the entire zone. Sometimes adjusting the objective on the fly makes for the best of days.
Check out the video version of this adventure here!
Table of Contents
Safety Considerations
The terrain in this area is complex and avalanches do happen. Please ensure you check the reports, assess snow and make thoughtful group decisions. Parks Canada does not require you to take a quiz for this area of the park, but I would recommend you do so anyways to be familiar with all the rules and regulations in the Rogers Pass area. It’s always a great idea to check in with the parks staff at the discovery centre for trip reports.
Please make sure you leave prepared with all the appropriate avalanche and survival gear. Always carry a compass or GPS device like a Spot X and know how to use it. I personally always like carrying a hardcopy map. I’m not going to lie, ninety nine percent of the time I use my cell phone as my navigation tool, but you don’t ever want to rely on an iPhone or Android that is notorious for shutting off in the cold.
The Breakdown
| Distance (Round Trip) | 11km |
| Elevation Gain | 1280m |
| Time Needed | 5-7 hours |
| Terrain Type | Alpine |
| Highest Point | 2565m |
| ATES | Complex |
| Remoteness | Moderately Trafficked |
Driving Directions
The trailhead for Video Peak is located at the Rogers Pass Discovery Centre in Glacier National Park just a 45 minute drive on Hwy/BC-1 E from he town of Revelstoke. Rogers Pass is an absolute dreamland for ski mountaineers and tourers. The high mountain pass initially designed for the CP rail now allows simple highway access to a pristine mountain playground. Located in the heart of Glacier National Park in the Selkirk Mountains of BC, Rogers Pass is a bucket list destination for outdoors lovers in the summer and winter.
BC’s highways can get pretty gnarly in winter. In my opinion, the gnarlier the better, that means the powder is falling! However, you’re going to want to travel in a vehicle that is reliable and equipped with top of the line winter tires and safety gear. If you don’t own a vehicle or are visiting from out of town FarOut Wilderness offers some of the best 4×4 vehicle rentals in BC that are equipped to drive absolutely anywhere. They’ve got winter tires, chains, GPS communicators and ski/board racks. Check out their website and use code RISE5 to get 5% off your 4×4 vehicle booking.
The Route
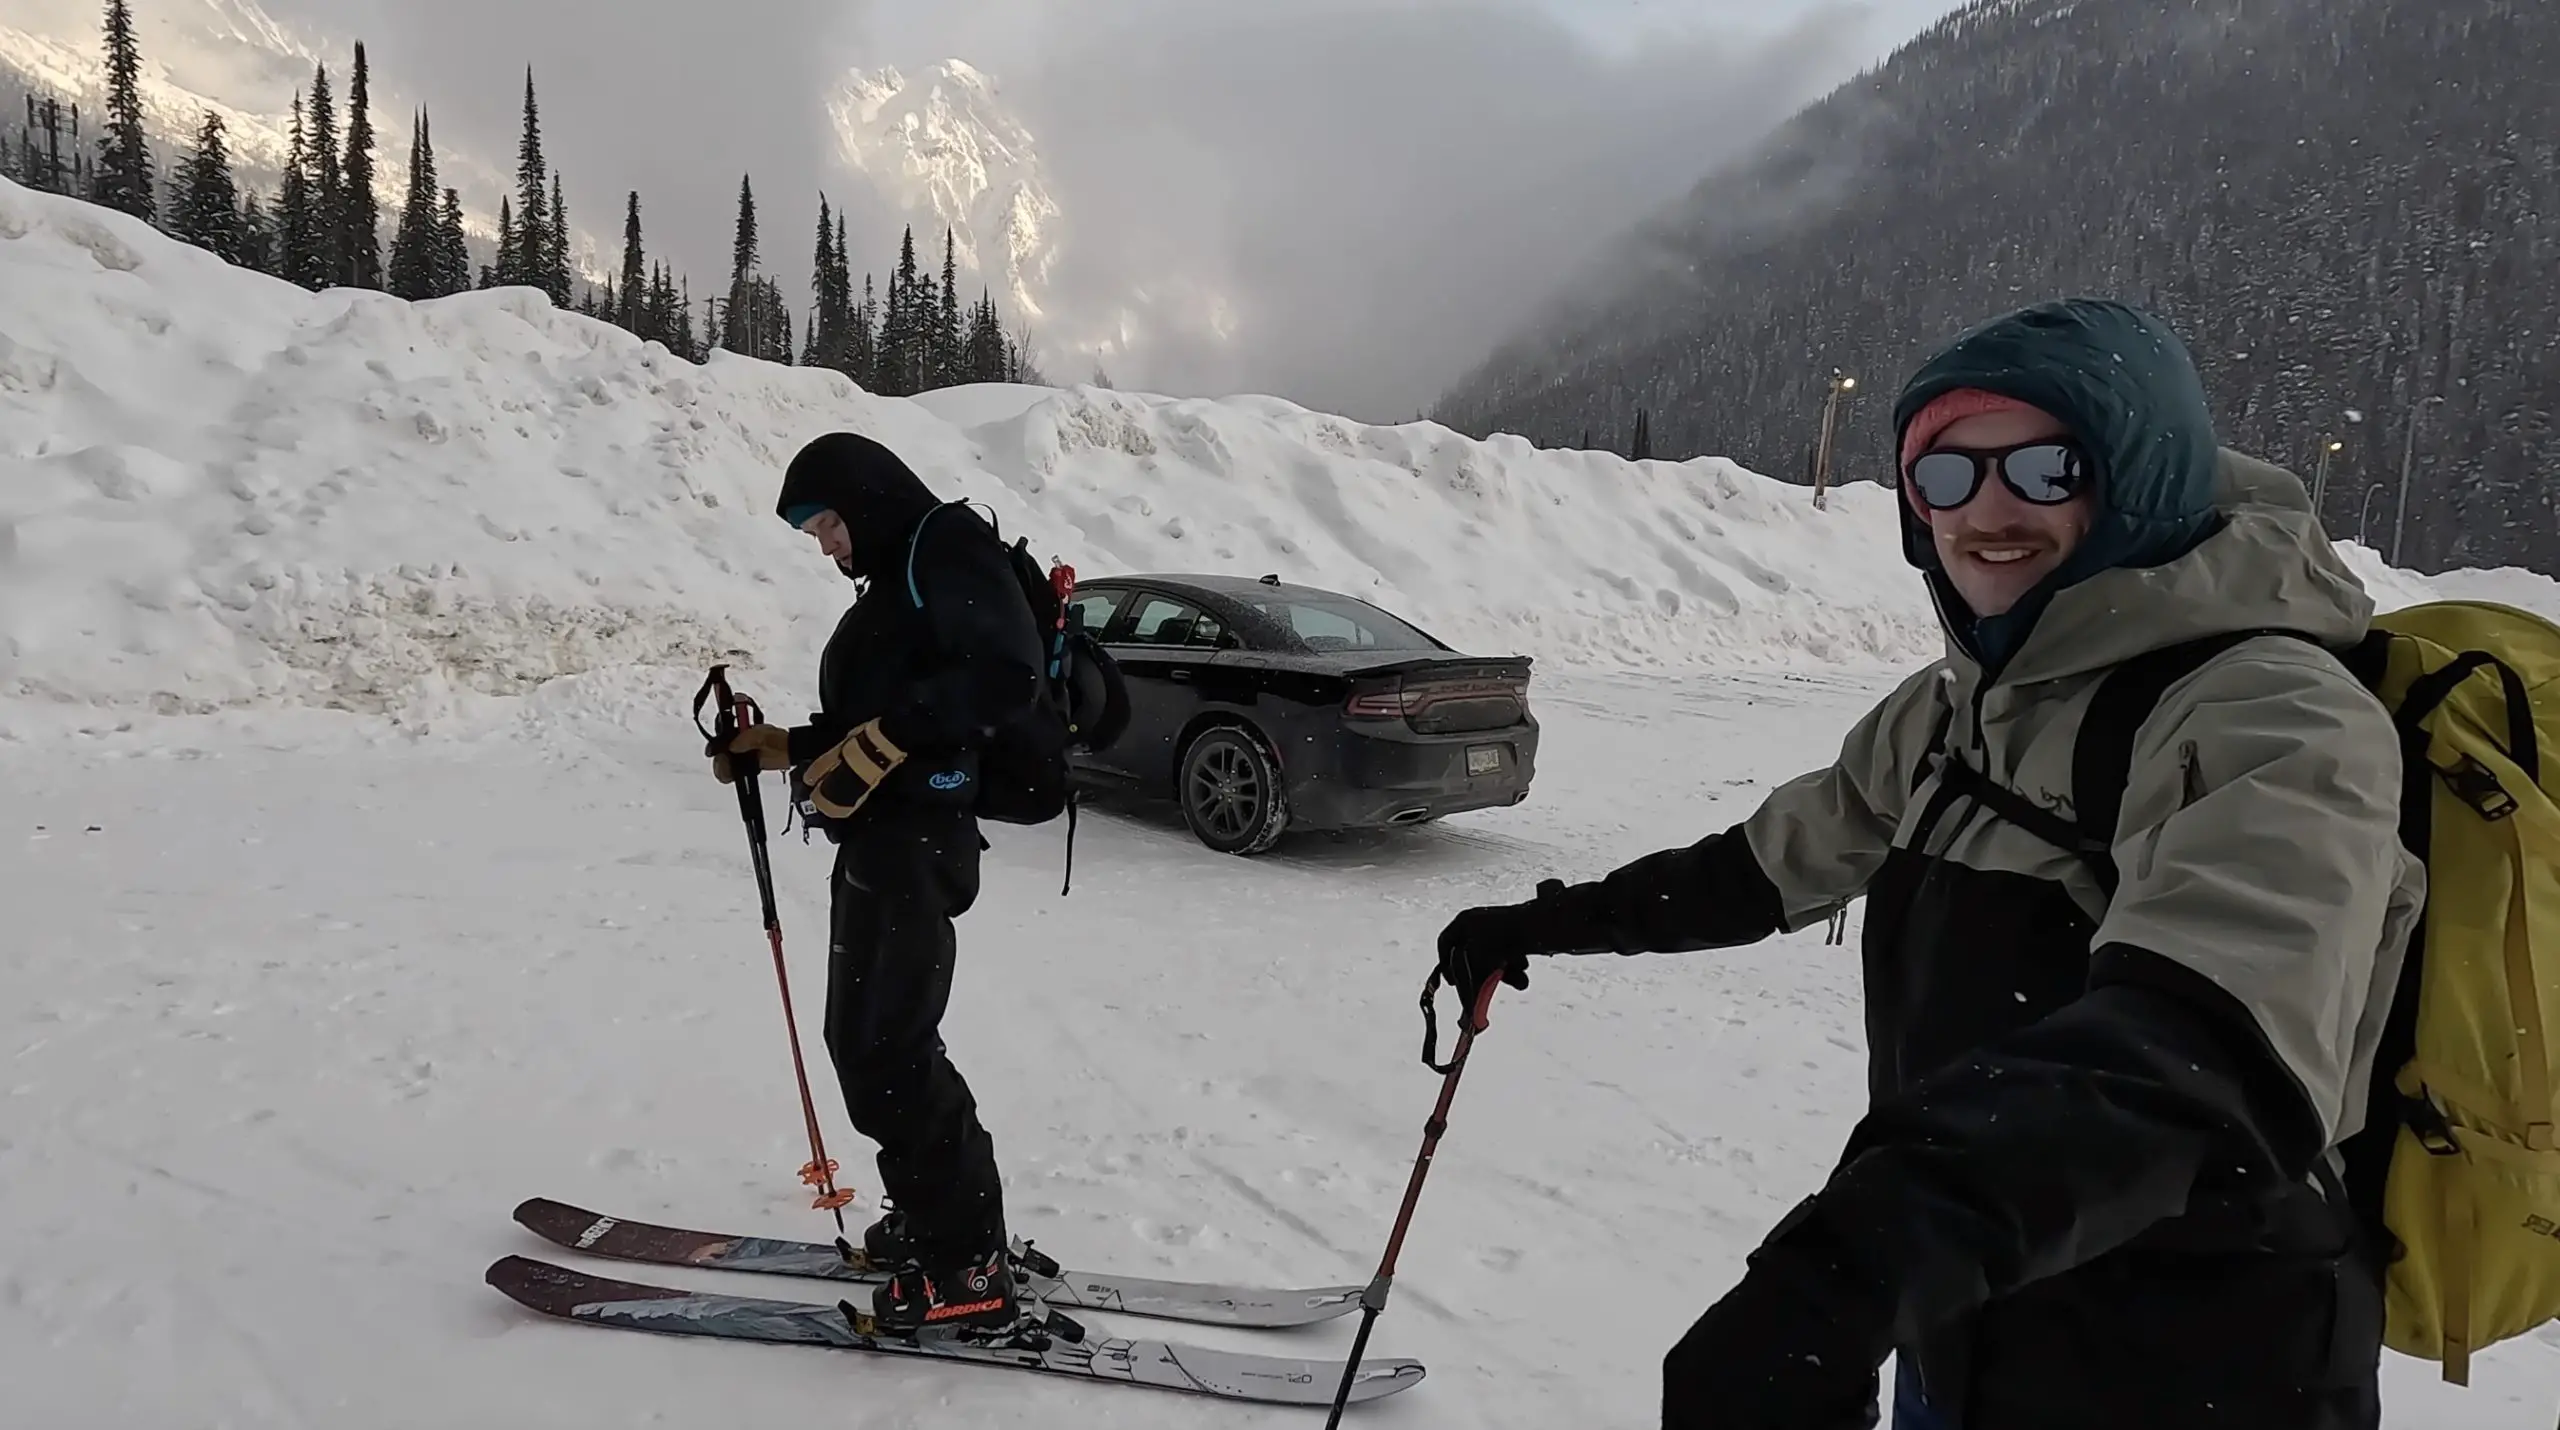
Stick those skins on with your group at the Rogers Pass Discovery Centre and get hiking. The ascent starts right from the parking lot and follows Connaught Creek up the Balu Pass Trail.
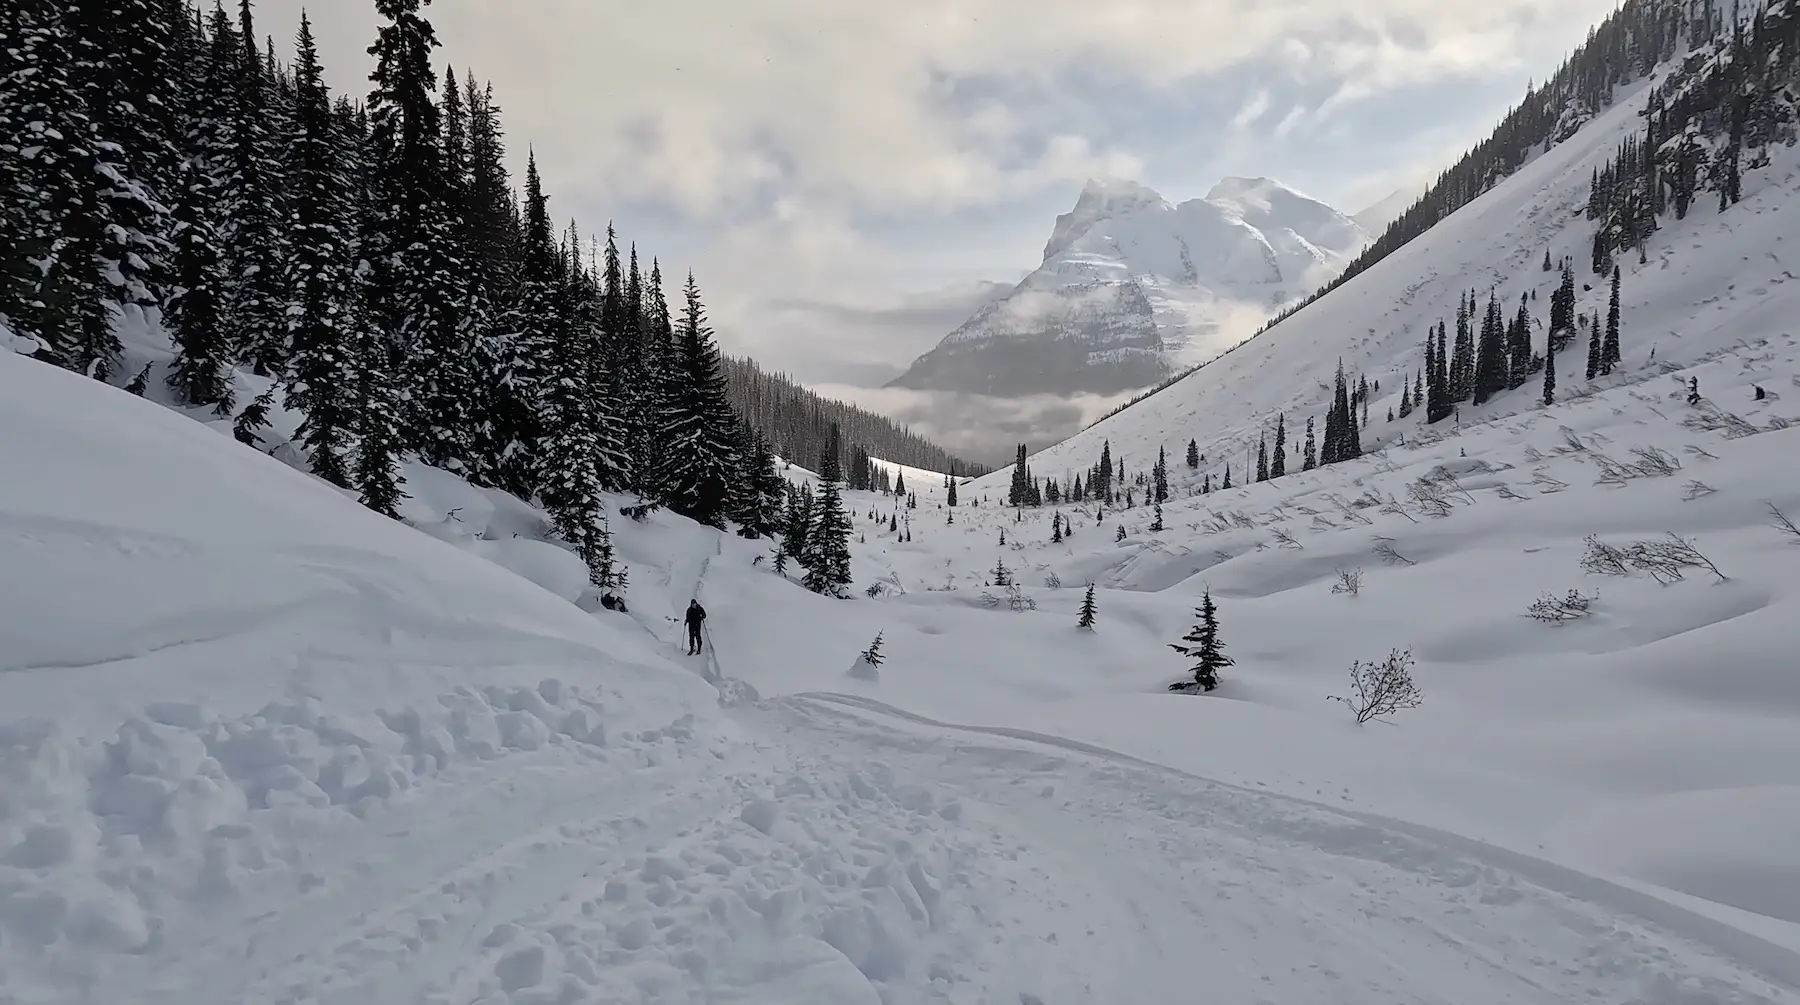
Keep up a solid pace and spacing and make sure you don’t rest beneath any of the slide paths.
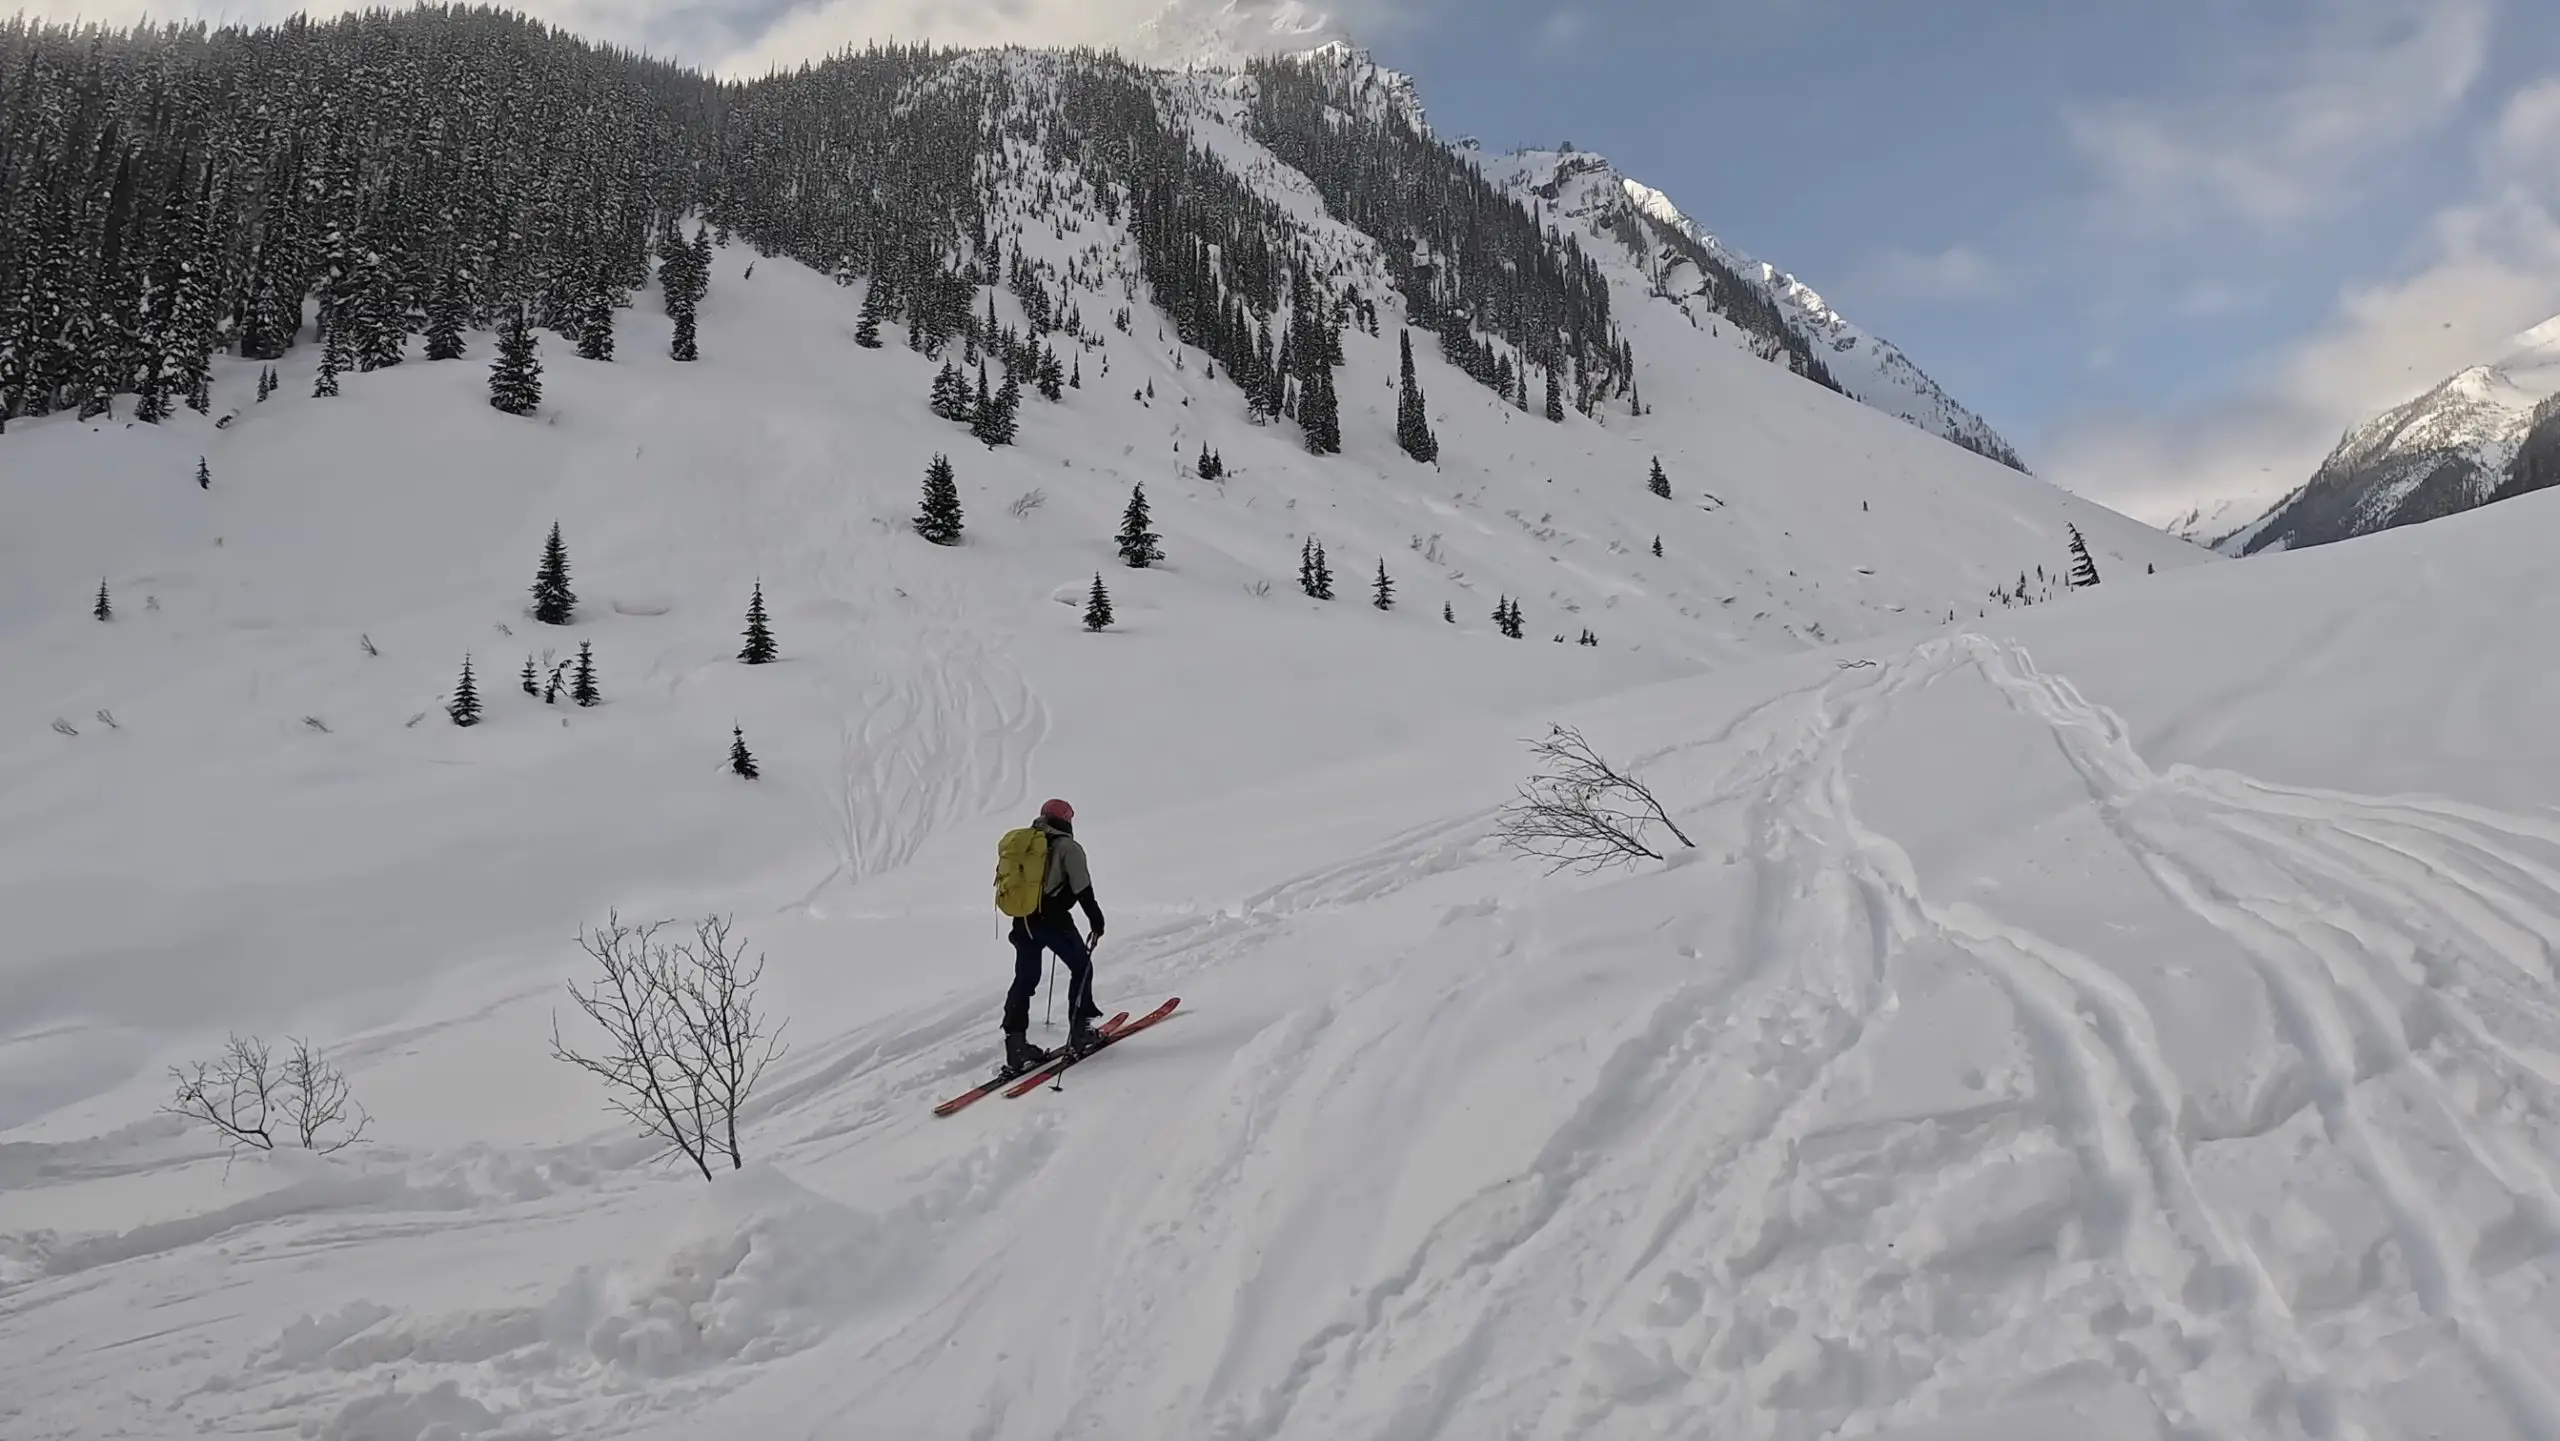
We couldn’t actually find a legitimate up track so we made our own veering to the right and winding through the trees towards the Hospital Bowl. This part was pretty bush wacky and required us to get flexible around the alders until they became sparse again near what is known as the Hospital Knob, the ridge type feature above the gully.
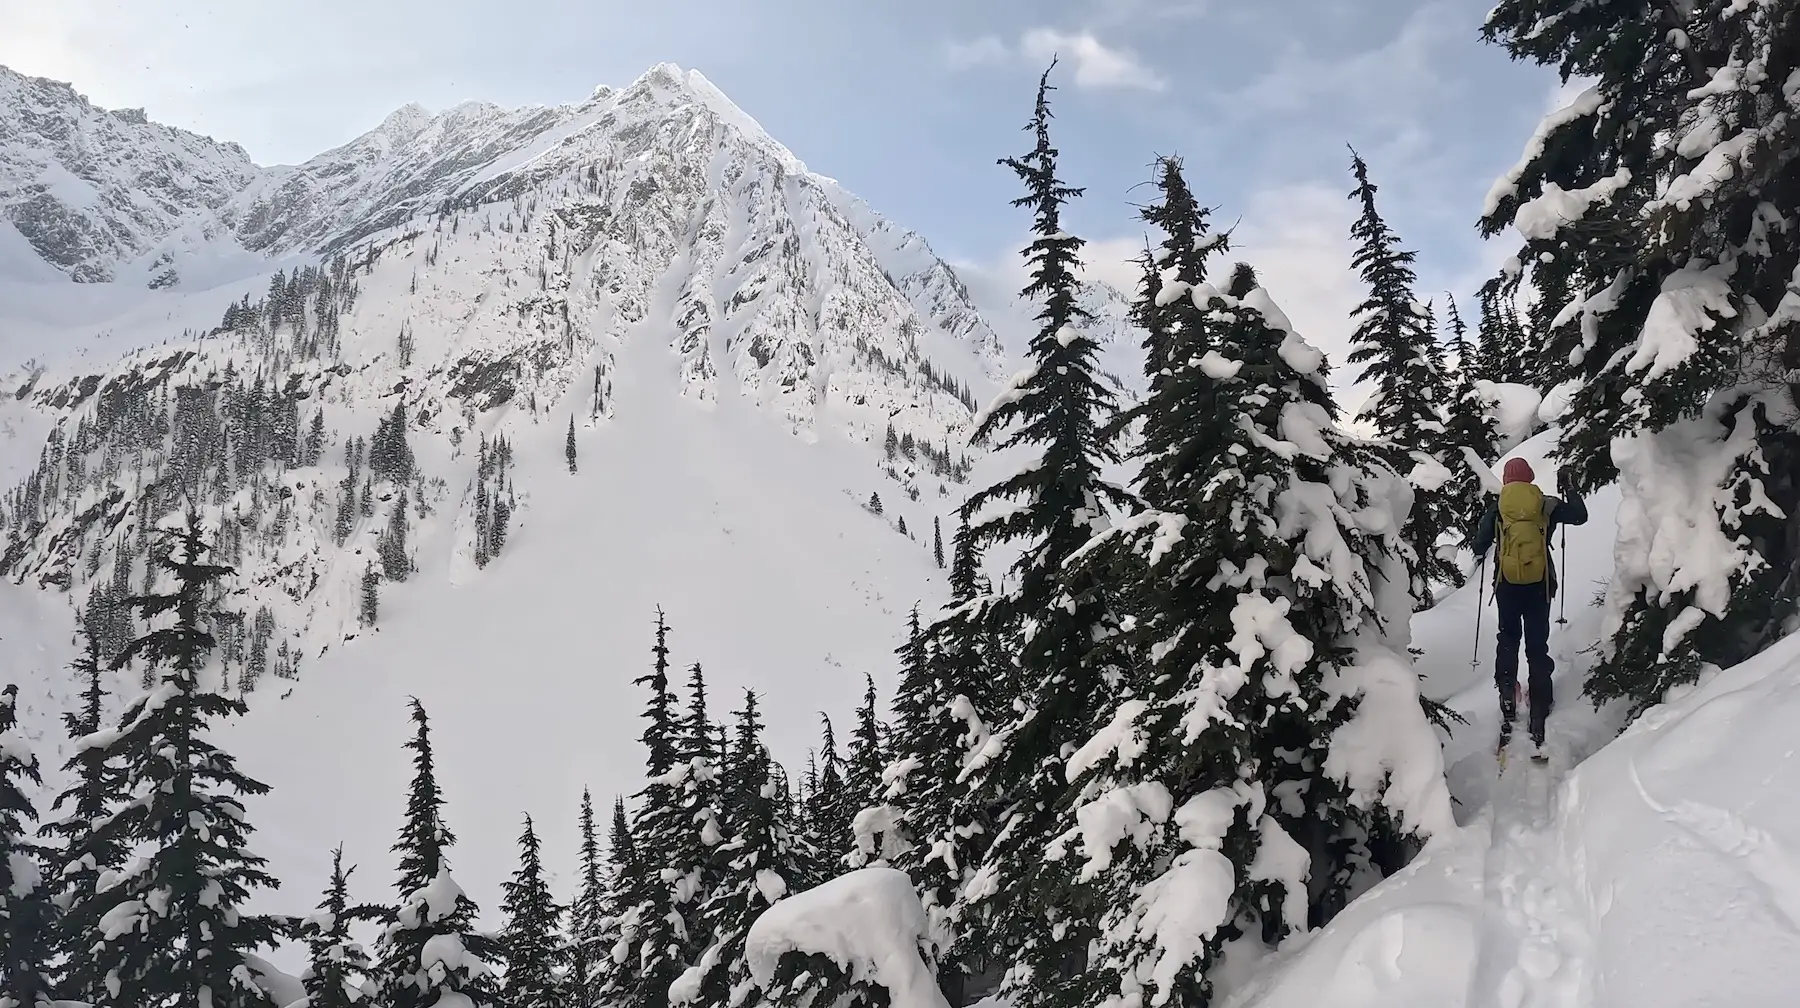
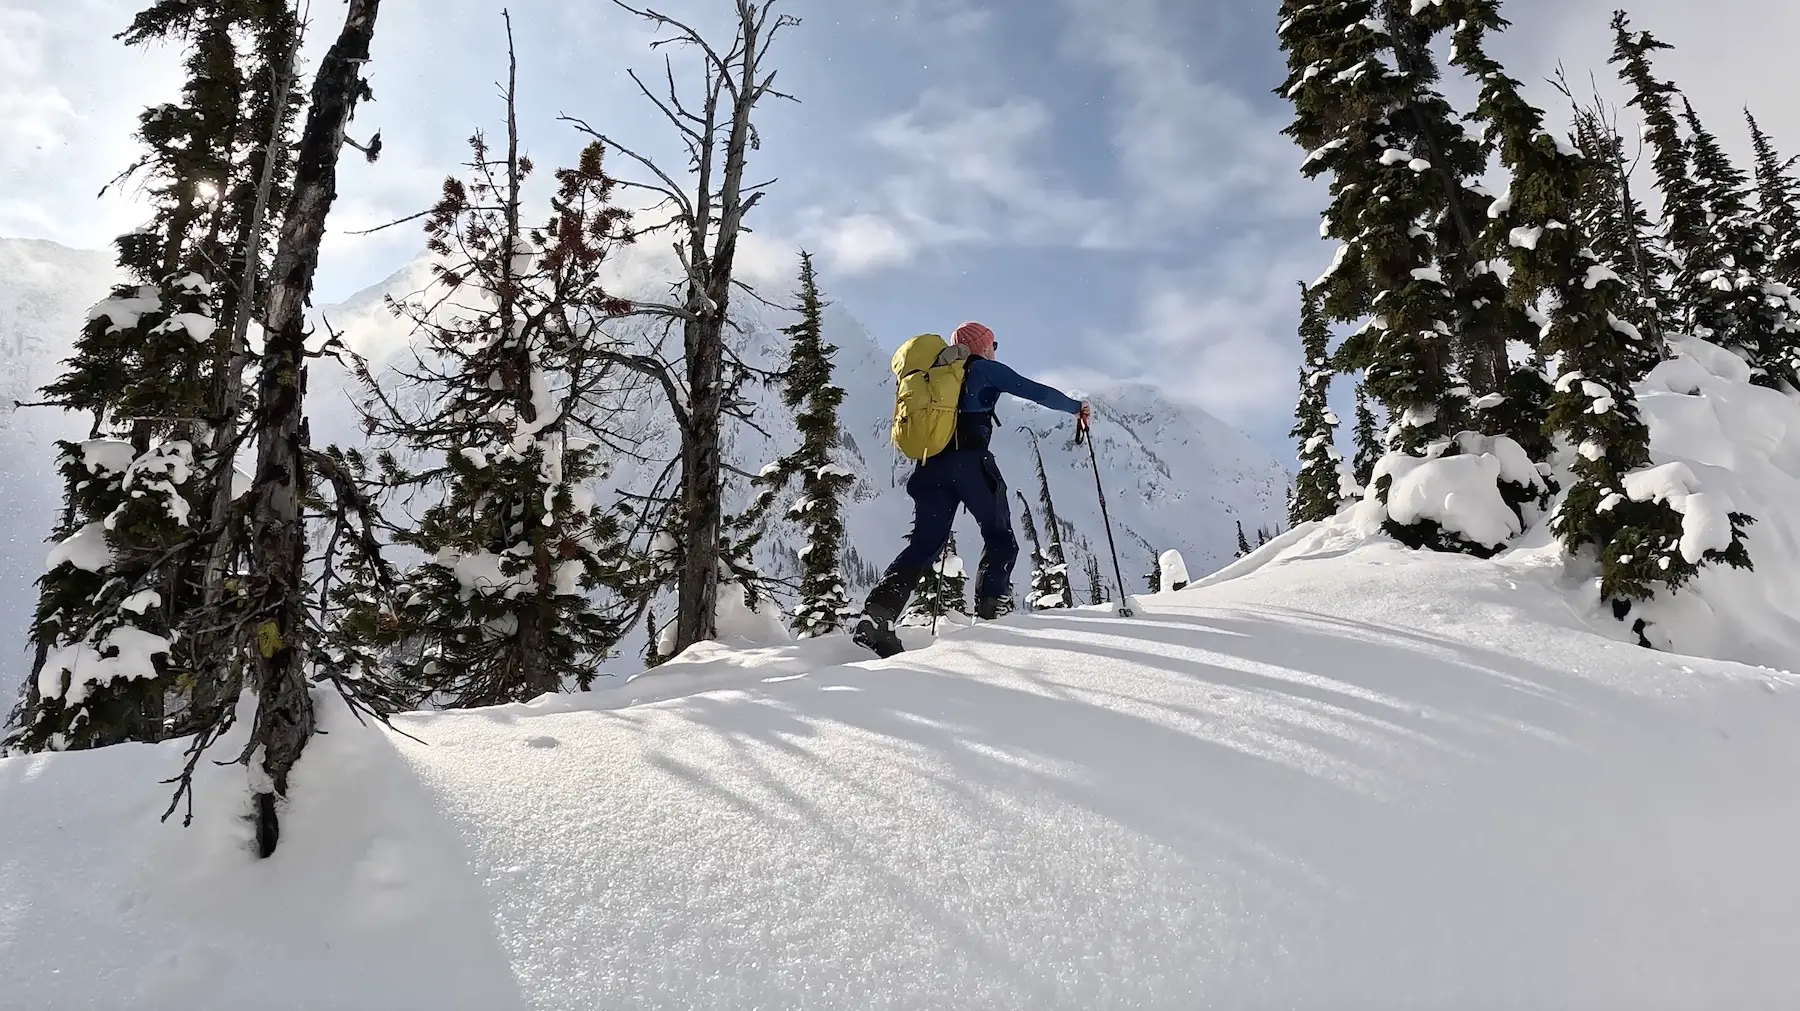
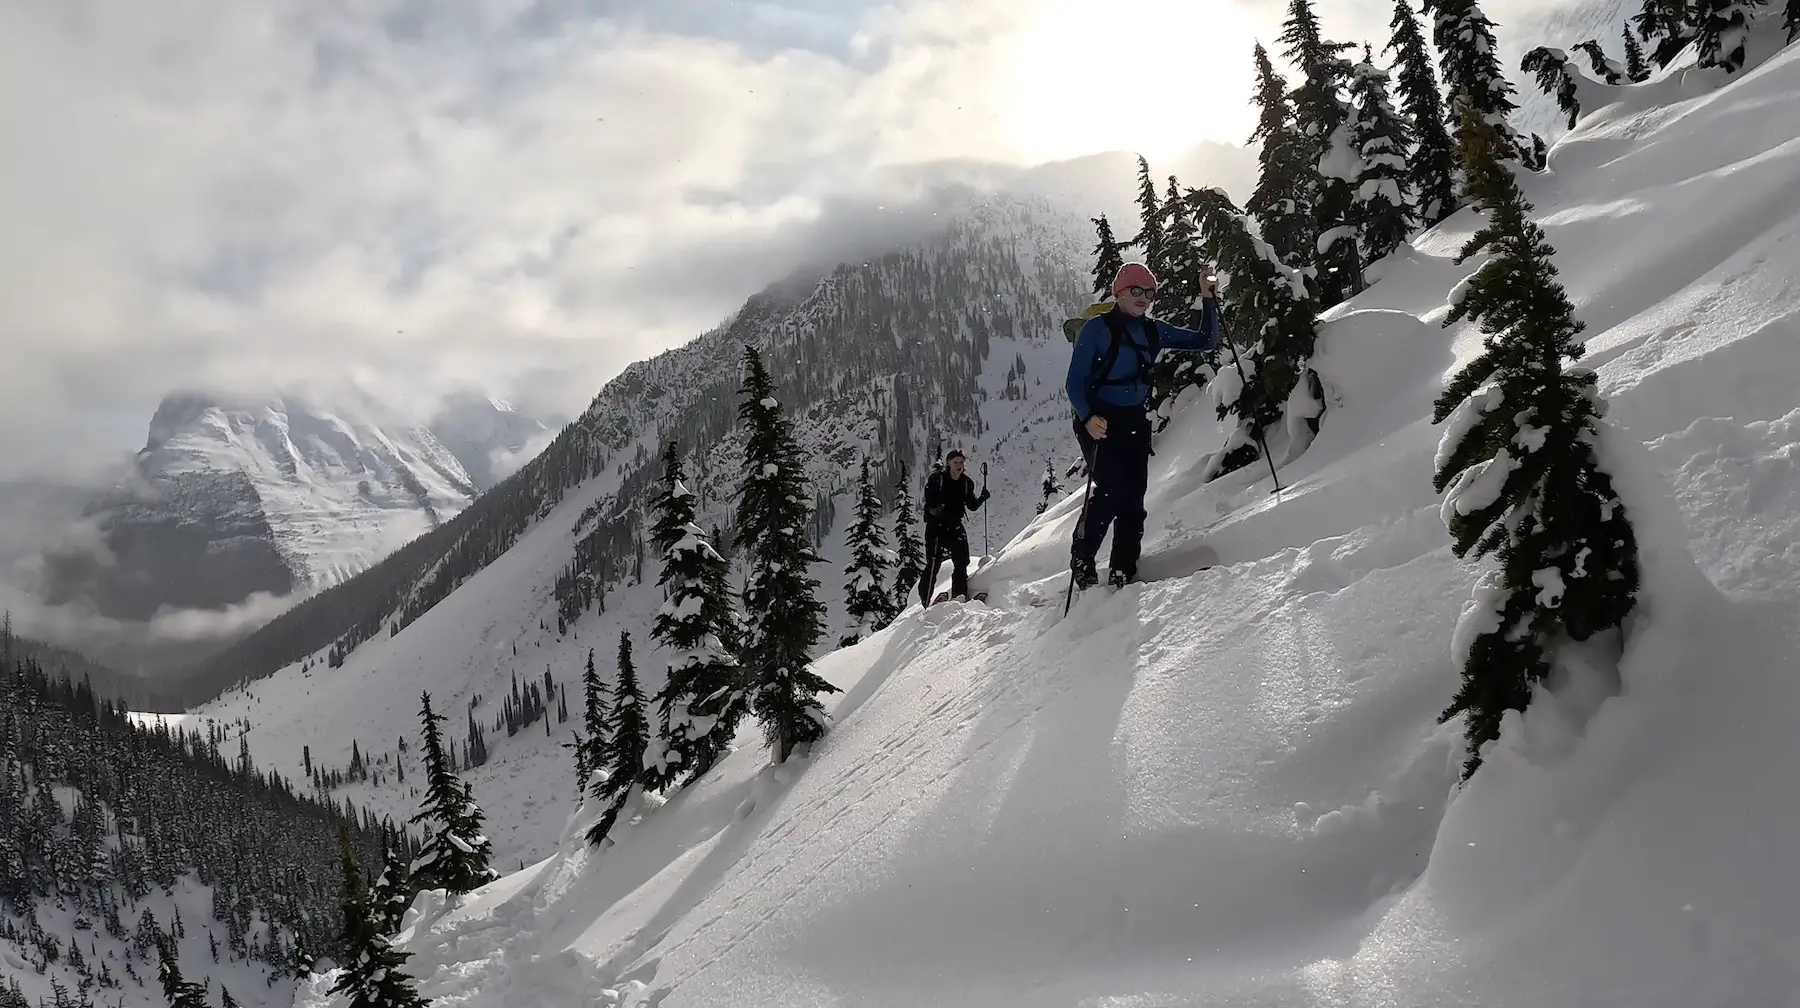
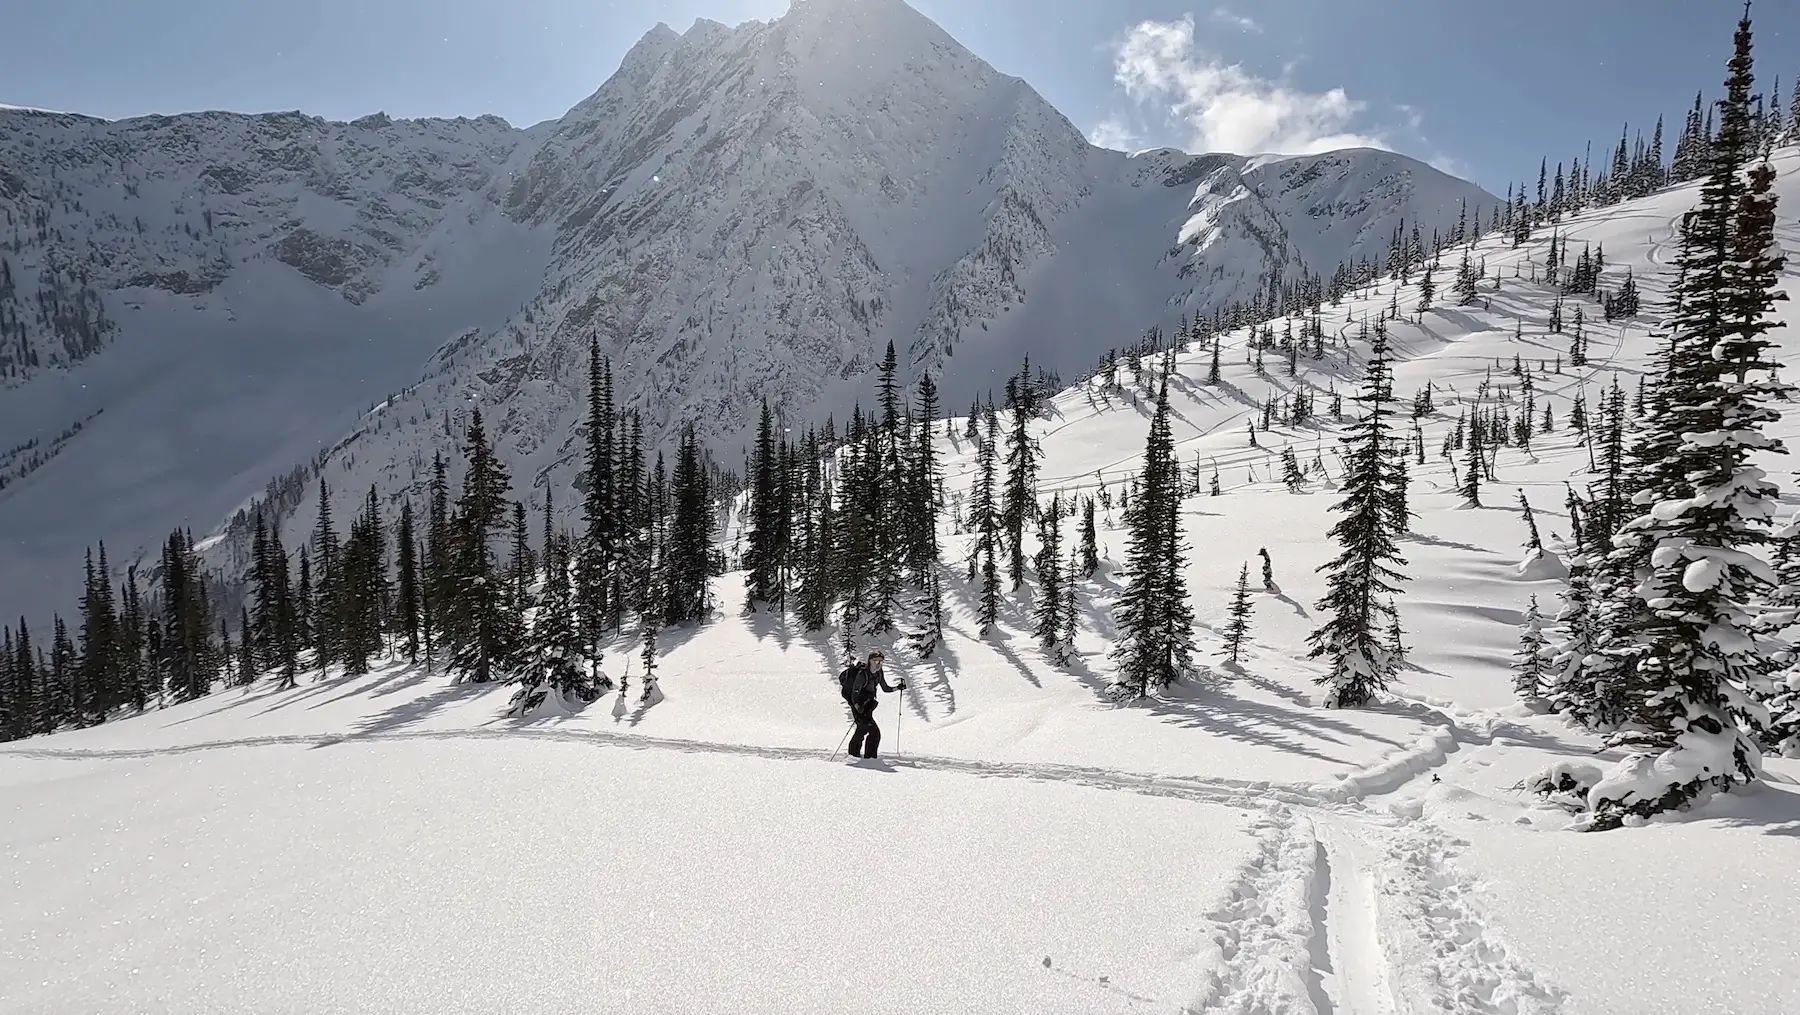
From here, it’s a pretty clear shot following the undulating moraines and working your way towards the base of the SE face.
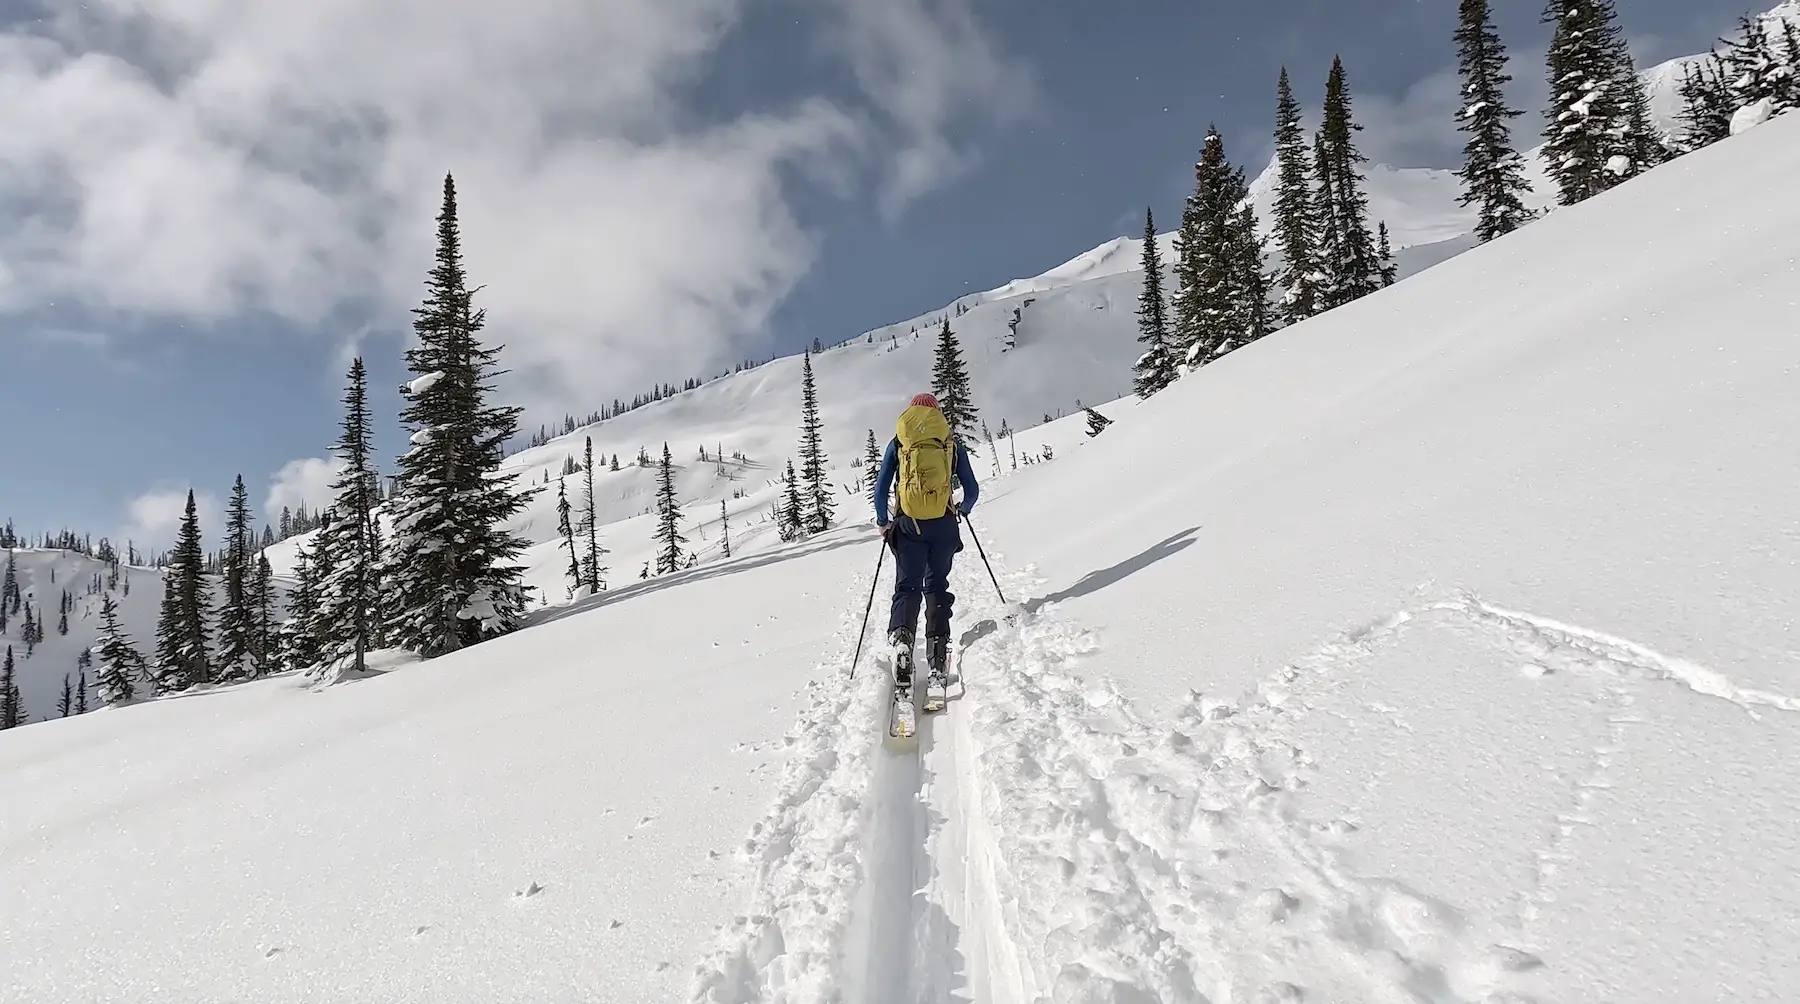
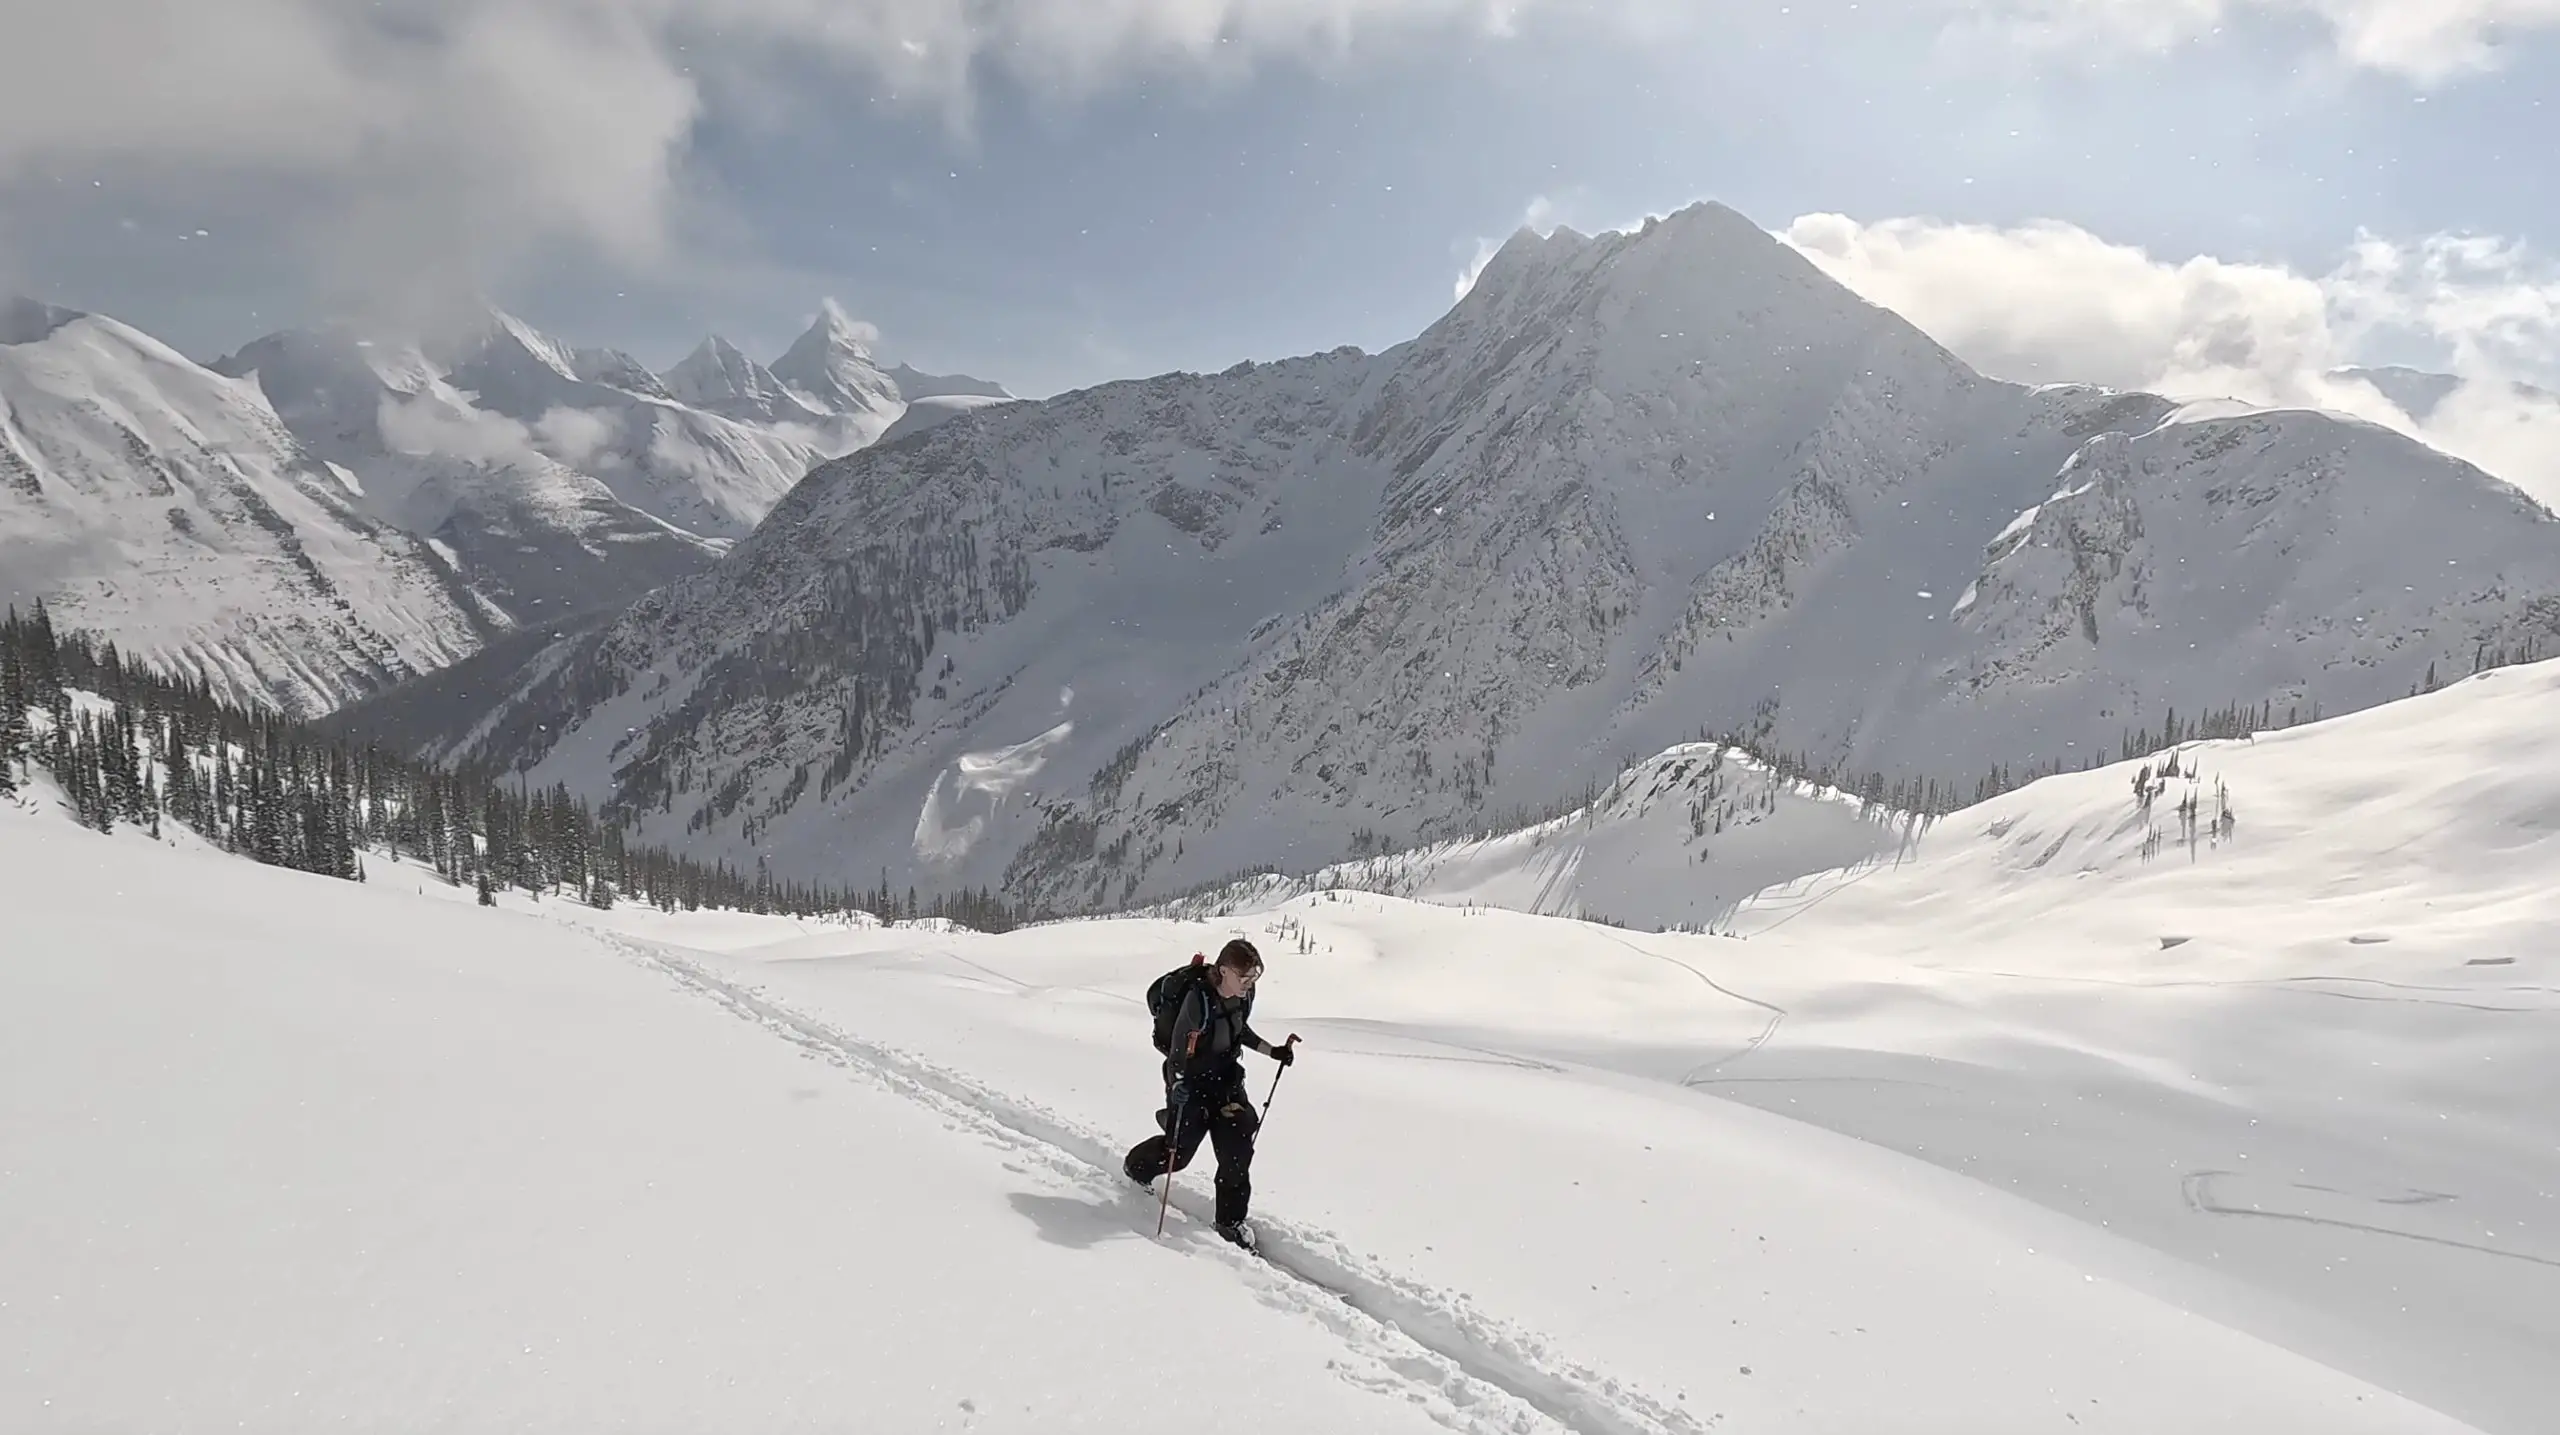
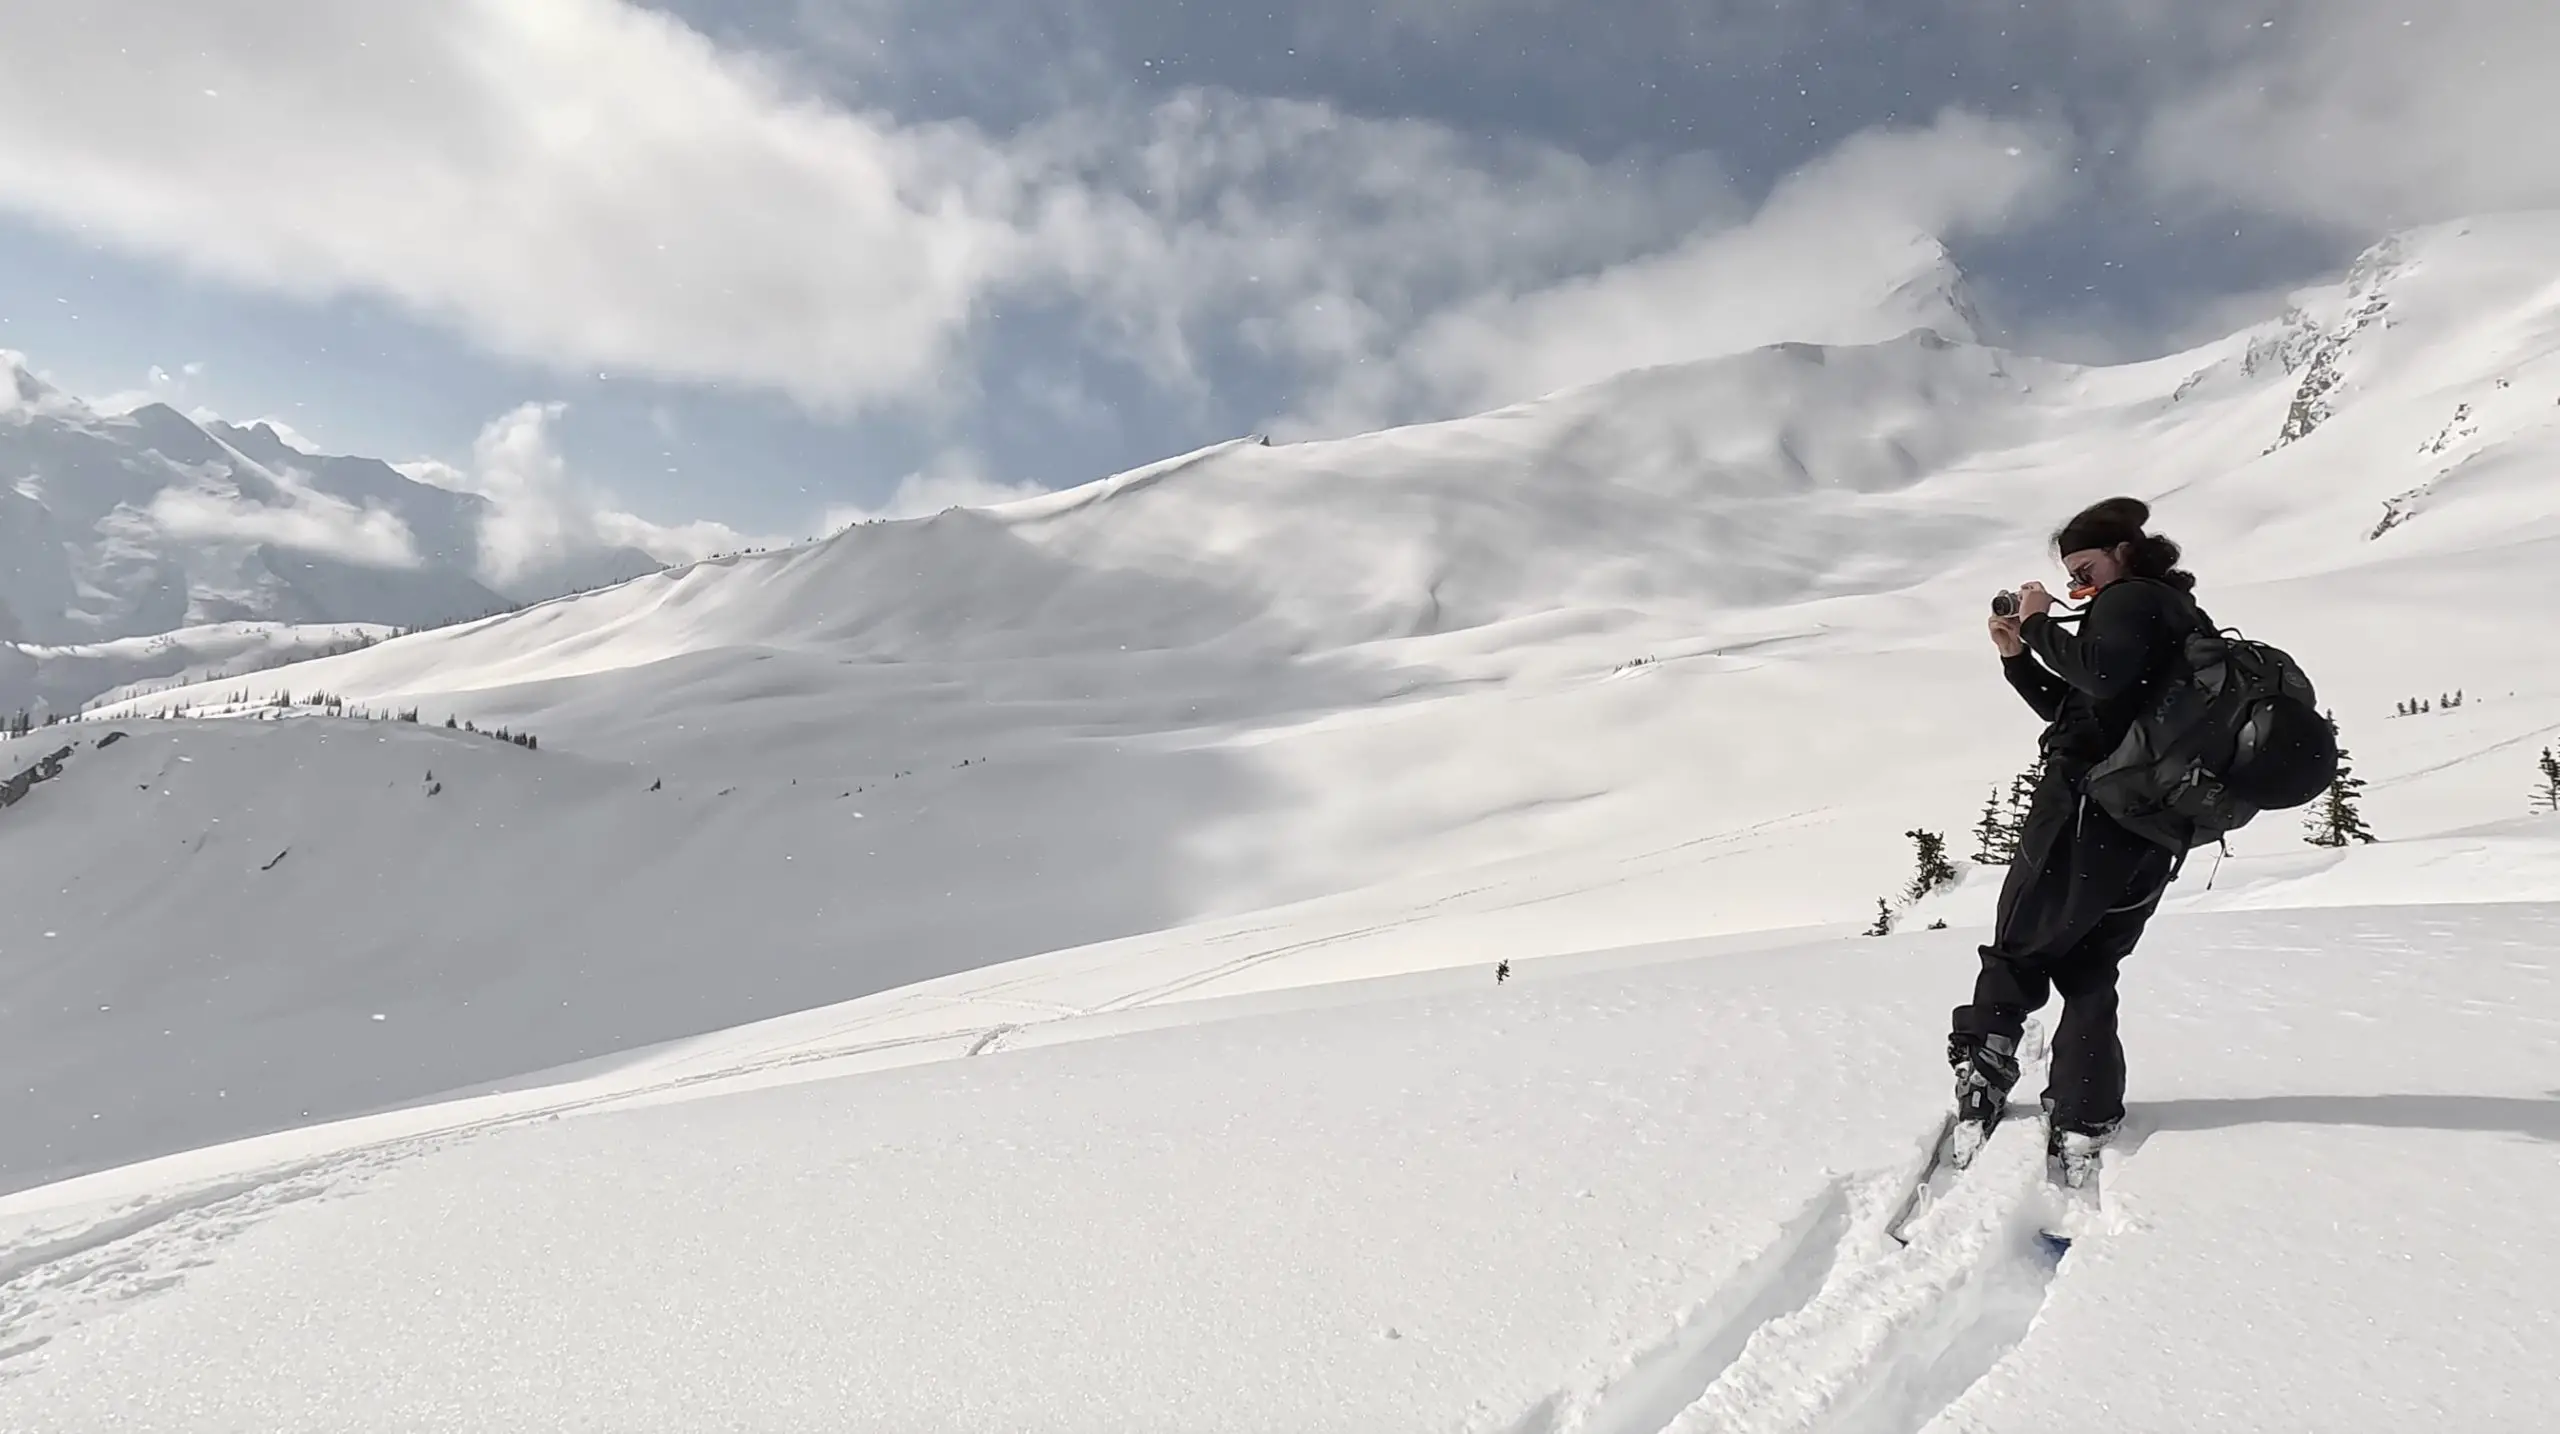
Be aware of the cliff bands from above as they are known to release avalanches on the rocky features above. Space out your group and get ready for the final and challenging ascent to the summit.
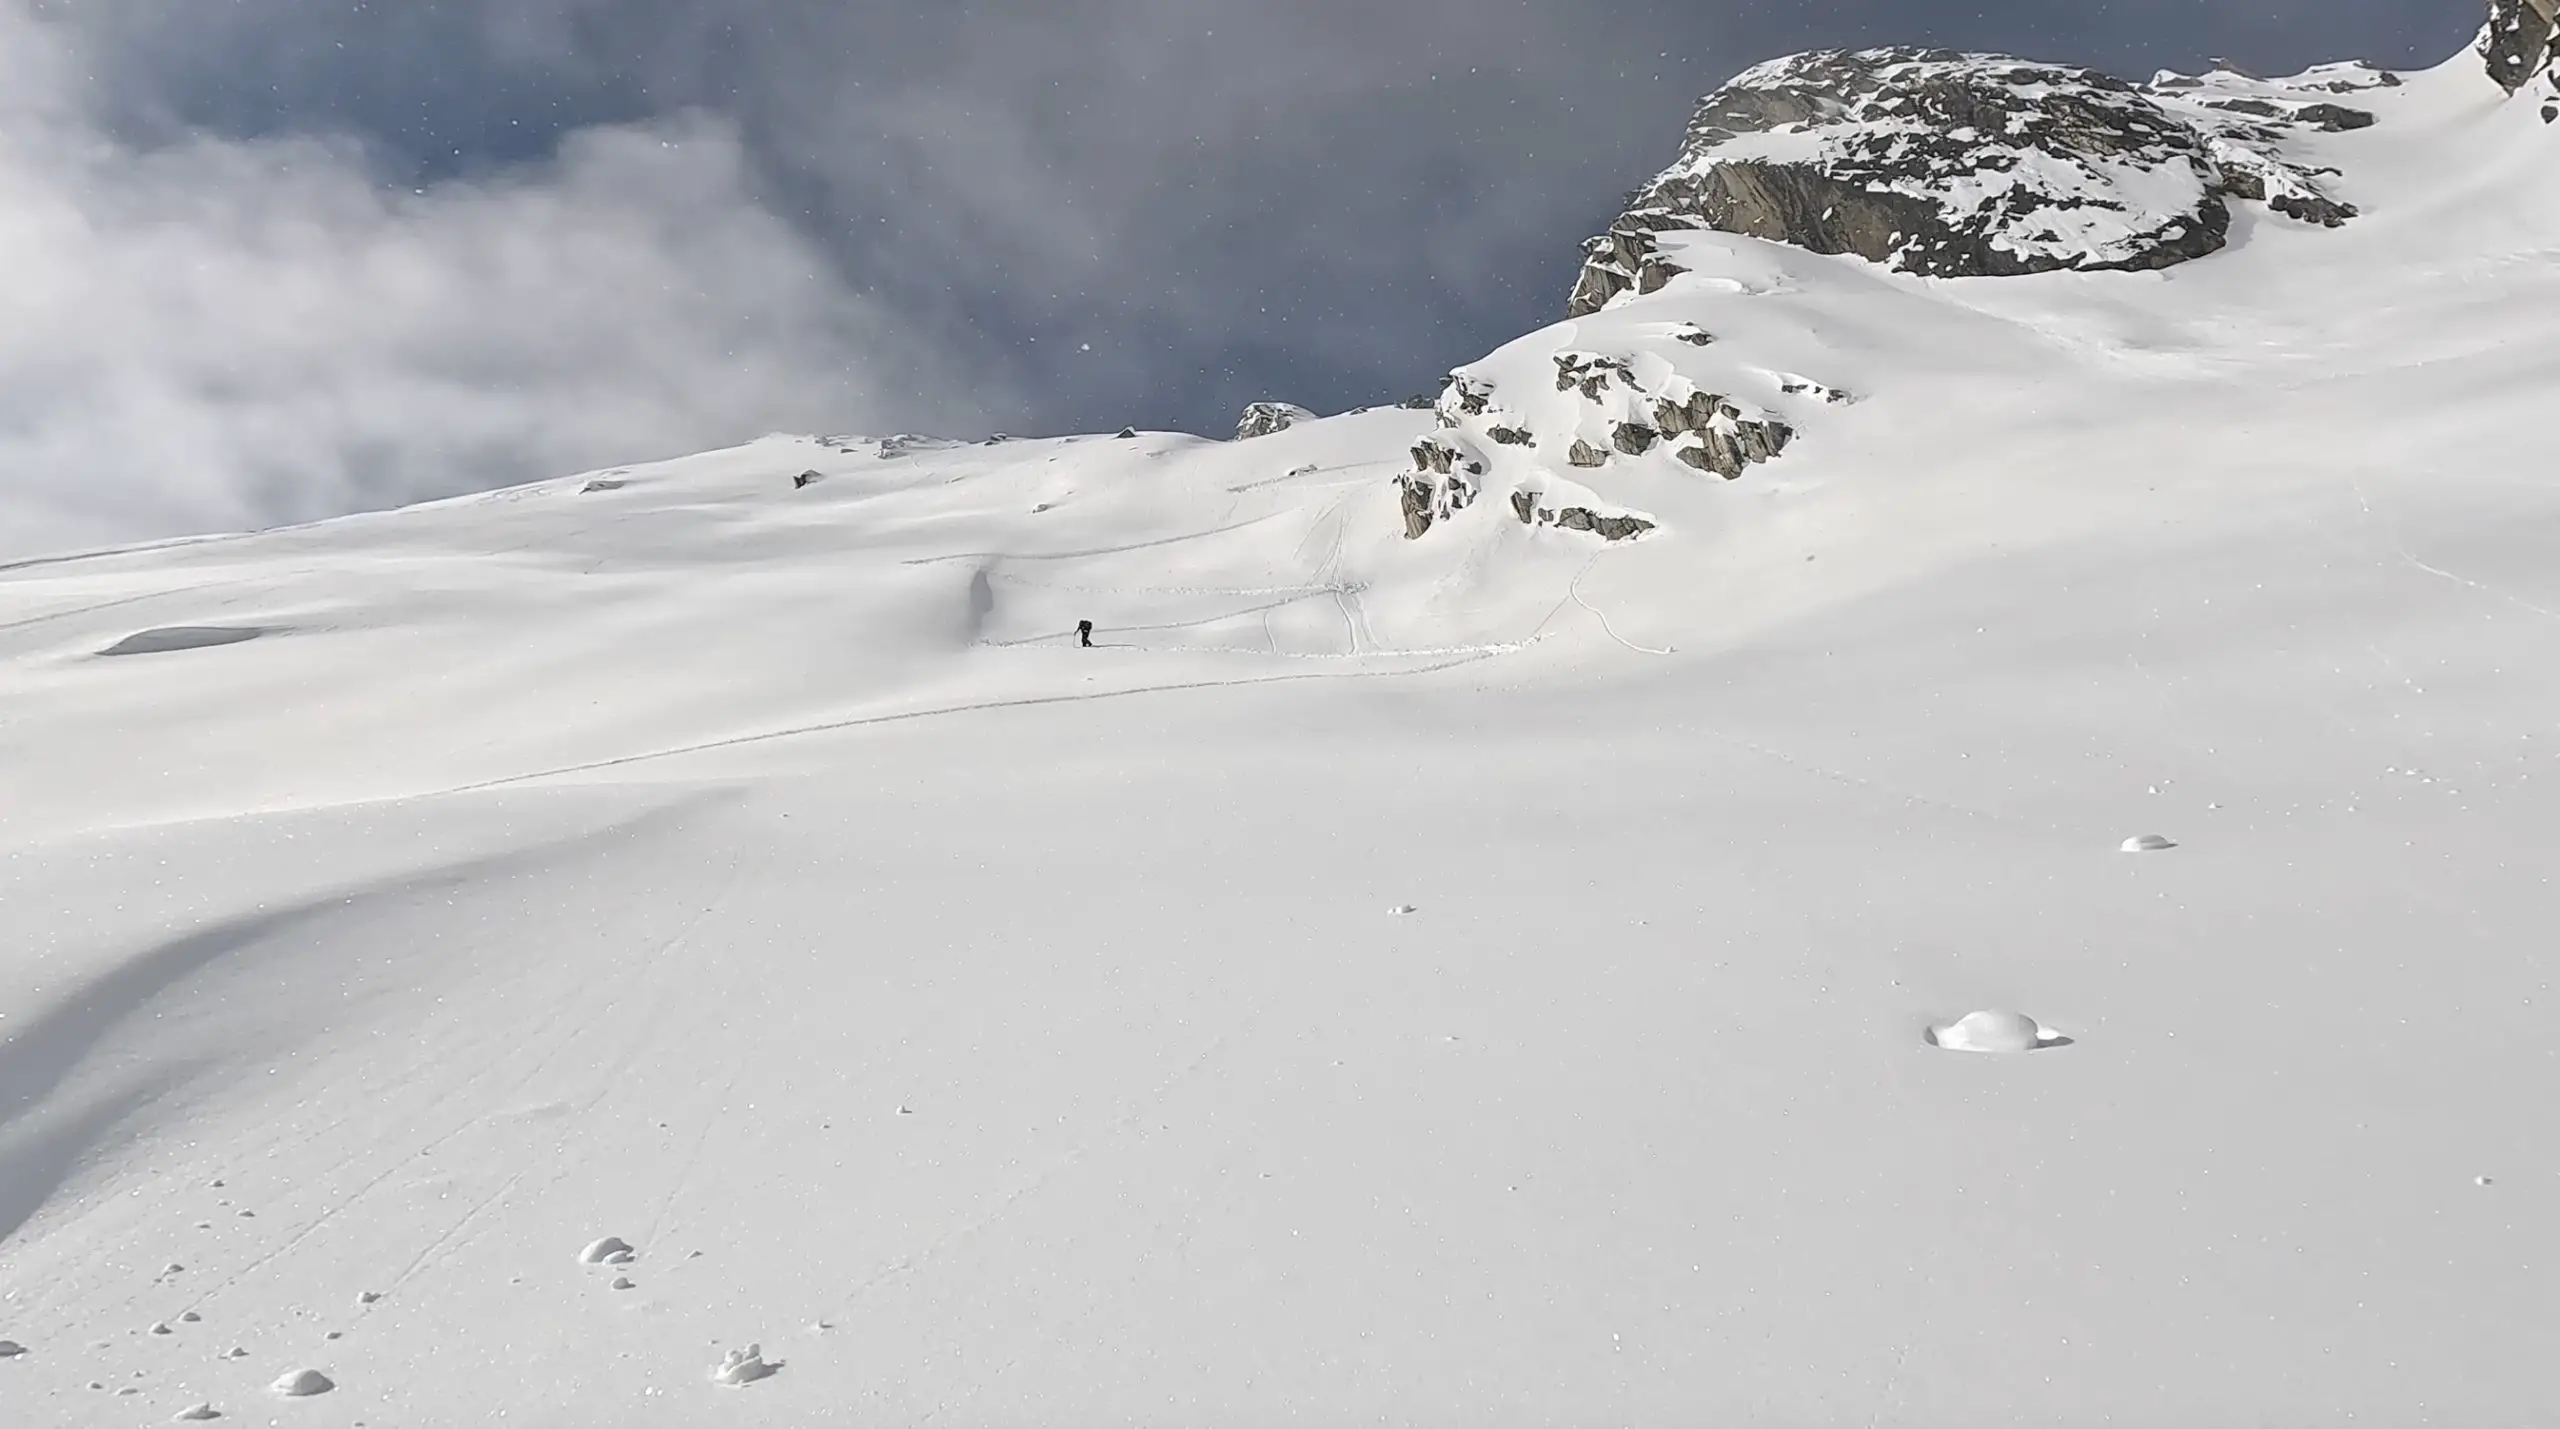
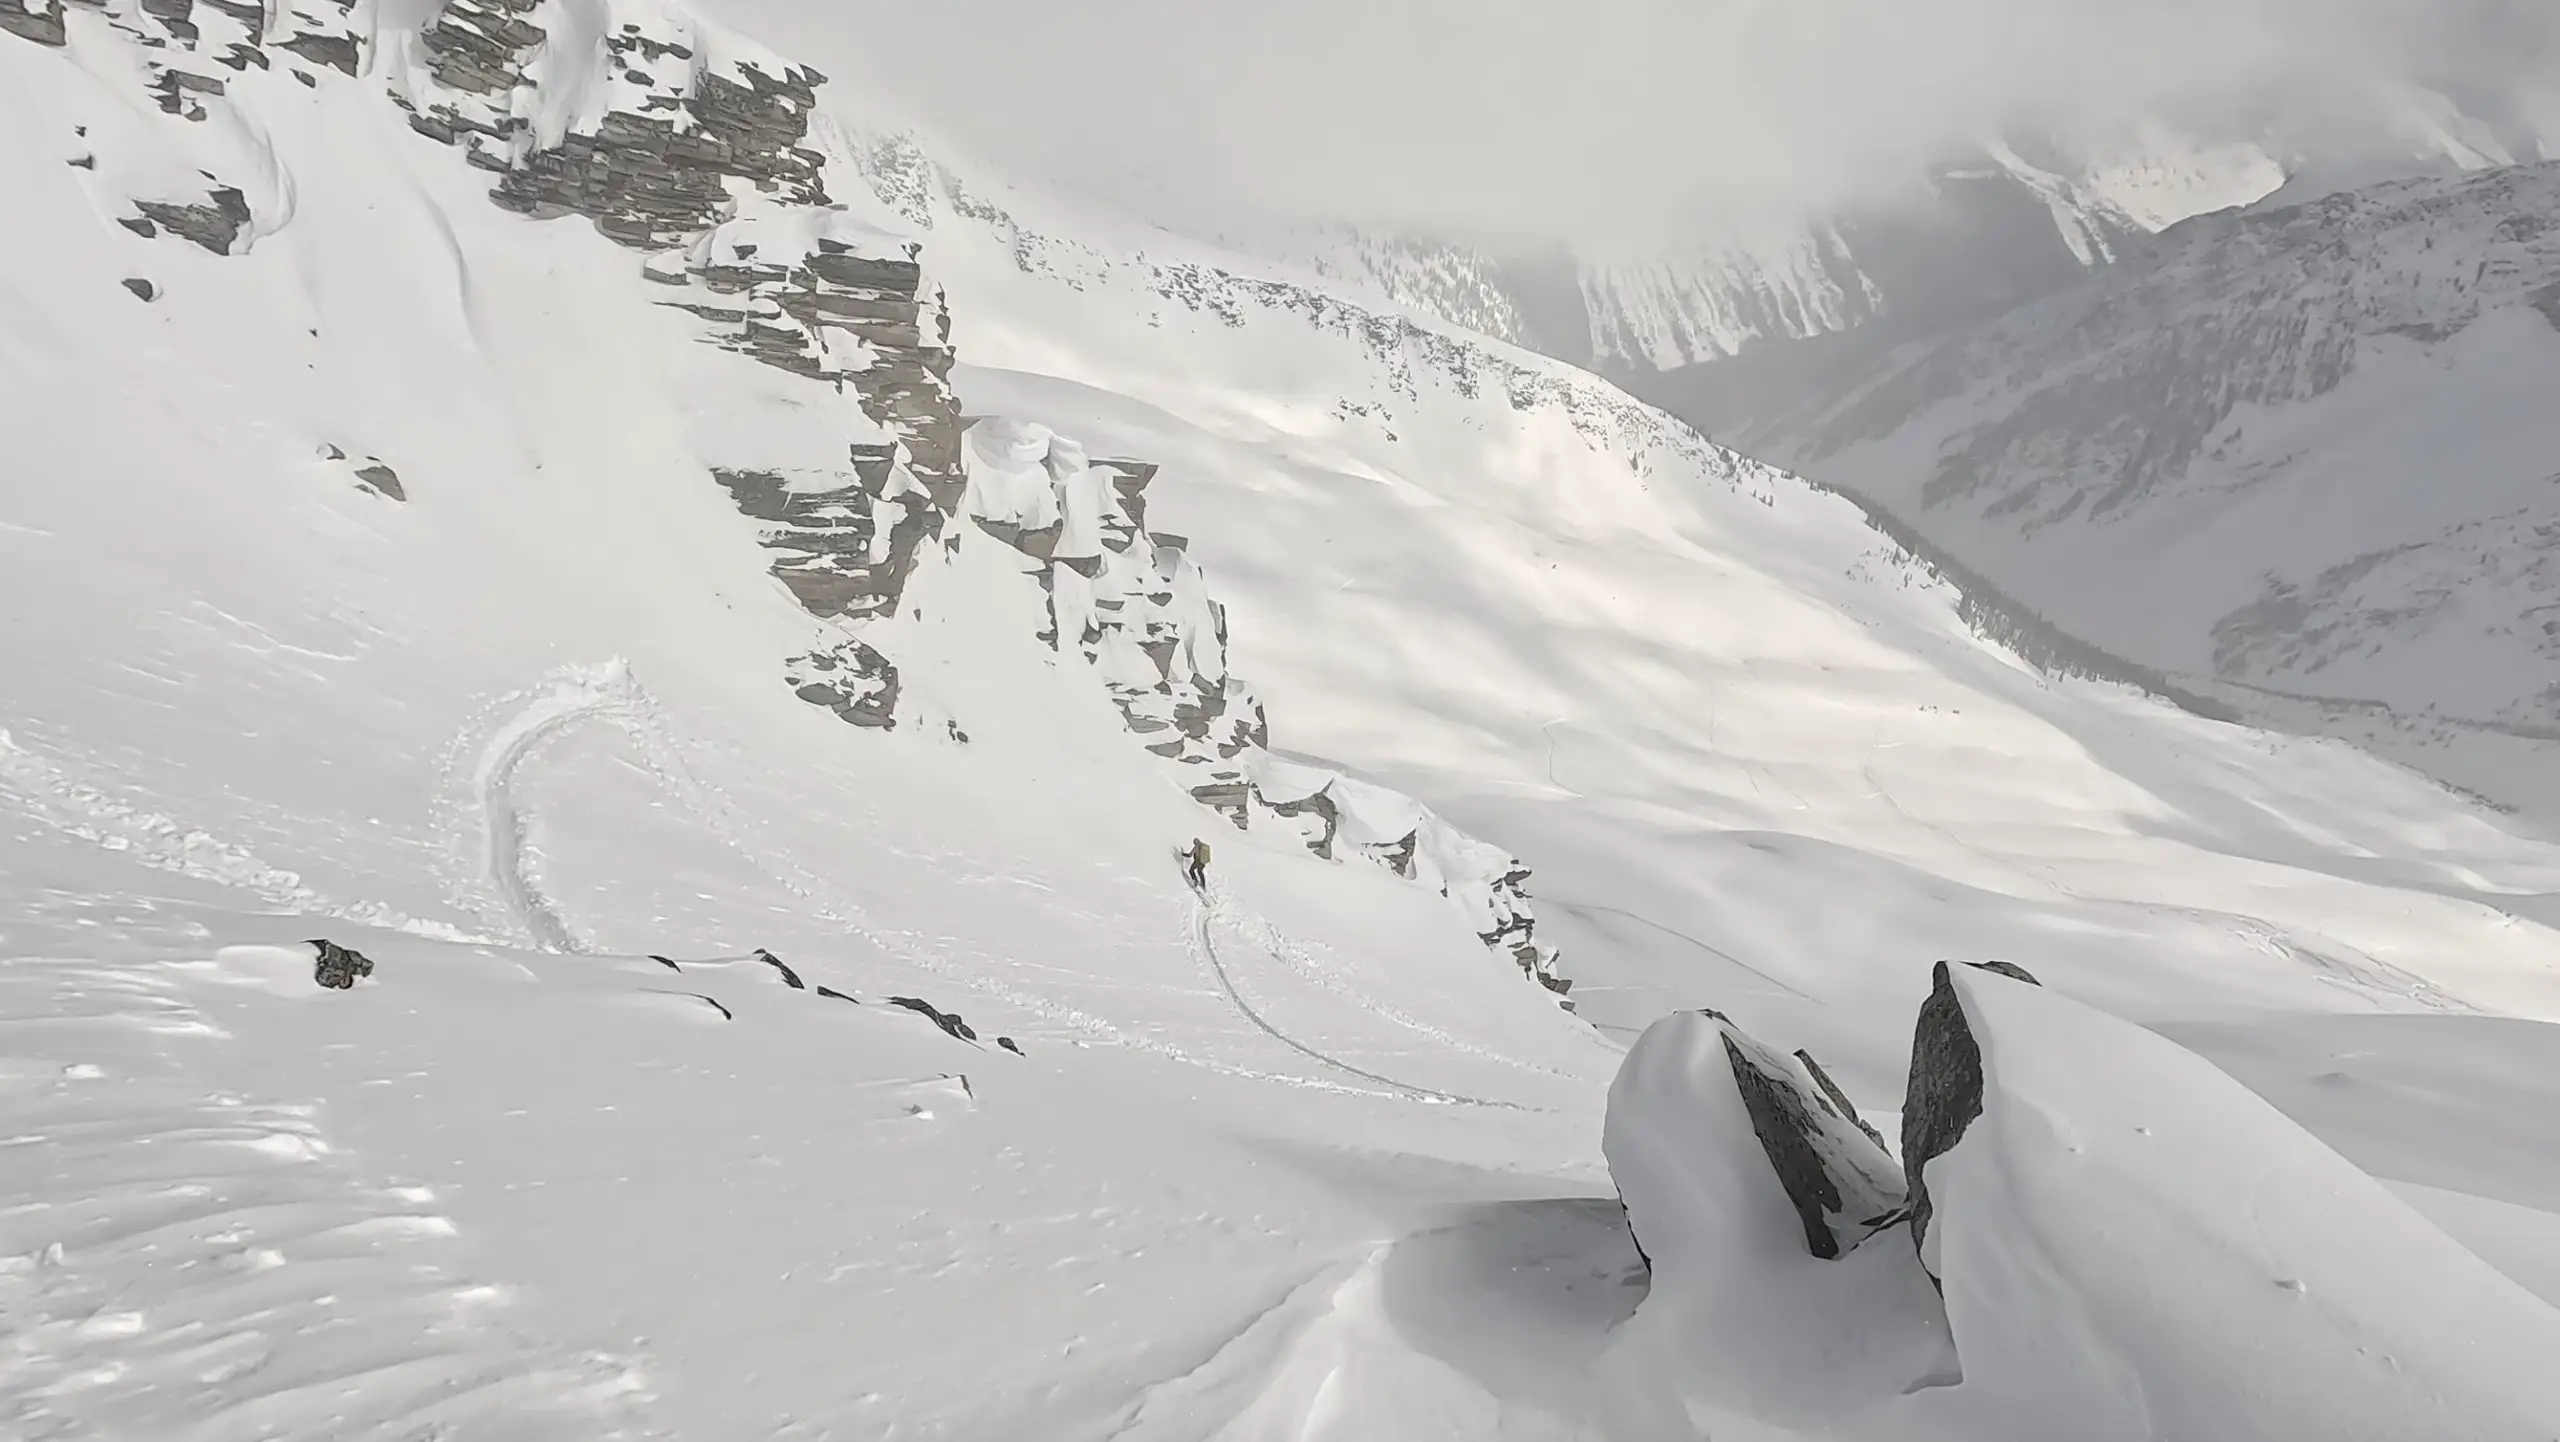
The skinning up the SE face is steep and requires some tricky kick turns.
Once you arrive at the top there is a safe spot to regroup before the bootpack to the summit. We didn’t need crampons for the bootpack to the top and I just propped my skis on shoulder and went for it. If the snow was hard, crampons may have been necessary.
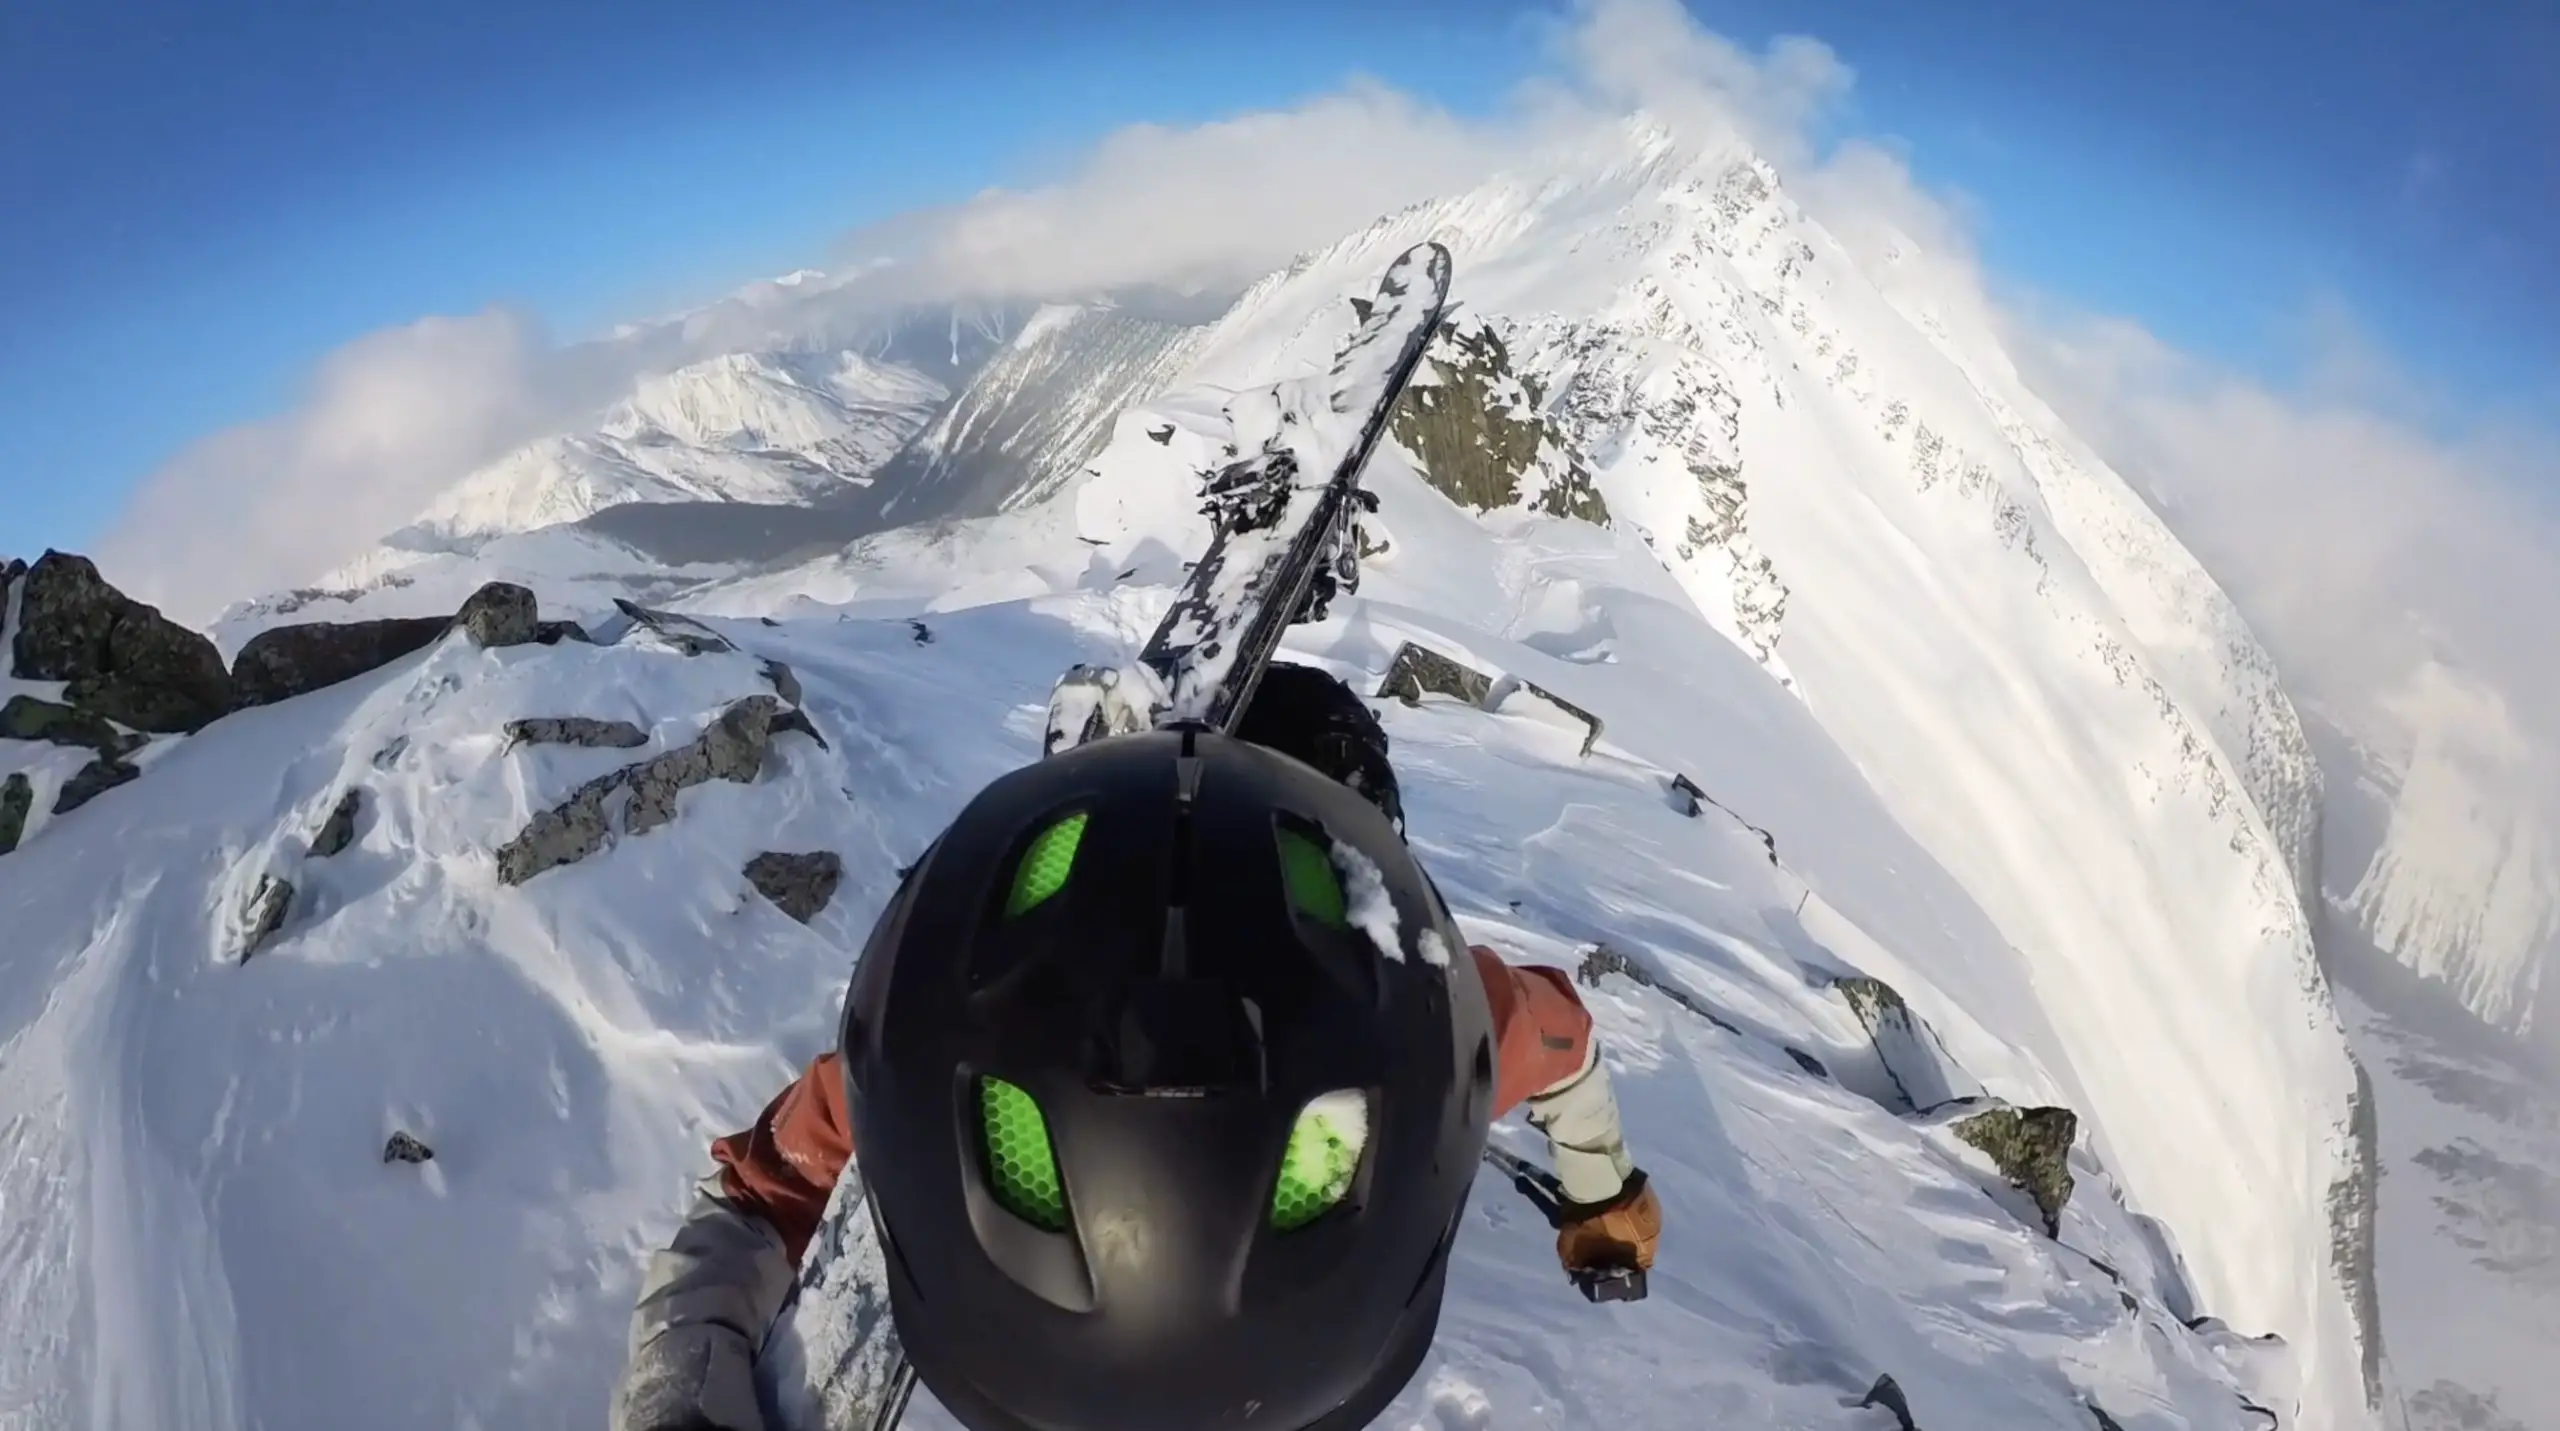
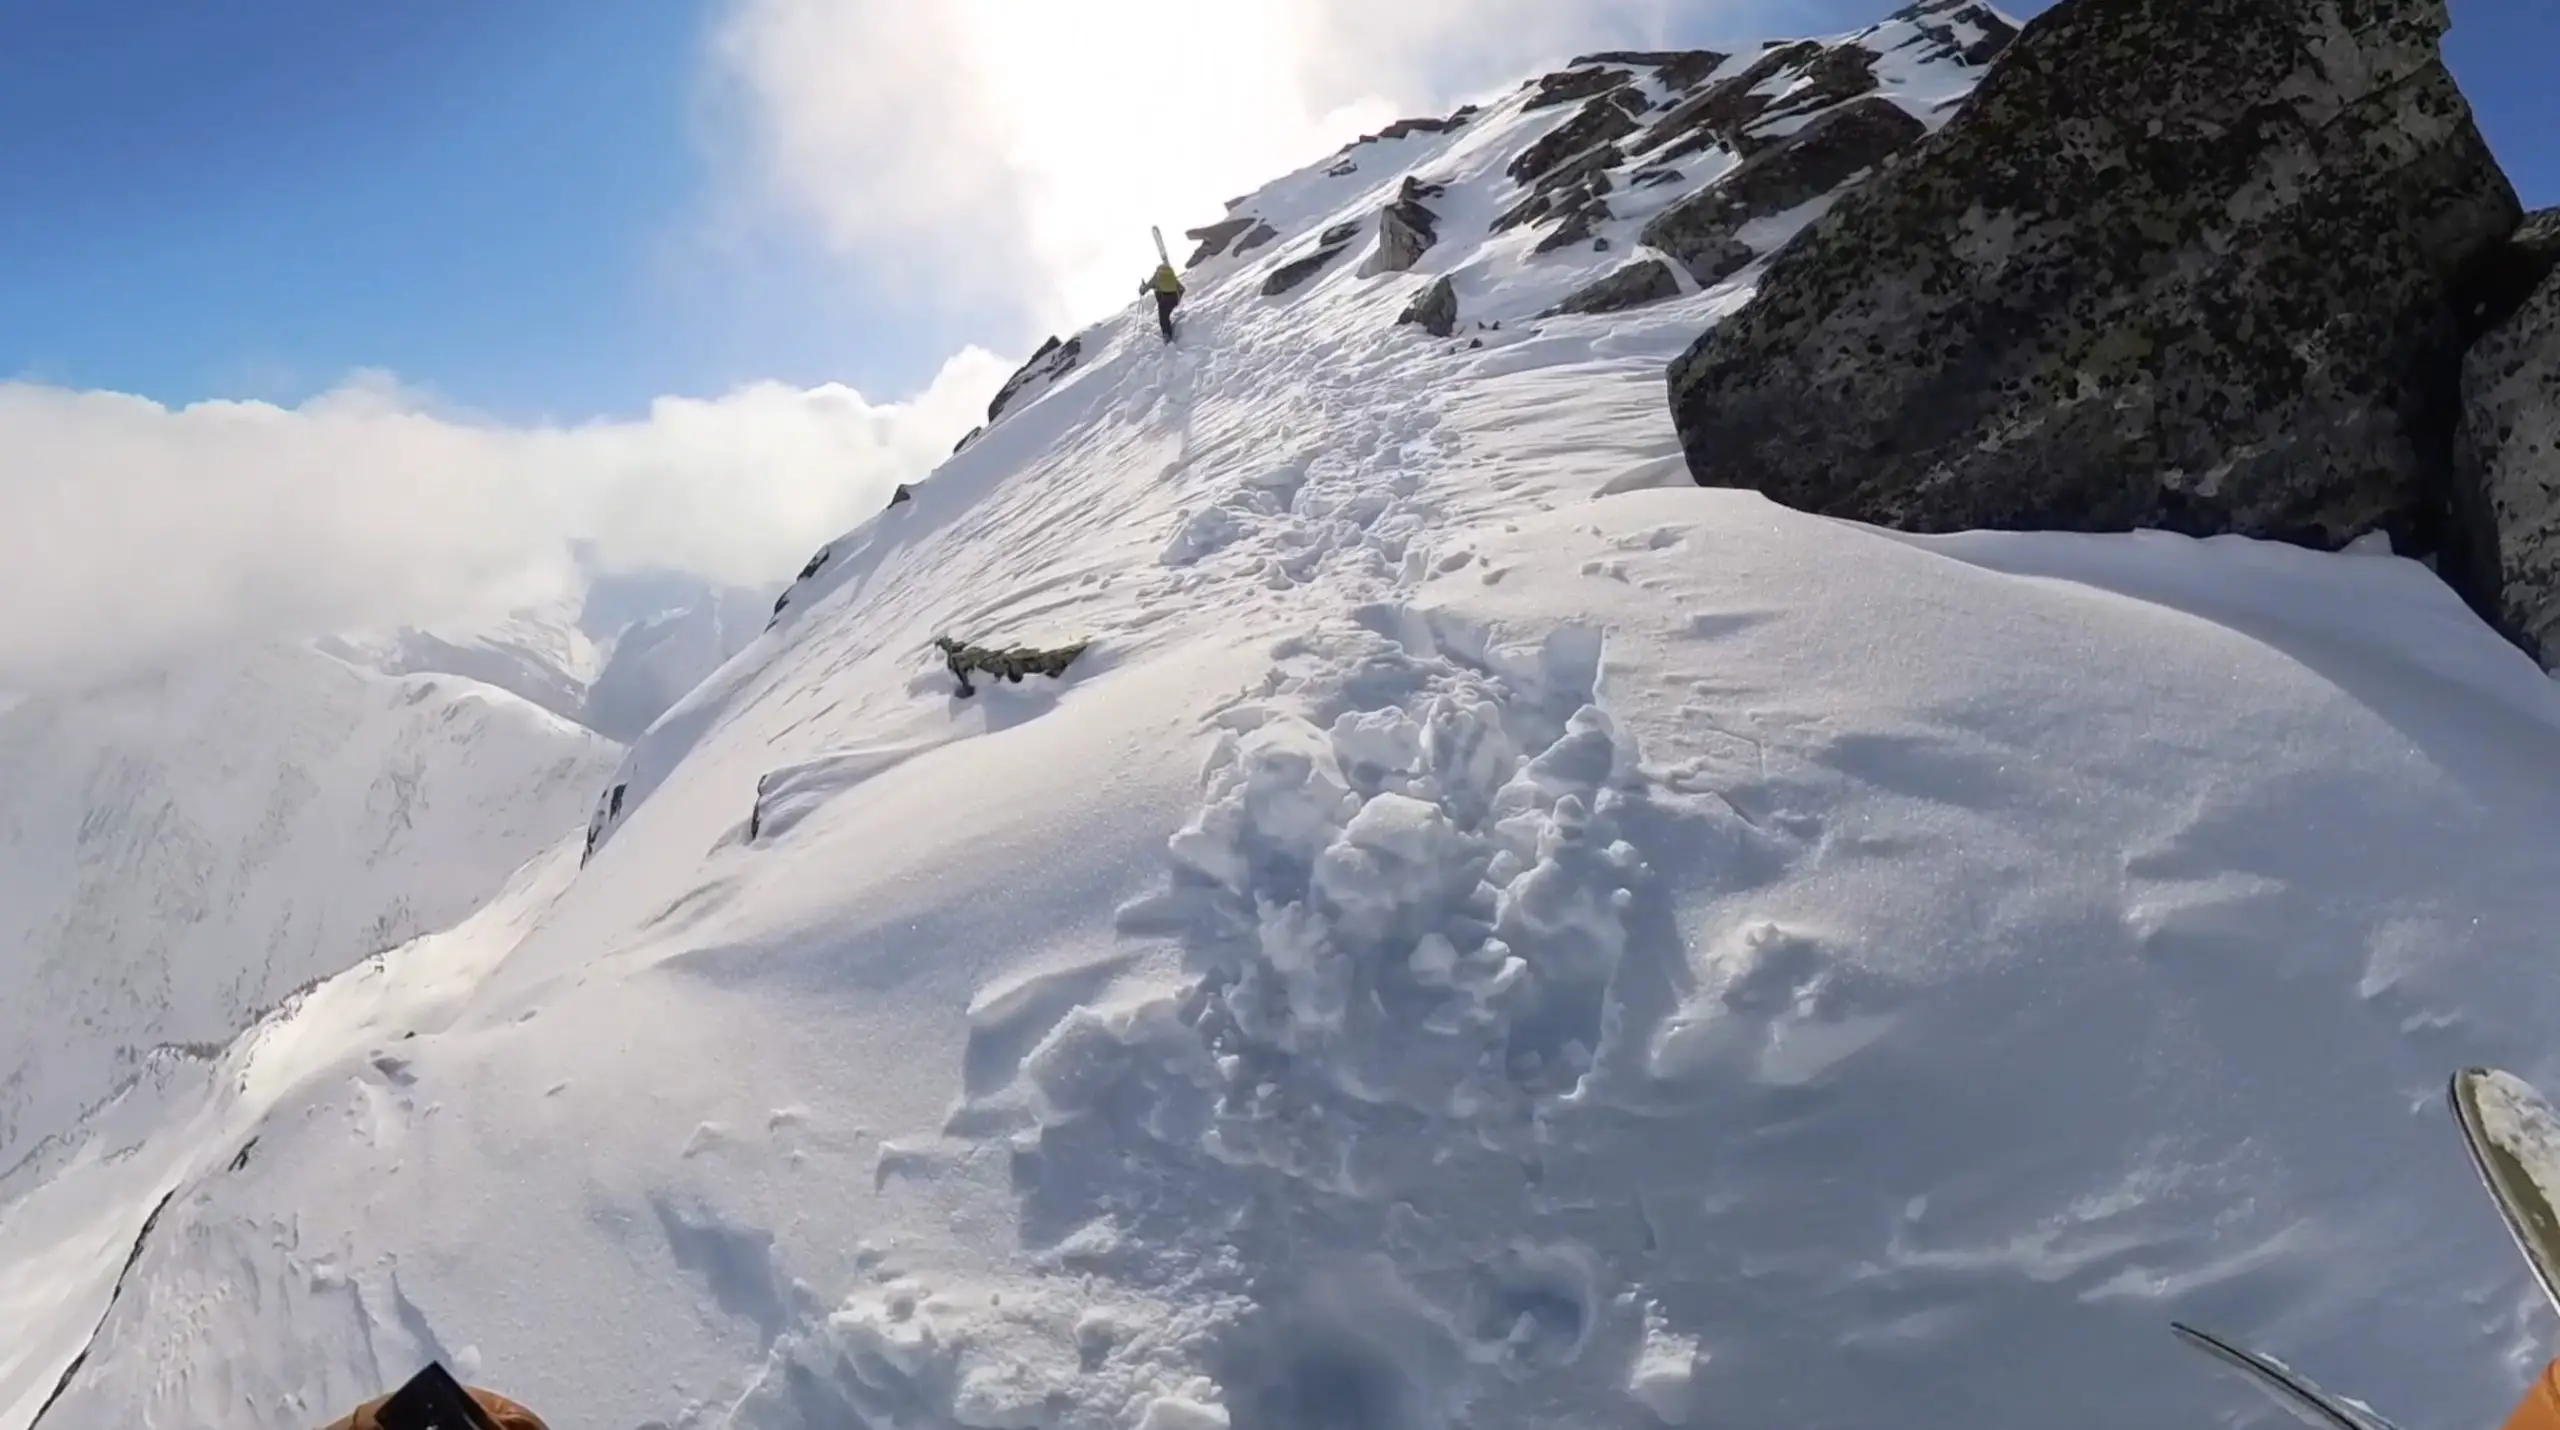
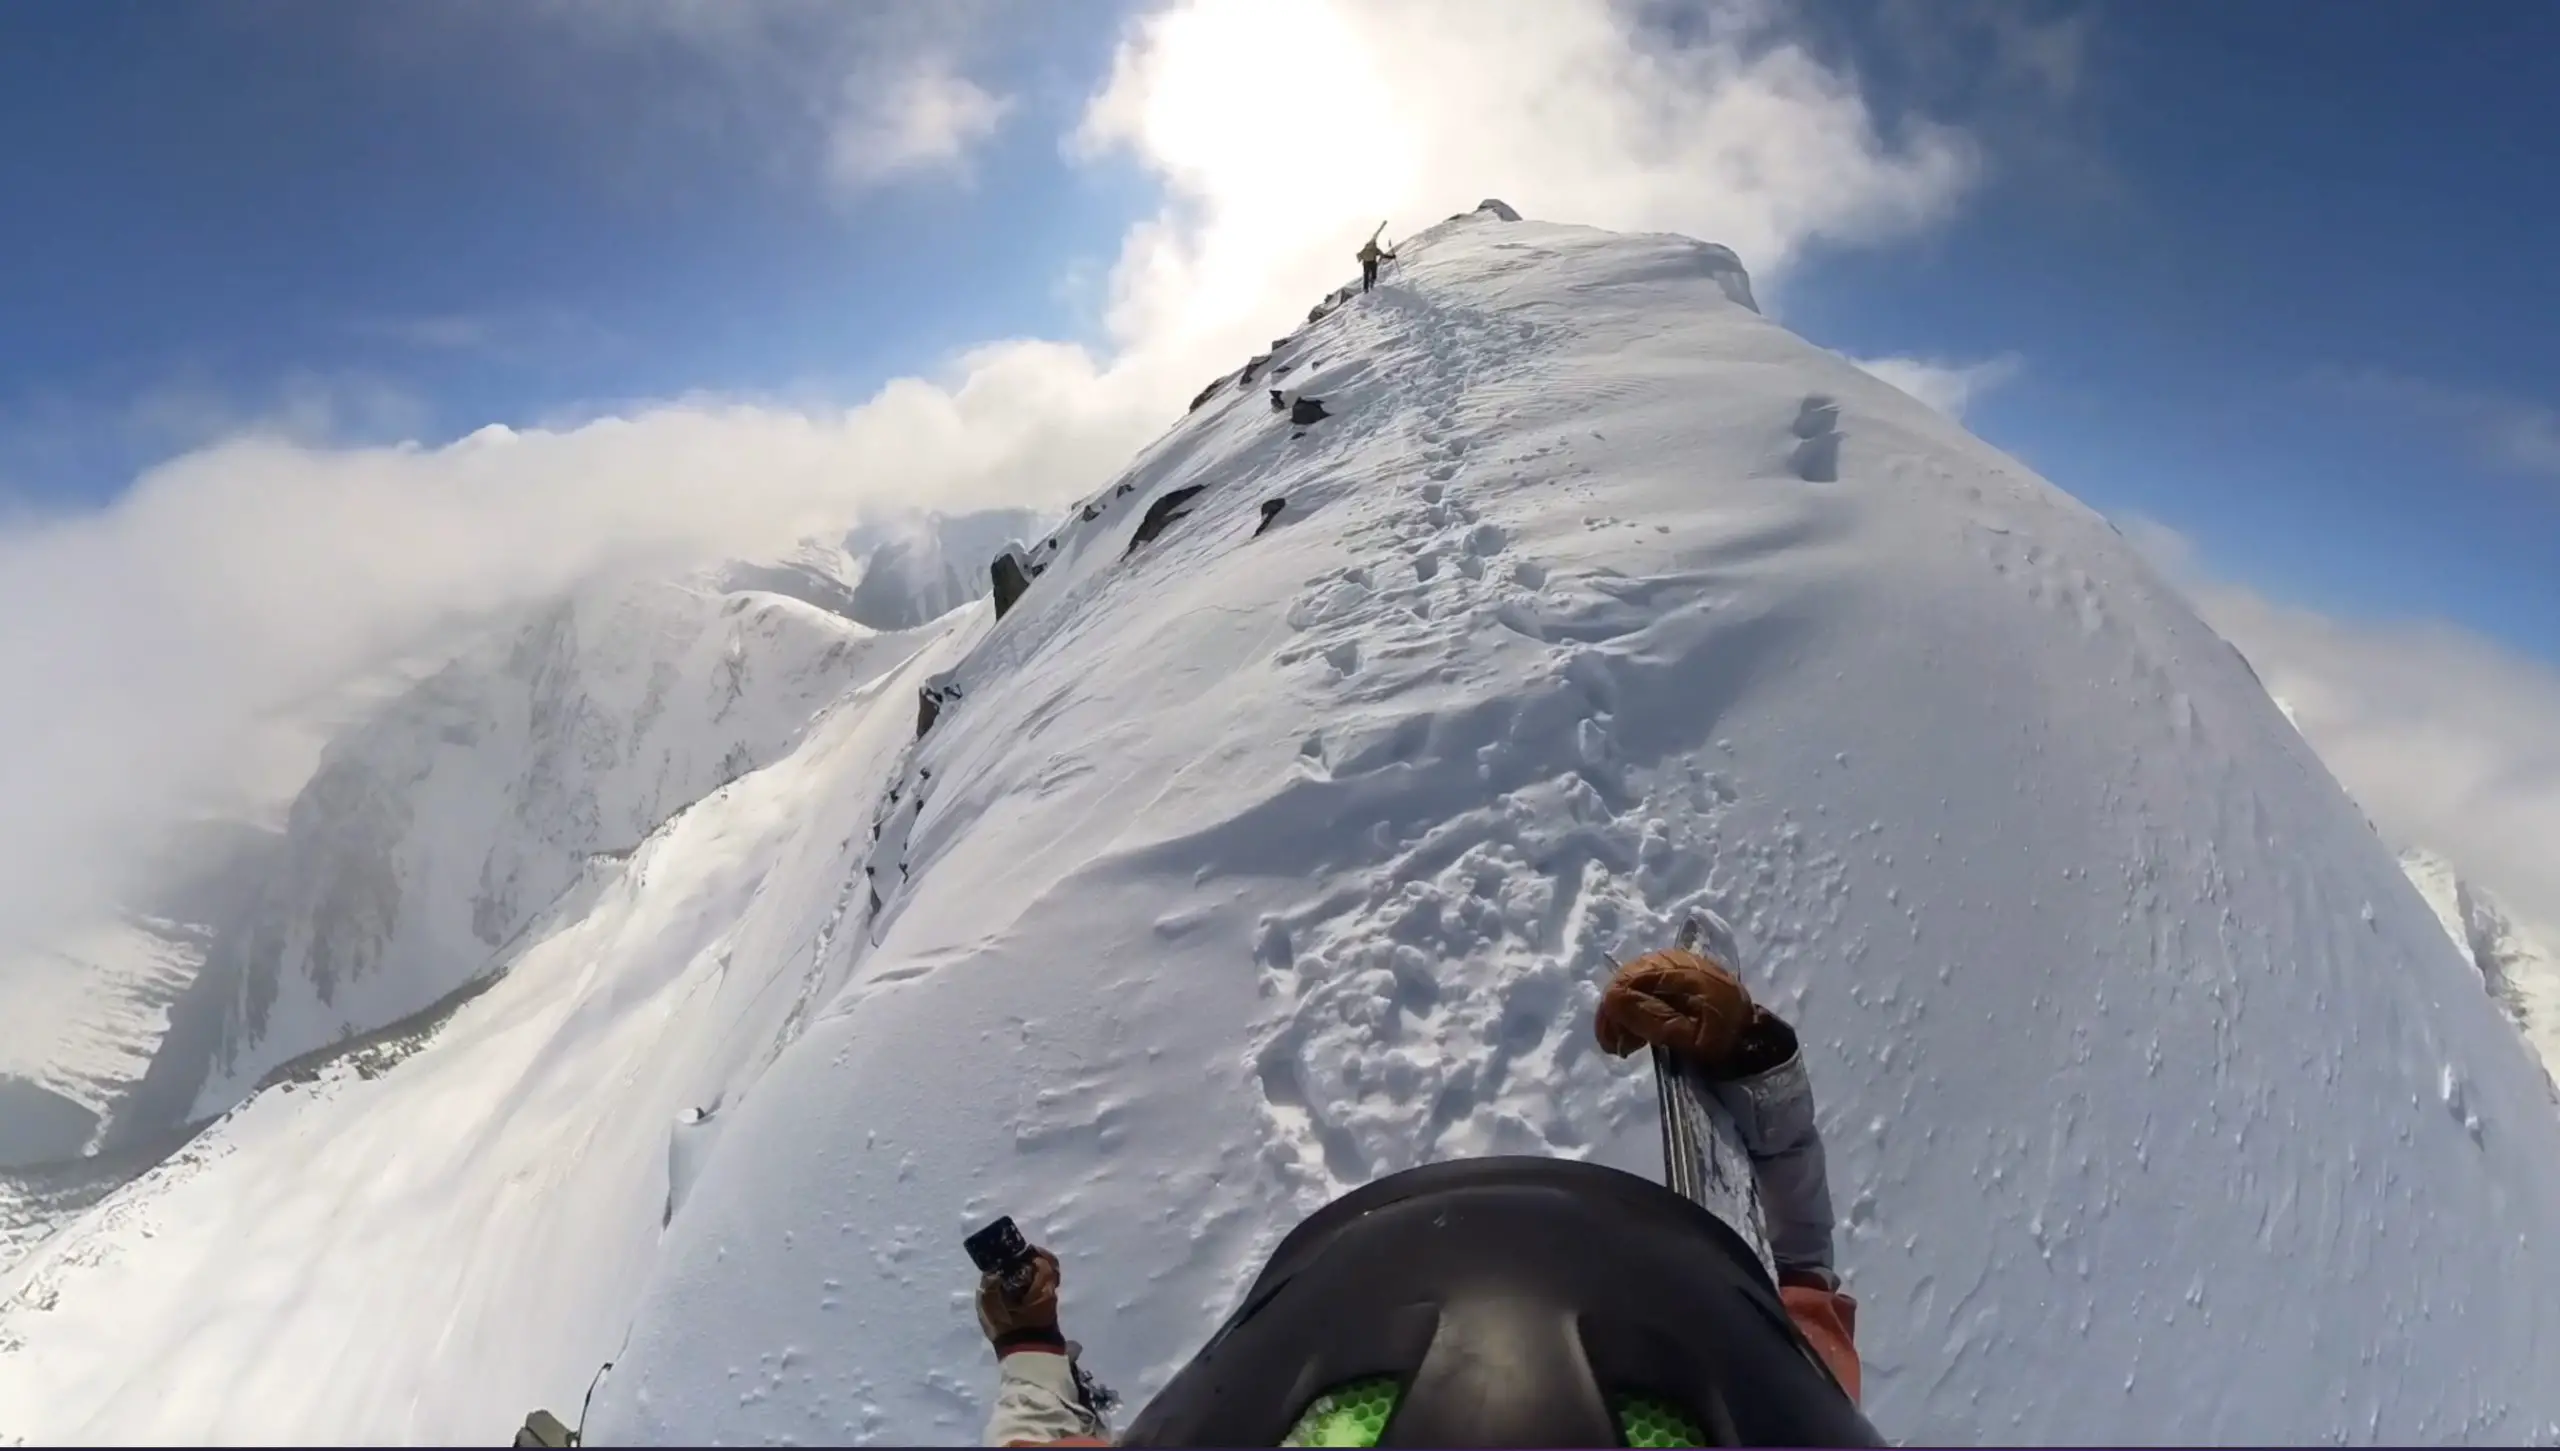
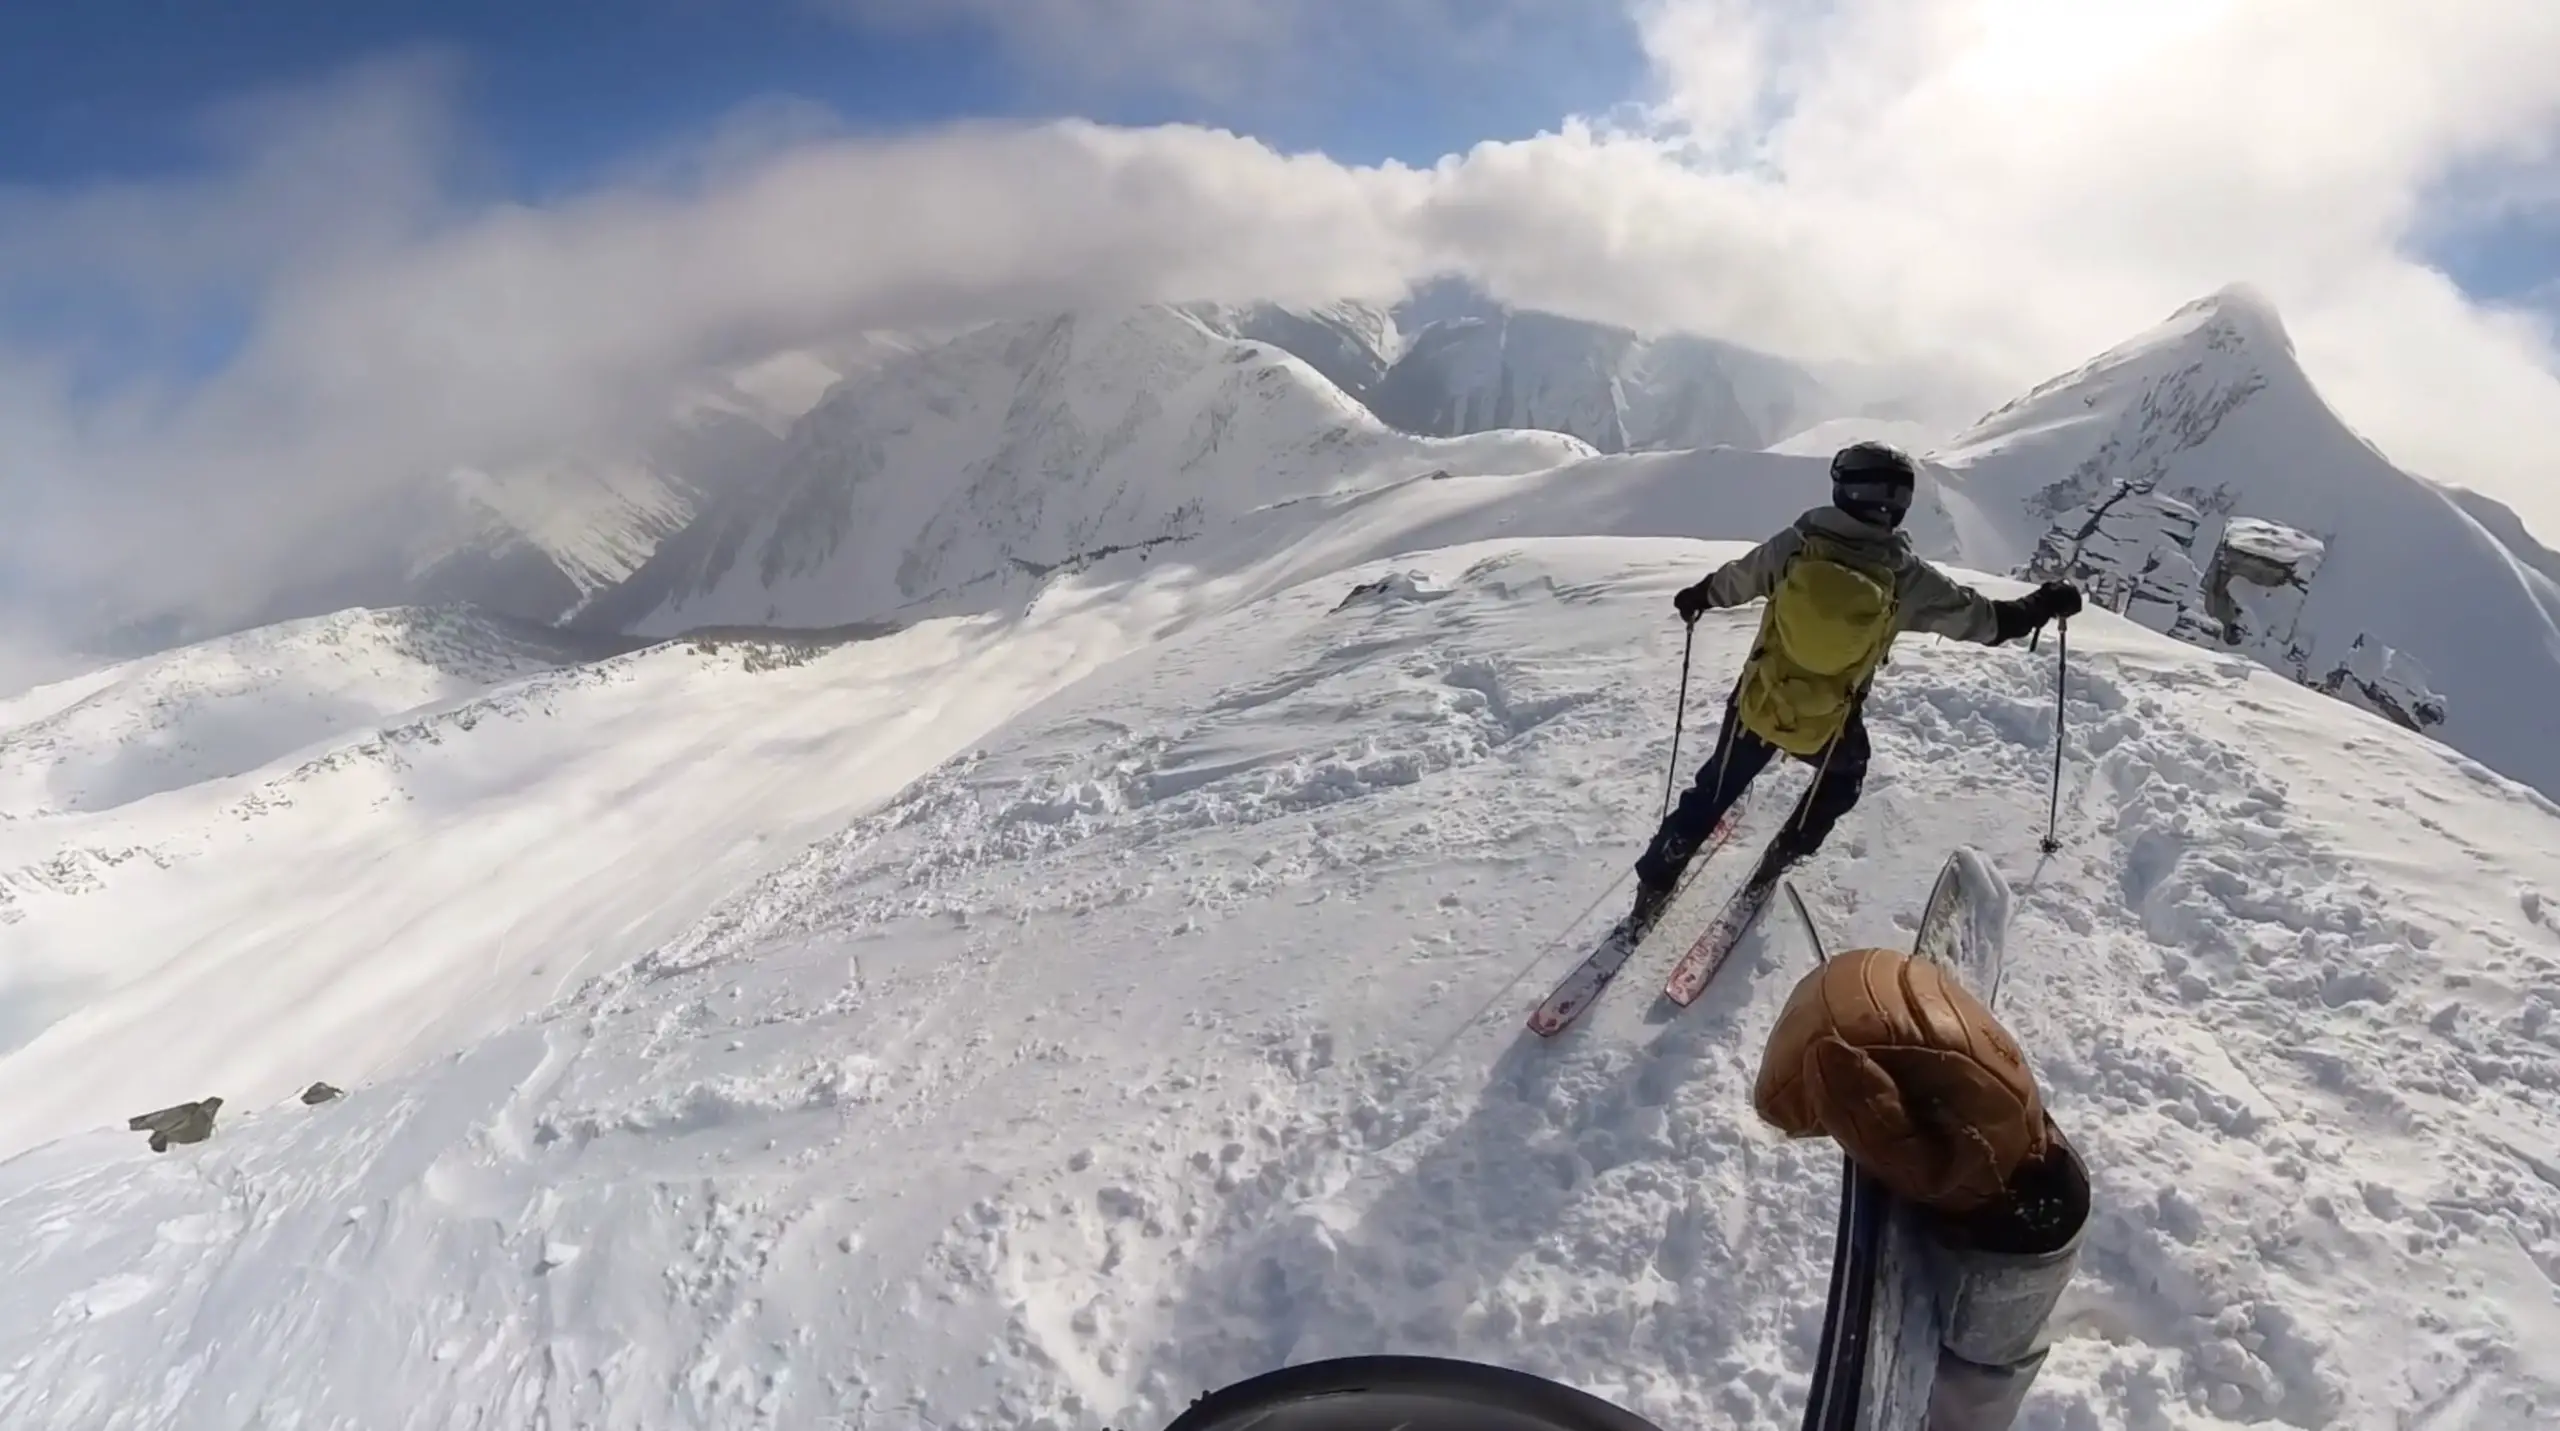
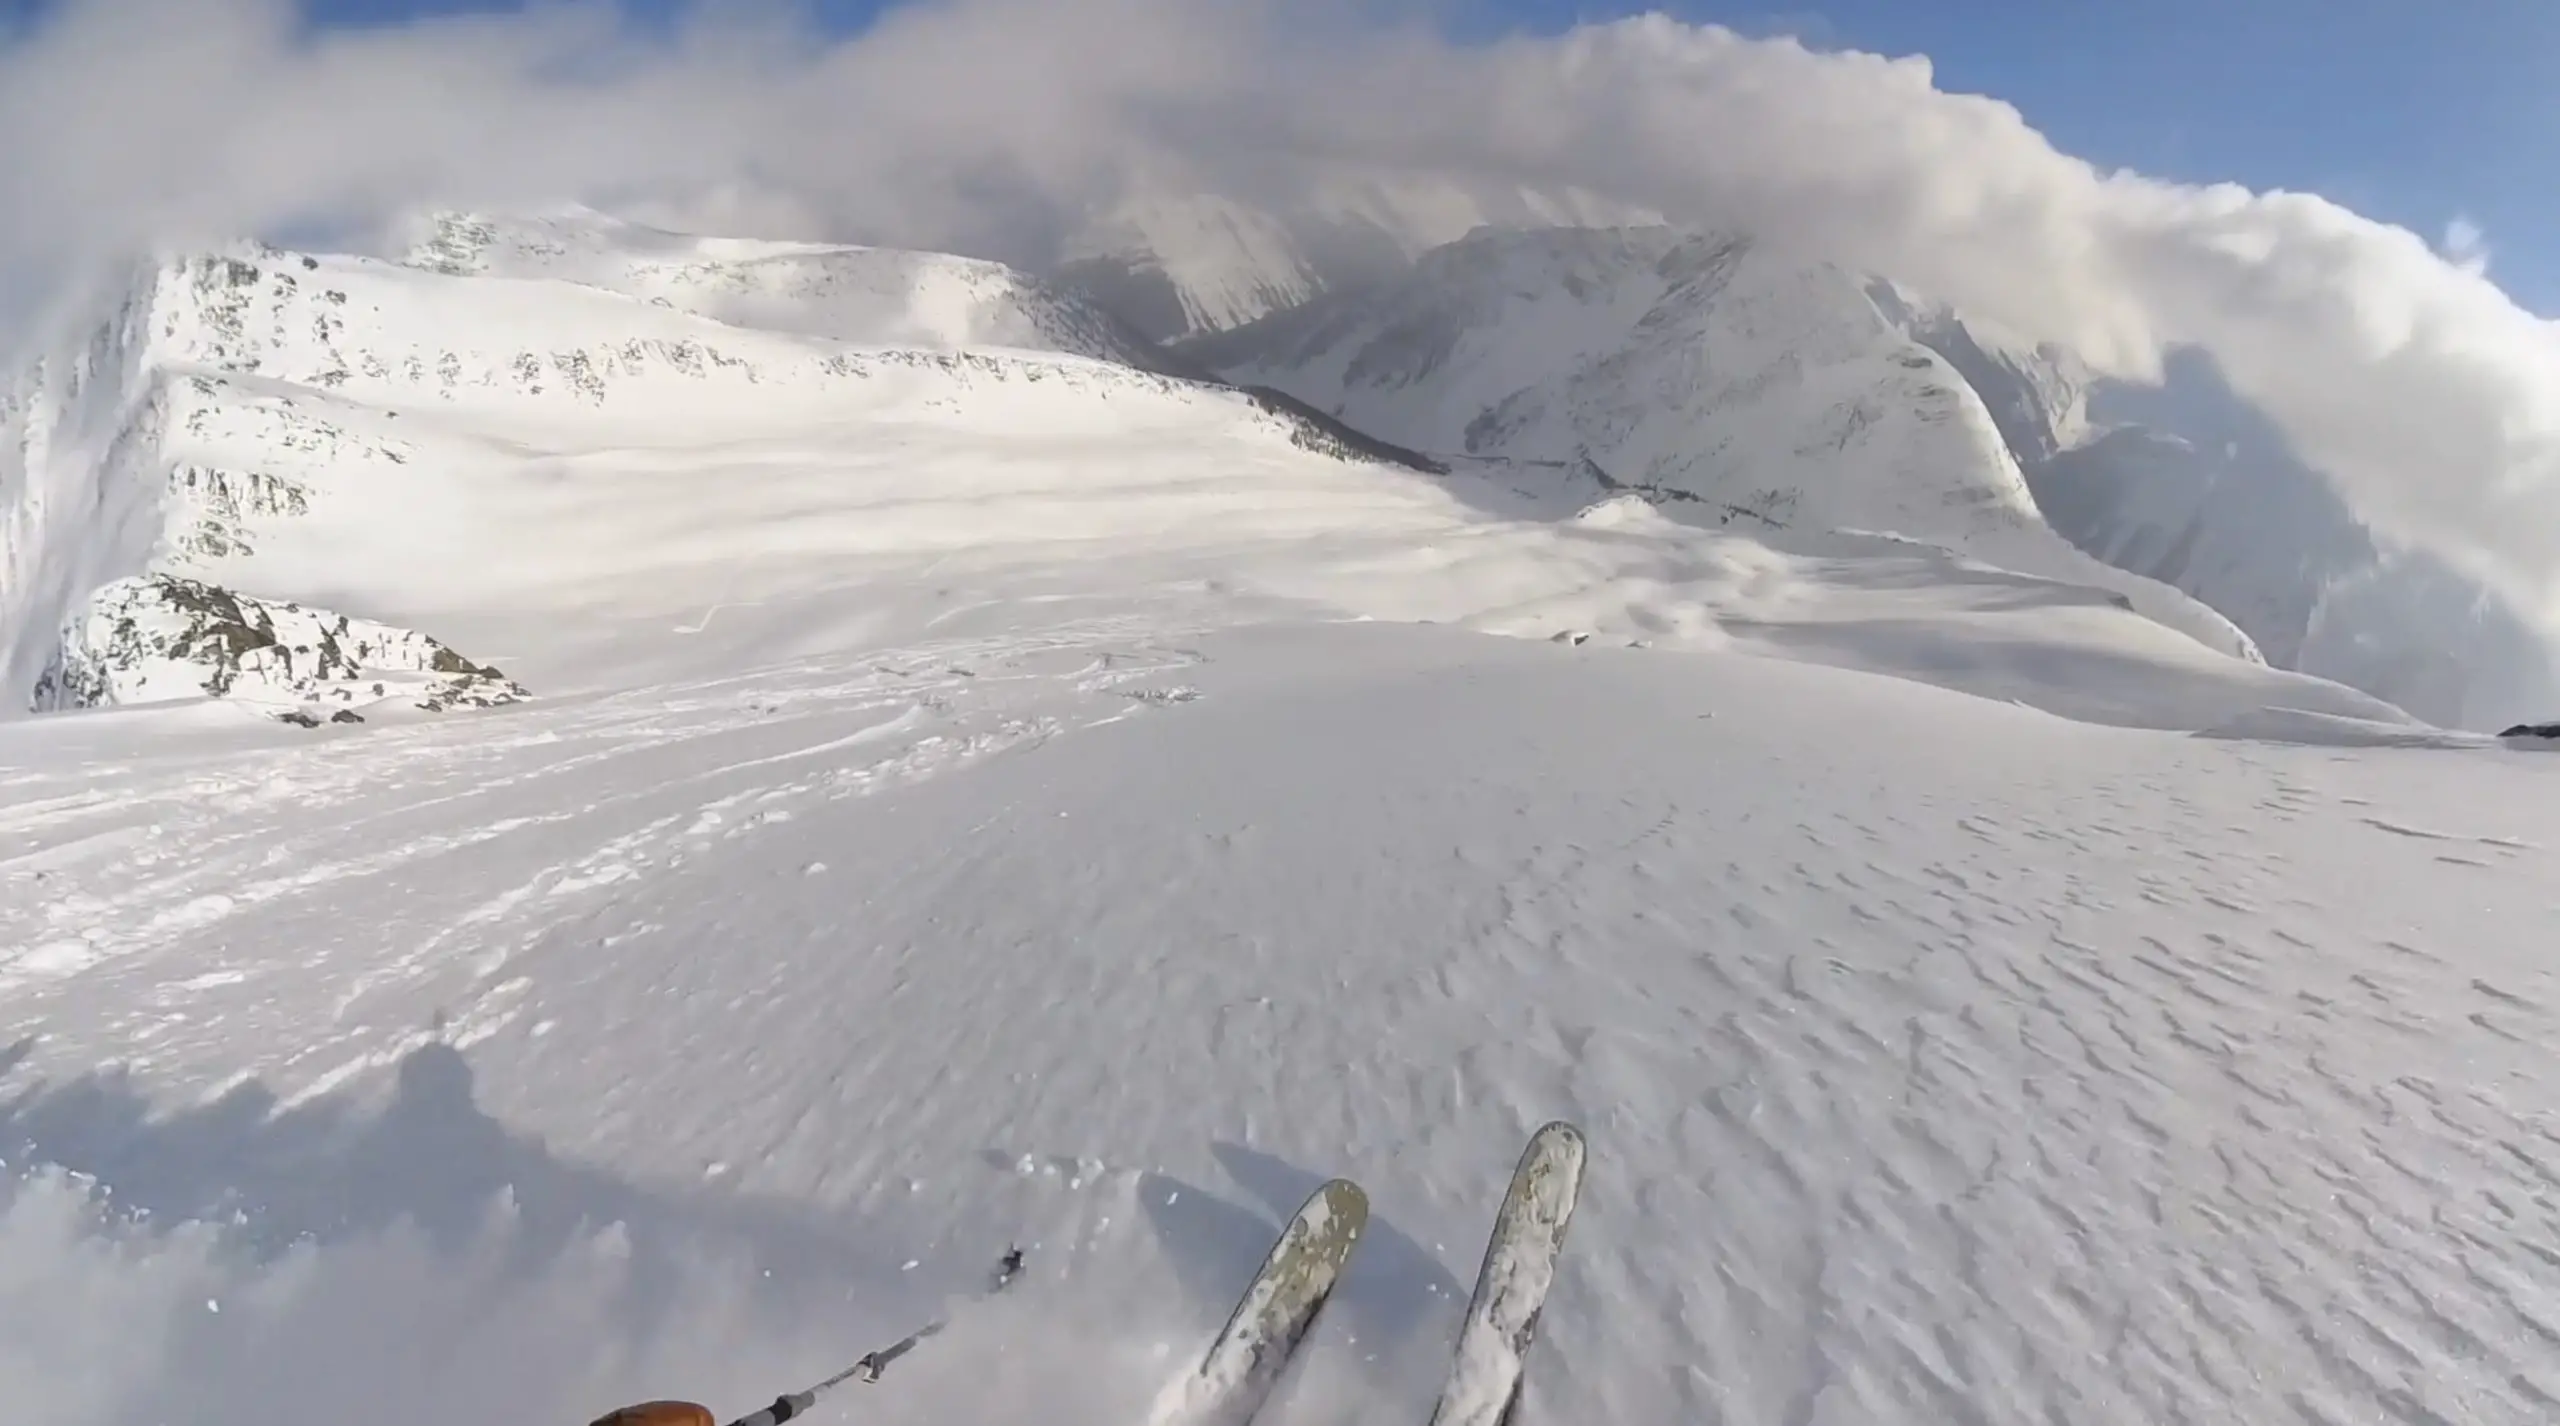
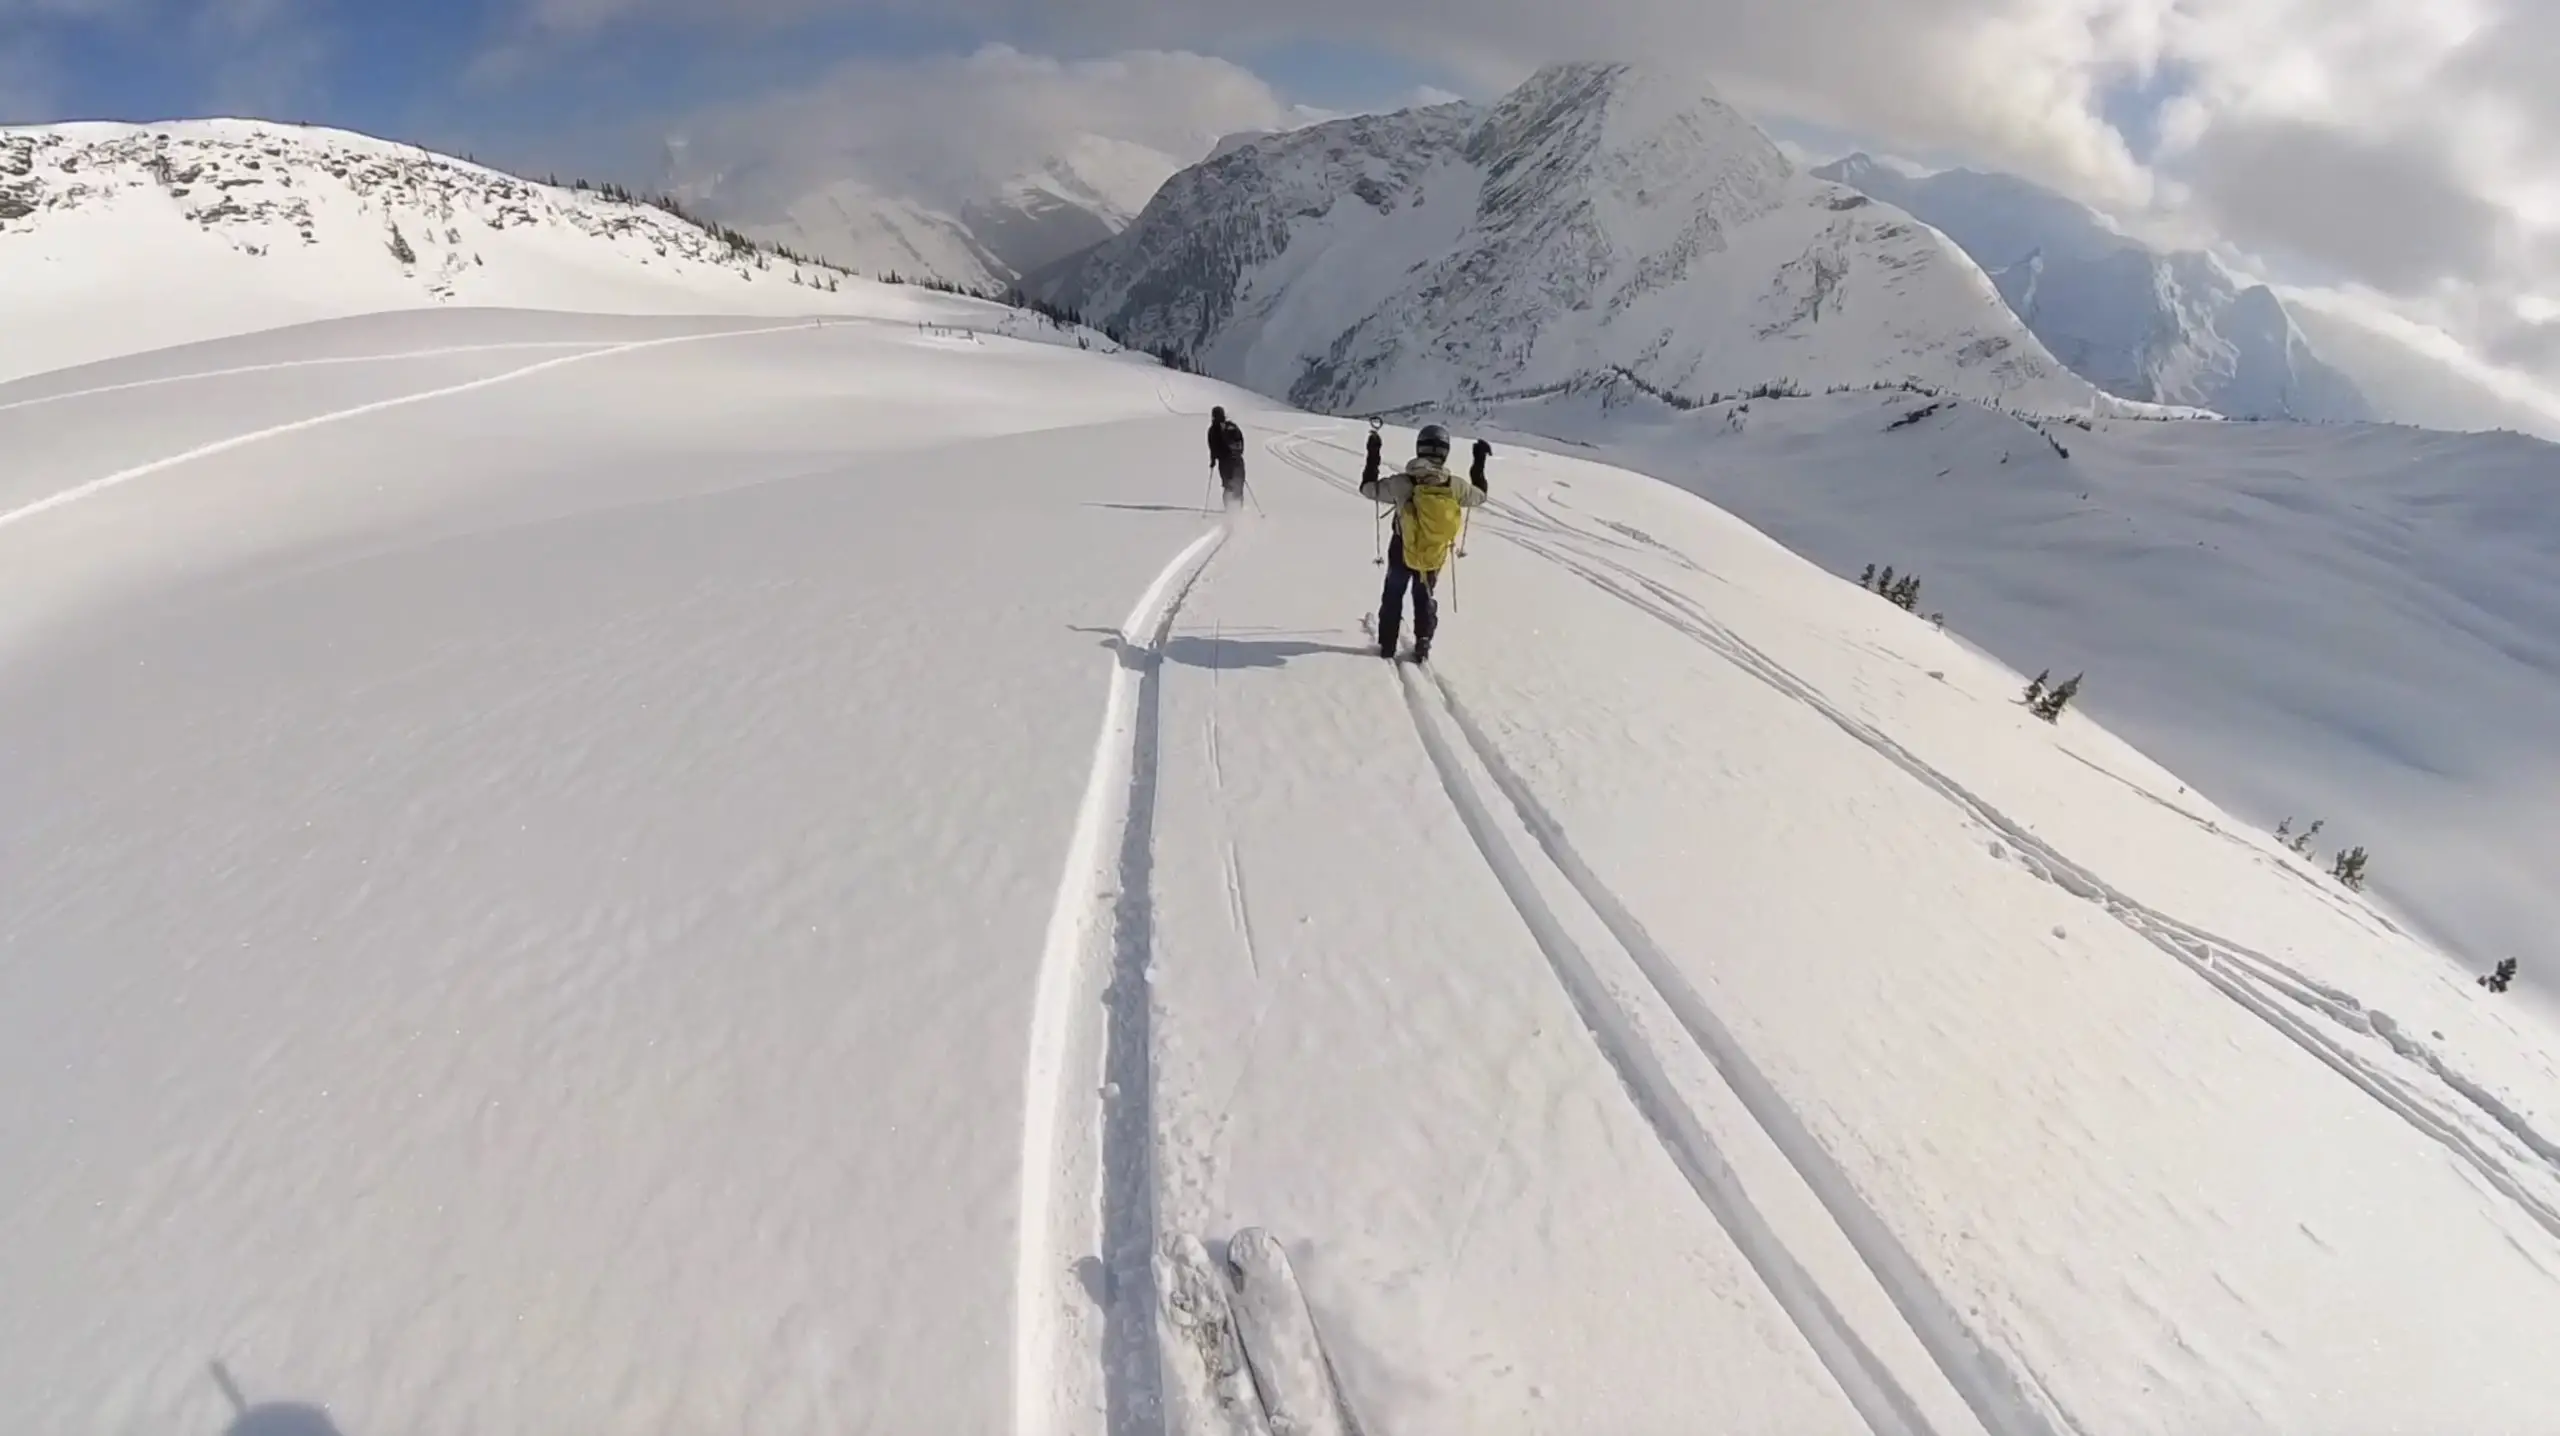
The views from the top were absolutely gorgeous, but even better were the insane blower powder turns on the way down.

Let me know if you have any Q’s in the comments.
Have fun, be safe and keep on shredding’

