
When I began skiing I didn’t understand the importance of gear maintenance. I would take the skis into the shop once at the start of the season and forget about it. This is an okay strategy if you only ski a handful of days every year. But, if you ski as much as I do, one wax a year will not suffice. Nothing is worse than ending up in a dead stop on a cat track because your skis or board didn’t have enough glide. Getting to know your gear, how to keep it healthy and performing its best is important for everyone. Tuning and Waxing your skis isn’t as complicated as ski shops make it out to be. Also, skis are expensive and if you only get a finite amount of days on the hill you don’t want to be thinking about dysfunctional equipment. You change the oil in your car every 5000km’s so why not wax your skis every 5 days.
Waxing can be done quickly and easily by anyone with a bit of cheap gear and some know-how.
This guide will discuss everything you need to know to start waxing your skis or snowboard successfully.
Table of Contents
Why Is It Important to Wax Skis?
It Keeps Your Bases healthy
Wax is extremely important to the overall health and longevity of ski bases. Over time ski bases dry out. If you take a look at your ski bases you may notice that they look a little grey/white. This fading of the black on your ski base is a clear sign that your bases are drying out and need some rehydration. When ski bases begin to dry they shrink and in rare cases can make the base shrink off the edge making them more susceptible to damage from ice and rocks.
Improves Performance
Wax makes your skis hydrophobic, or in simpler terms, water resistant. The more your ski bases resist water, the less friction on the slopes and the faster you will go. An evenly and well waxed base will also help you make much smoother turns on all snow conditions. Wax is like steroids for your skis, you want that unfair advantage over your buddies and other skiers, so get on the juice!
The Gear Needed
You don’t need complicated gear to wax skis. Wax, an iron, a plastic scraper and a nylon brush are all need to have perfectly waxed ski bases.
Wax
There are many different brands, quality and types of wax out there. To keep things simple I would only recommend hot wax/block wax. This is the most common form of wax and it lasts the longest on your skis.
Not all waxes work for all temperatures. Make sure you know the average temperature of where you will be skiing and choose a wax that is designed for temperatures in that range. Personally I swear by Nanox Training Wax. It is a bit more expensive but it works perfectly in all temperatures and can be scraped off your skis without a cooling period reducing waxing time and effort significantly. I also find that Nanox lasts the longest out of any wax I have ever used. I am not sponsored by Nanox and have no affiliate relationship with them. I just really love their product. If you want something a little bit cheaper go for KUU universal Wax, I buy this stuff on amazon and find it works great and is as cheap as it gets for decent wax.

Iron
There are two options in terms of an iron. You can go the cheap route (which is totally fine) and use your moms old clothes iron OR you can use a specialty ski waxing iron. I started with a clothes iron and finally decided to purchase a ski wax specific iron. My personal recommendation would be to invest in a skiing specific iron. Every single hot wax has a different melting temperature. You do not want your wax to be smoking when you are melting it. This means the iron is too hot. With a clothes iron you cannot control the exact temperature and you may be melting the wax too hot and damaging your base/wasting wax. With a ski specific iron you can set the exact temperature on the iron and get the perfect melt every single time!

Plastic Scraper
You’ve probably heard the term, “Wax On, Wax Off”. The same goes for waxing skis. After you melt and spread the wax on your skis bases you are going to want to scrape it all off. If you don’t, your skis will be very sticky, uneven and will slide worse than before the waxing. A scraper is just a rectangular piece of plastic that is used to scrape wax off the base. These things are pretty cheap and come in different widths depending on your preference. I would recommend going with a thicker scraper when you are starting out because I find it is easier to keep level unlike a thinner one with lots of flex. The only time you leave wax on without scraping is at the end of the season when you are putting your skis away (known as storage wax).

Nylon Brush
A nylon brush isn’t completely necessary but I would highly recommend it. After you scrape a nylon brush is used to polish/push the wax even deeper into the pores of the base and will increase the glide, finish, and polish. A nylon brush can also be used to bring the wax back to life after a couple of days on the ski hill.

 Basic Tuning Kits

Basic tuning kits are an amazing way to get started. When I first began getting serious about ski maintenance I purchased a basic kit from Dakine. I’ve purchased some more expensive tuning instruments since, but I still use my trusty Dakine iron. Purchasing a do-it-all kit is a great way to get started. I would recommend the Race Wax Elite Snowboard Kit for anyone who wants to get into ski waxing and tuning for a reasonable price.

How To Wax Skis (Step By Step)
-
Prep Your Work Area
The first step is getting your work space ready. Make sure to choose someplace you don’t mind getting messy. If you have to do it in your house cover the floor in newspaper to protect it. Wax likes to stick to things after it is scraped. Fortunately, I have access to a ski tuning room in Whistler and I use two ski vises to hold my skis. However, if you don’t have vices, just stack up some books or wood blocks and rest the tips and tails of the ski on the blocks.
-
Heat The Iron
Plug your iron in and set it to the appropriate temperature for your wax.
-
Get the Ski Brakes Out of the Way
Use elastic bands or hair ties(I find these work best) and wrap them around your ski brakes and over your binding to get them out of the way while you work.
-
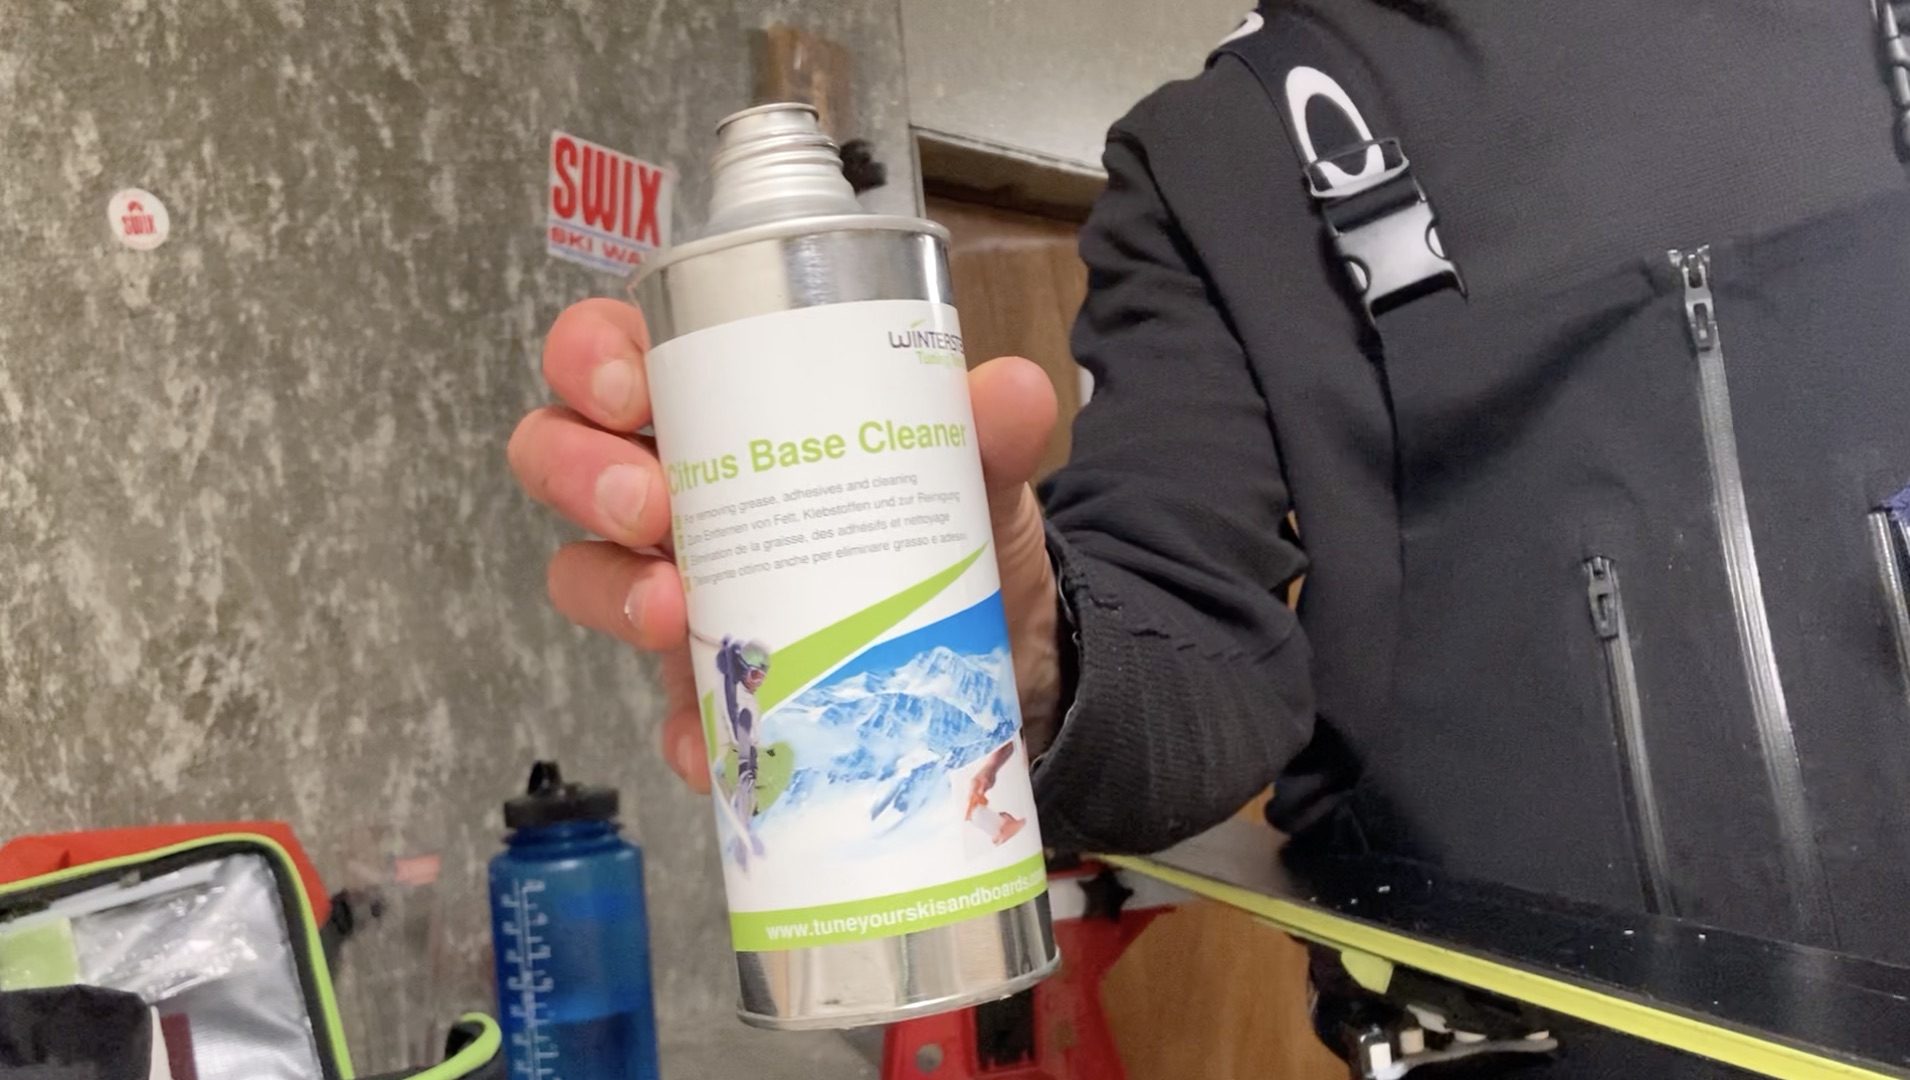
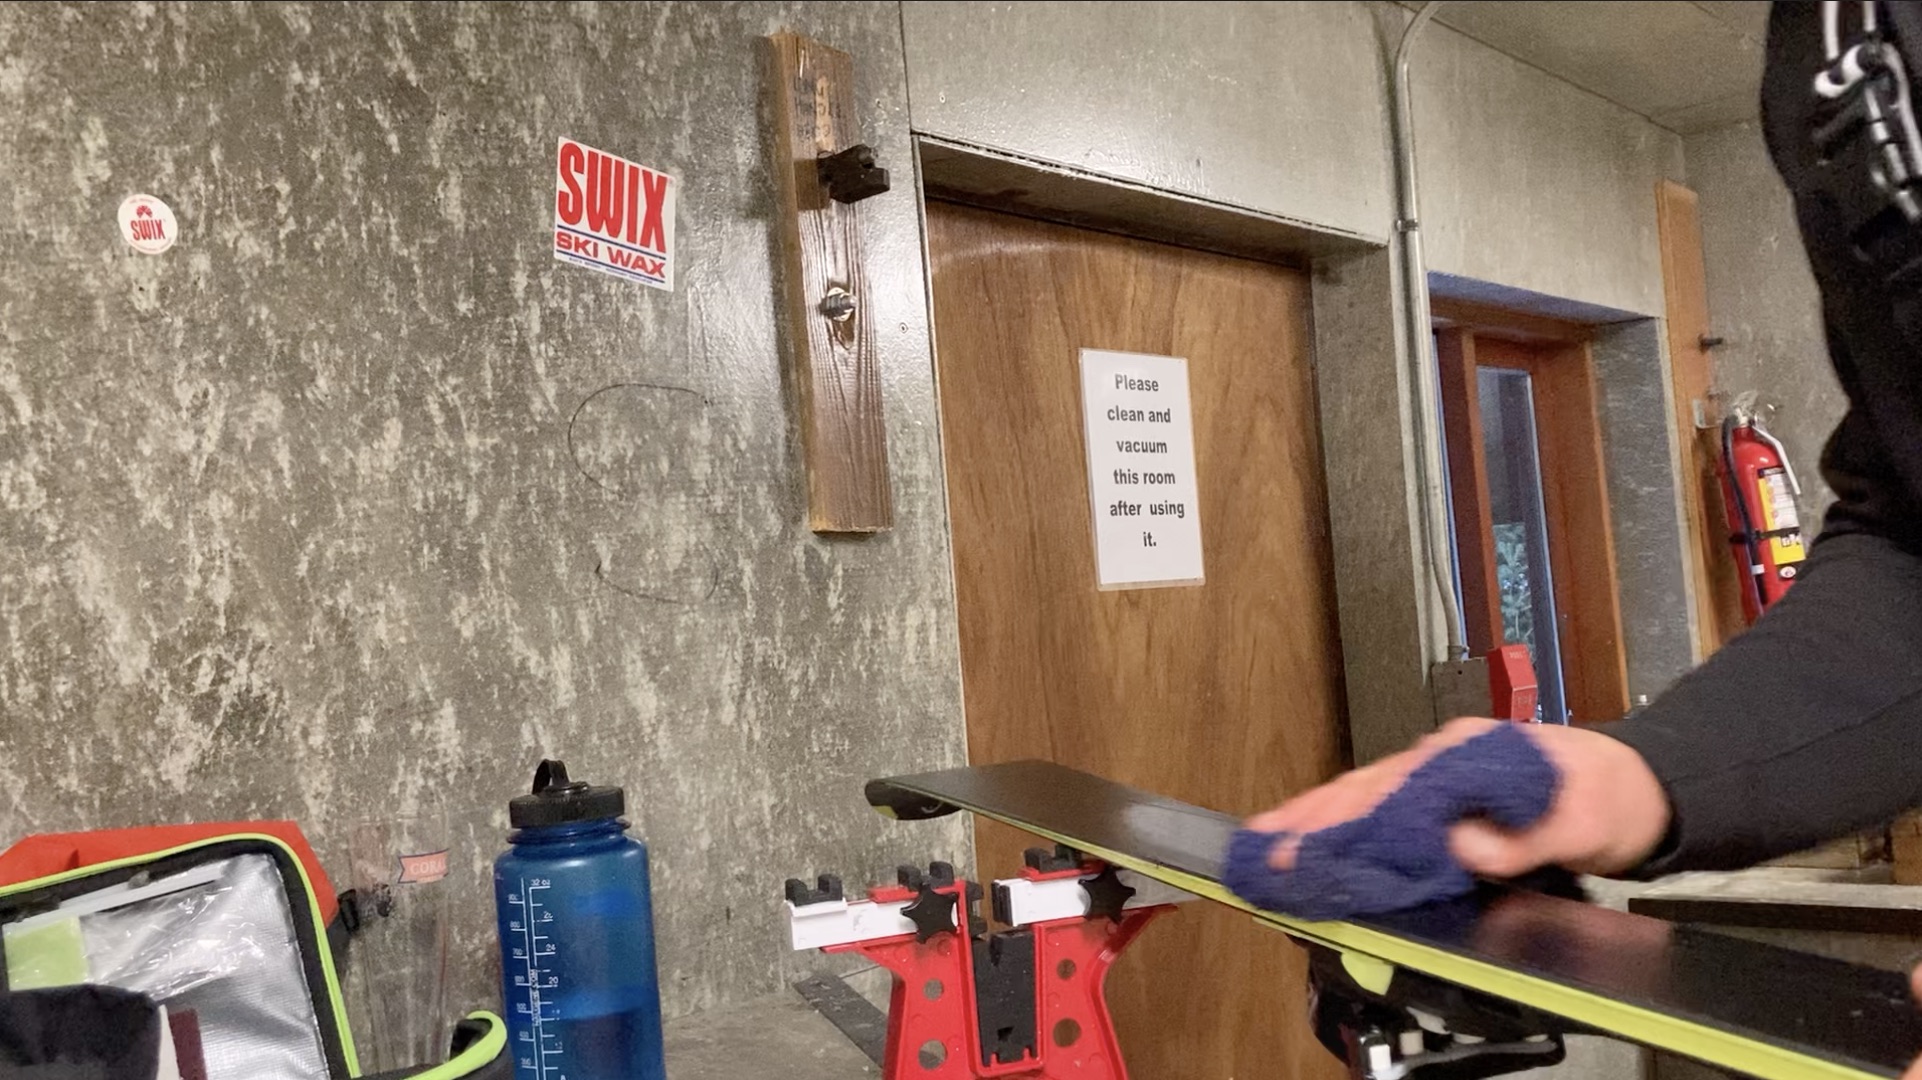
Clean The Bases
Make sure the bases of your skis are as clean as possible. I use Swix Citrus base cleaner and a rag to ensure that all dirt, grime, wax and residue is off the skis before I wax. If you do not ensure your bases are clean then you will be driving gunk deeper into your base with another wax layer.
-
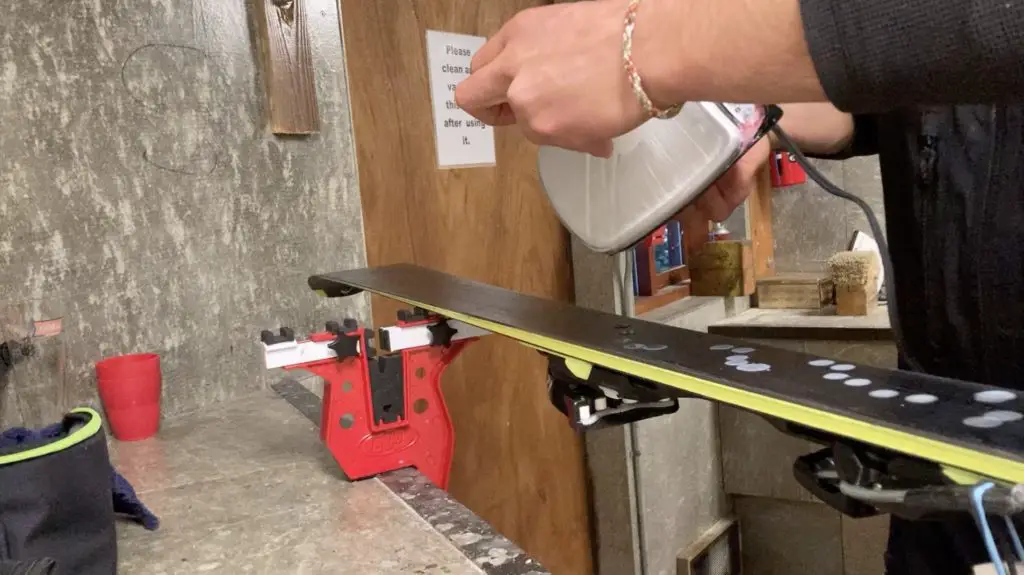
Drip Hot Wax Onto Base
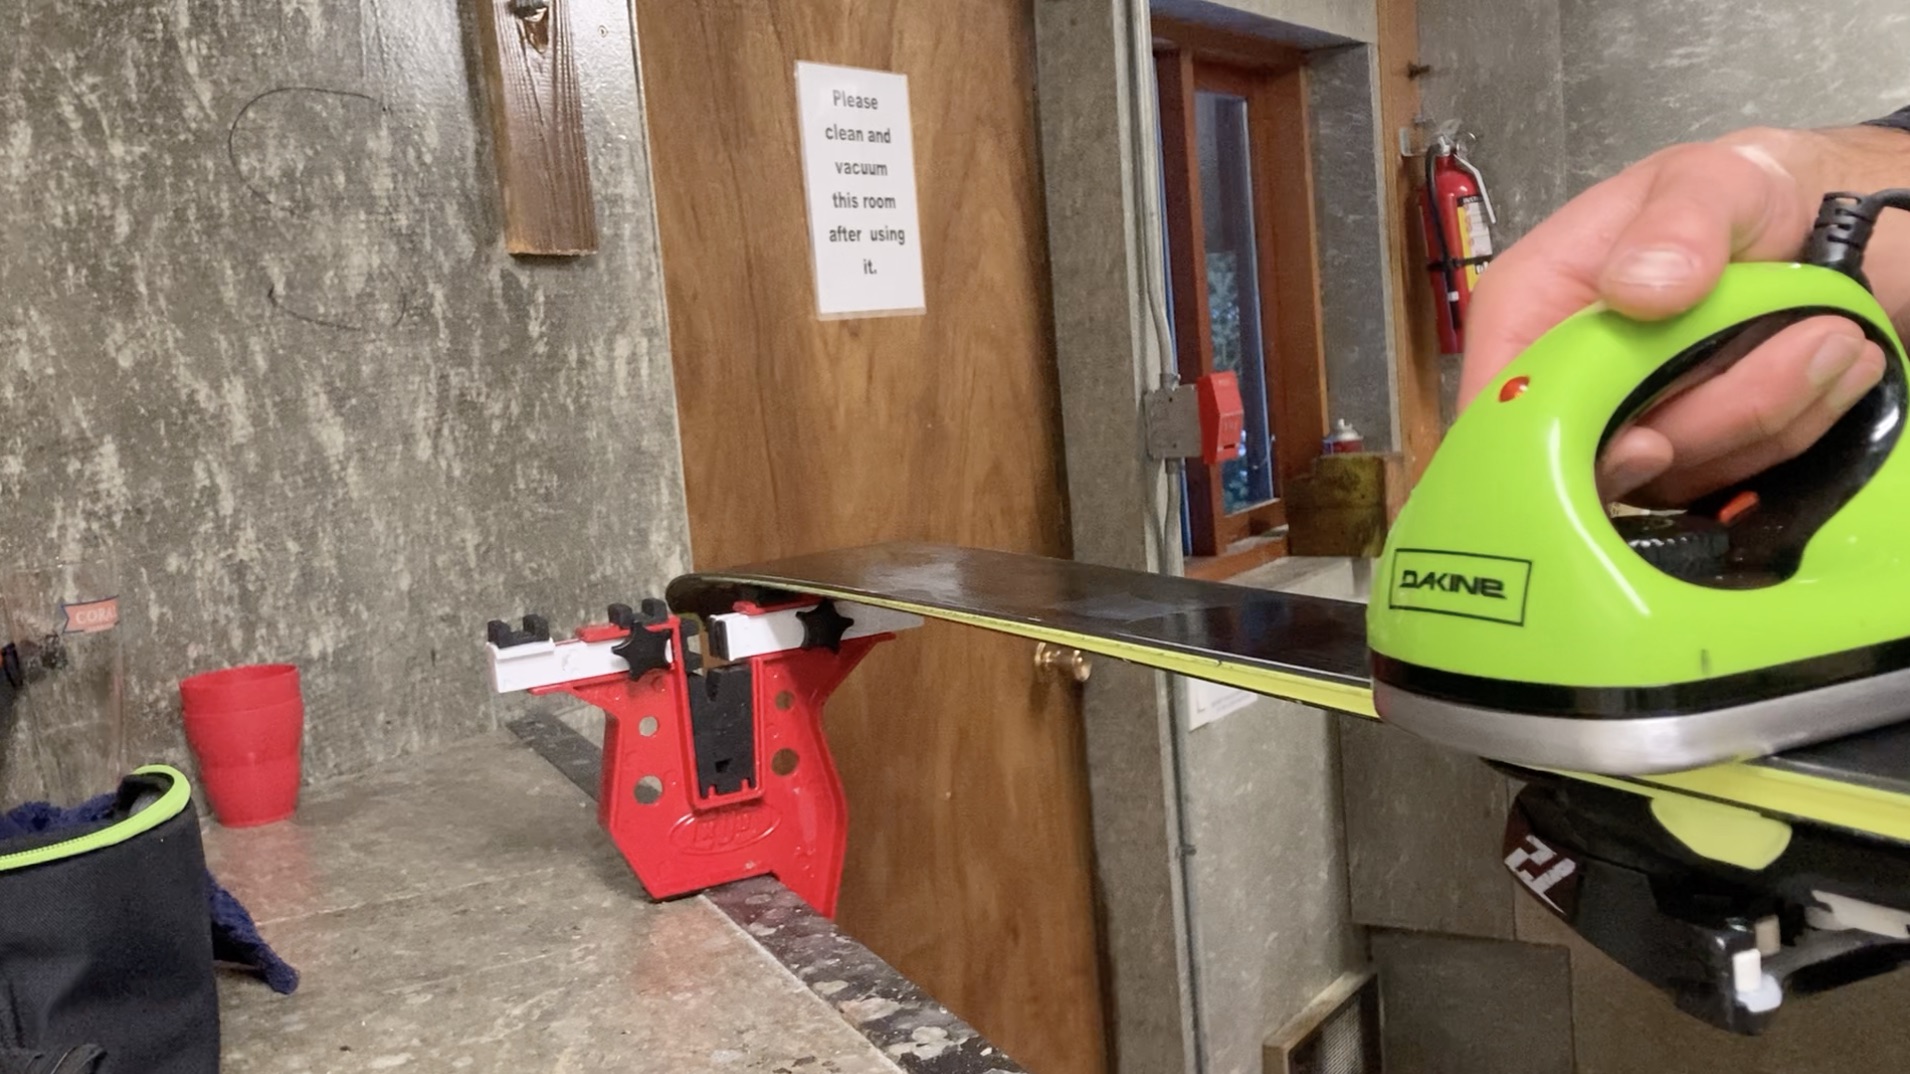
Lay one ski on your vices, bench, books, or whatever waxing platform you are working on. Hold the wax in one hand and iron in the other. Press the wax onto the iron and let it drip onto your ski base. If the wax is smoking this means that it is too hot. Drip wax in the shape of a snake from one end of the ski to the other. Don’t over-do it because you will have to work much harder when scraping.
-
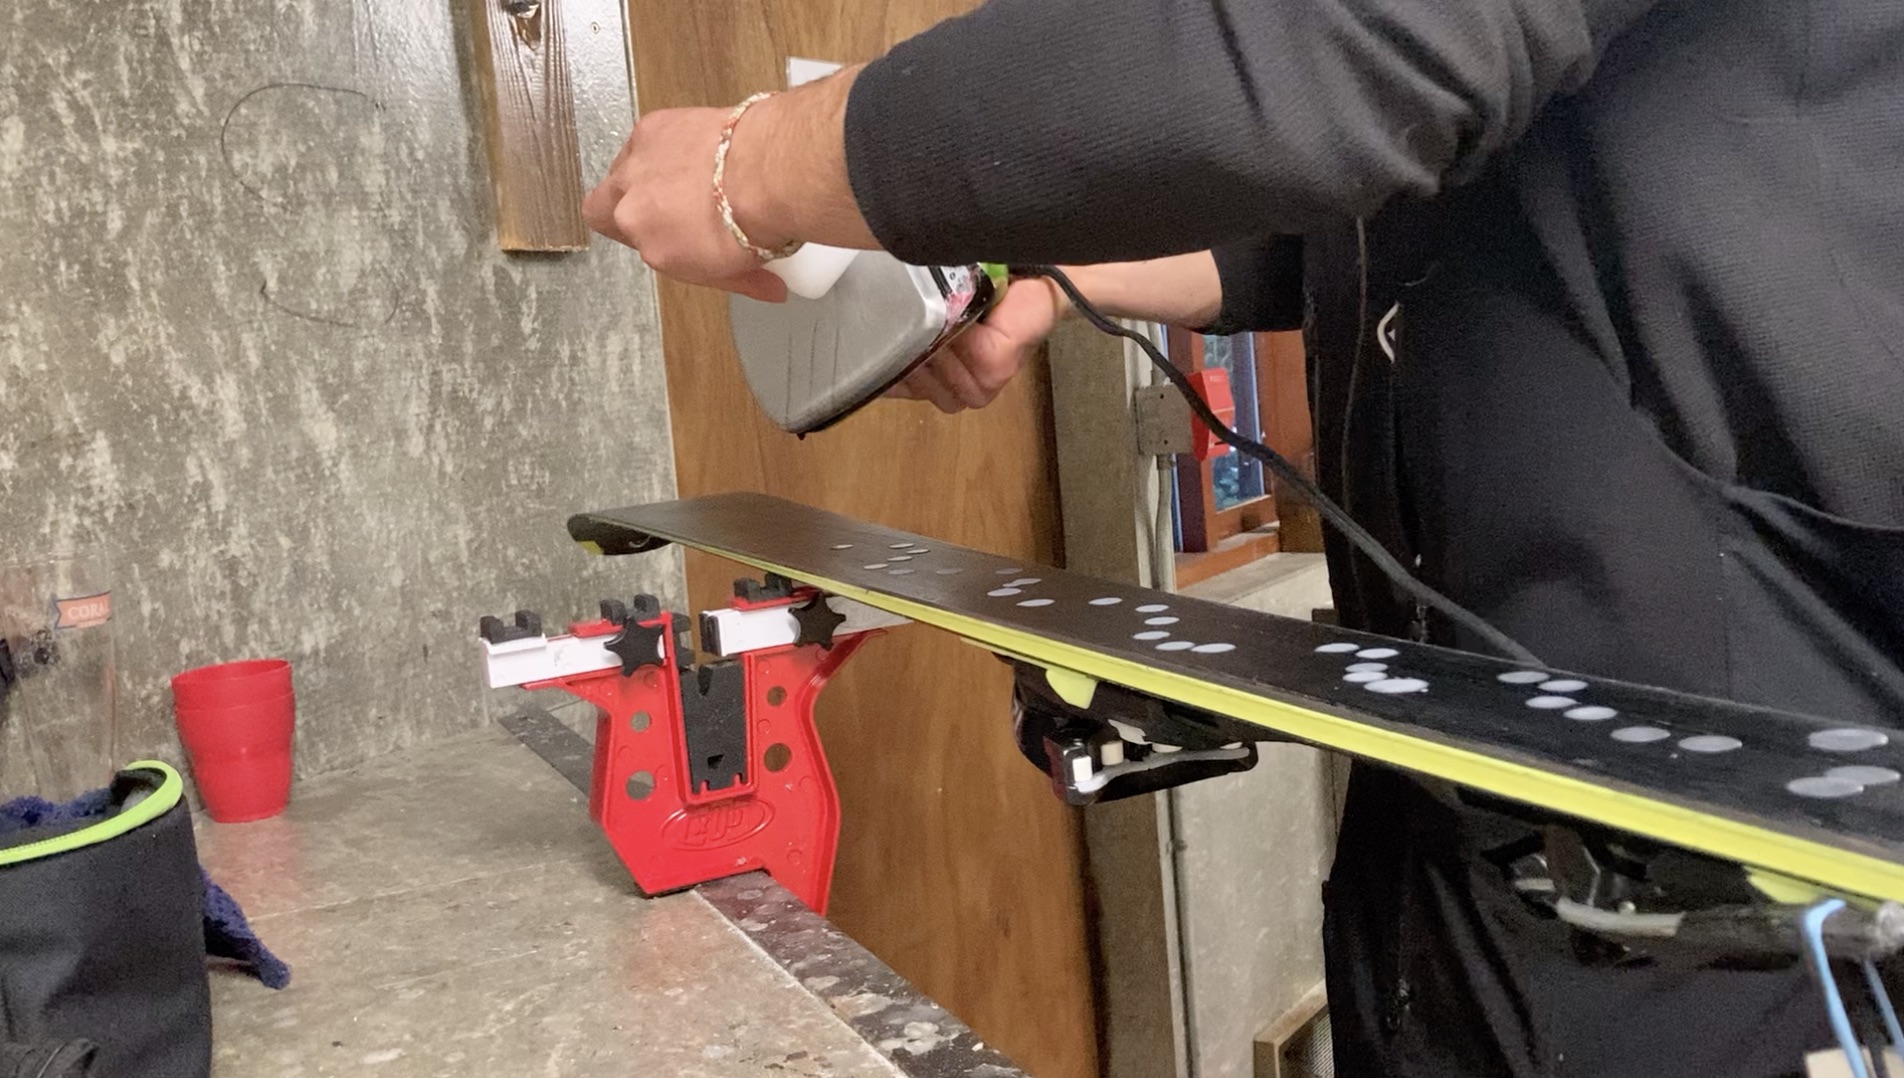
Spread The Wax
Spread the wax evenly on the base. Keep the iron moving back and forth. If you leave it sitting in the same spot for an extended period it could damage the base. Ideally you want to have an even trail of glossy wax about 10cm behind the iron as you move it. Do one last slow pass with the iron to make sure everything is even and covered.
-
Let The Wax Cool
Most wax will require a cooling period before you scrape. Some companies recommend 30 minutes to an hour to fully cool. You can absolutely scrape it sooner, I haven’t encountered any noticeable difference from scraping when it has cooled for a shorter period.
If you are using Nanox Wax, the sooner you scrape it the better, this is another reason why I love Nanox, it is so time effective!
-
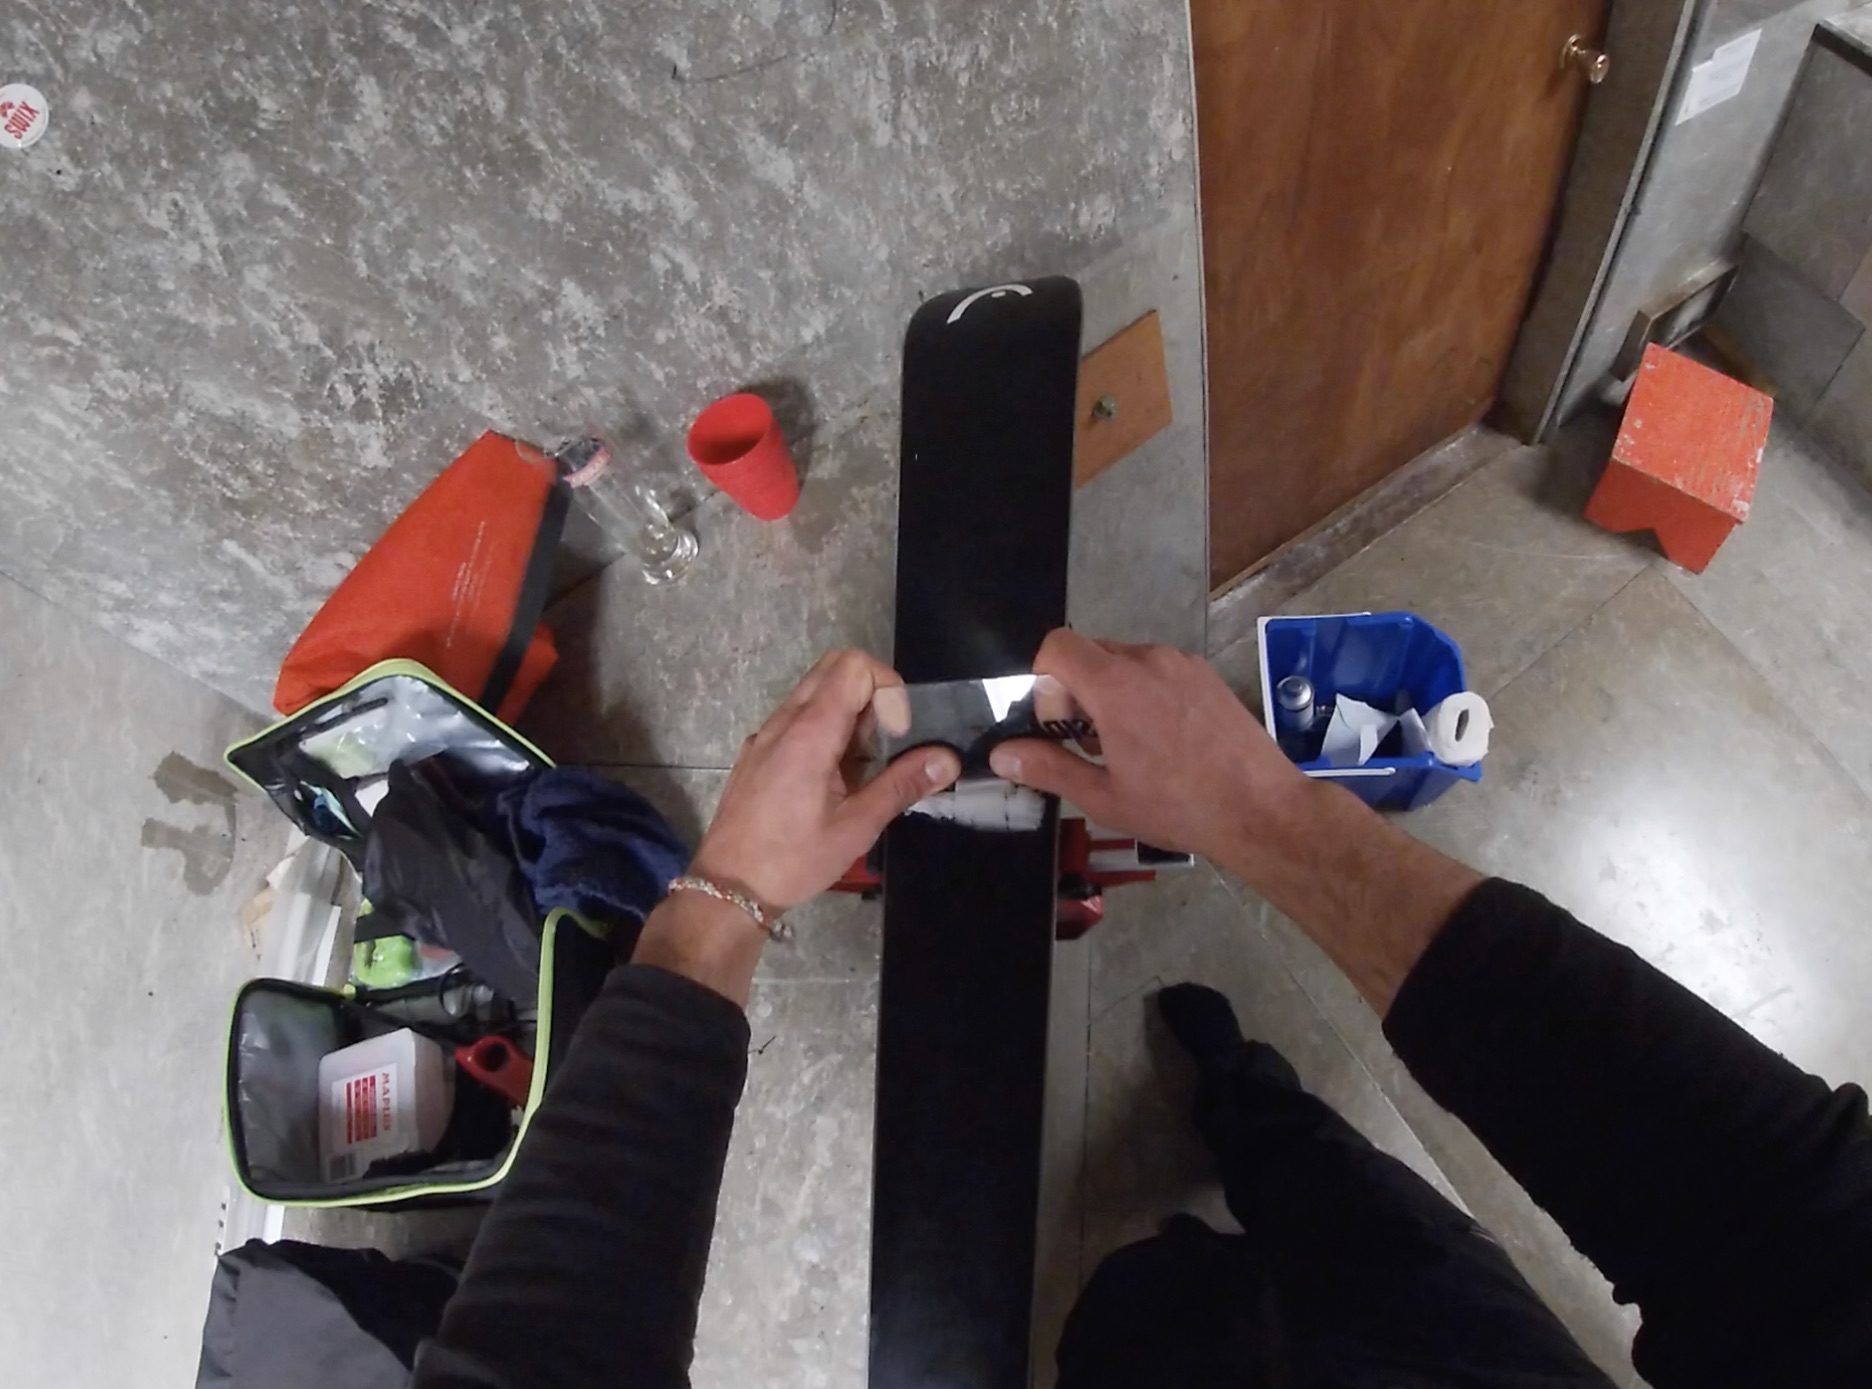
Scrape Wax (Tip to Tail)
Once the wax has cooled and is ready to scrape grab your plastic scraper. Hold it in two hands, resting at a 45 degree angle on the base. You can either pull towards you or push away, both work. Ensure to always scrape from the tip of the ski, to the tail of your ski. Apply just enough pressure to remove the wax residue. You will know you have scraped enough when there isn’t a significant amount of wax coming off with each pass.
-
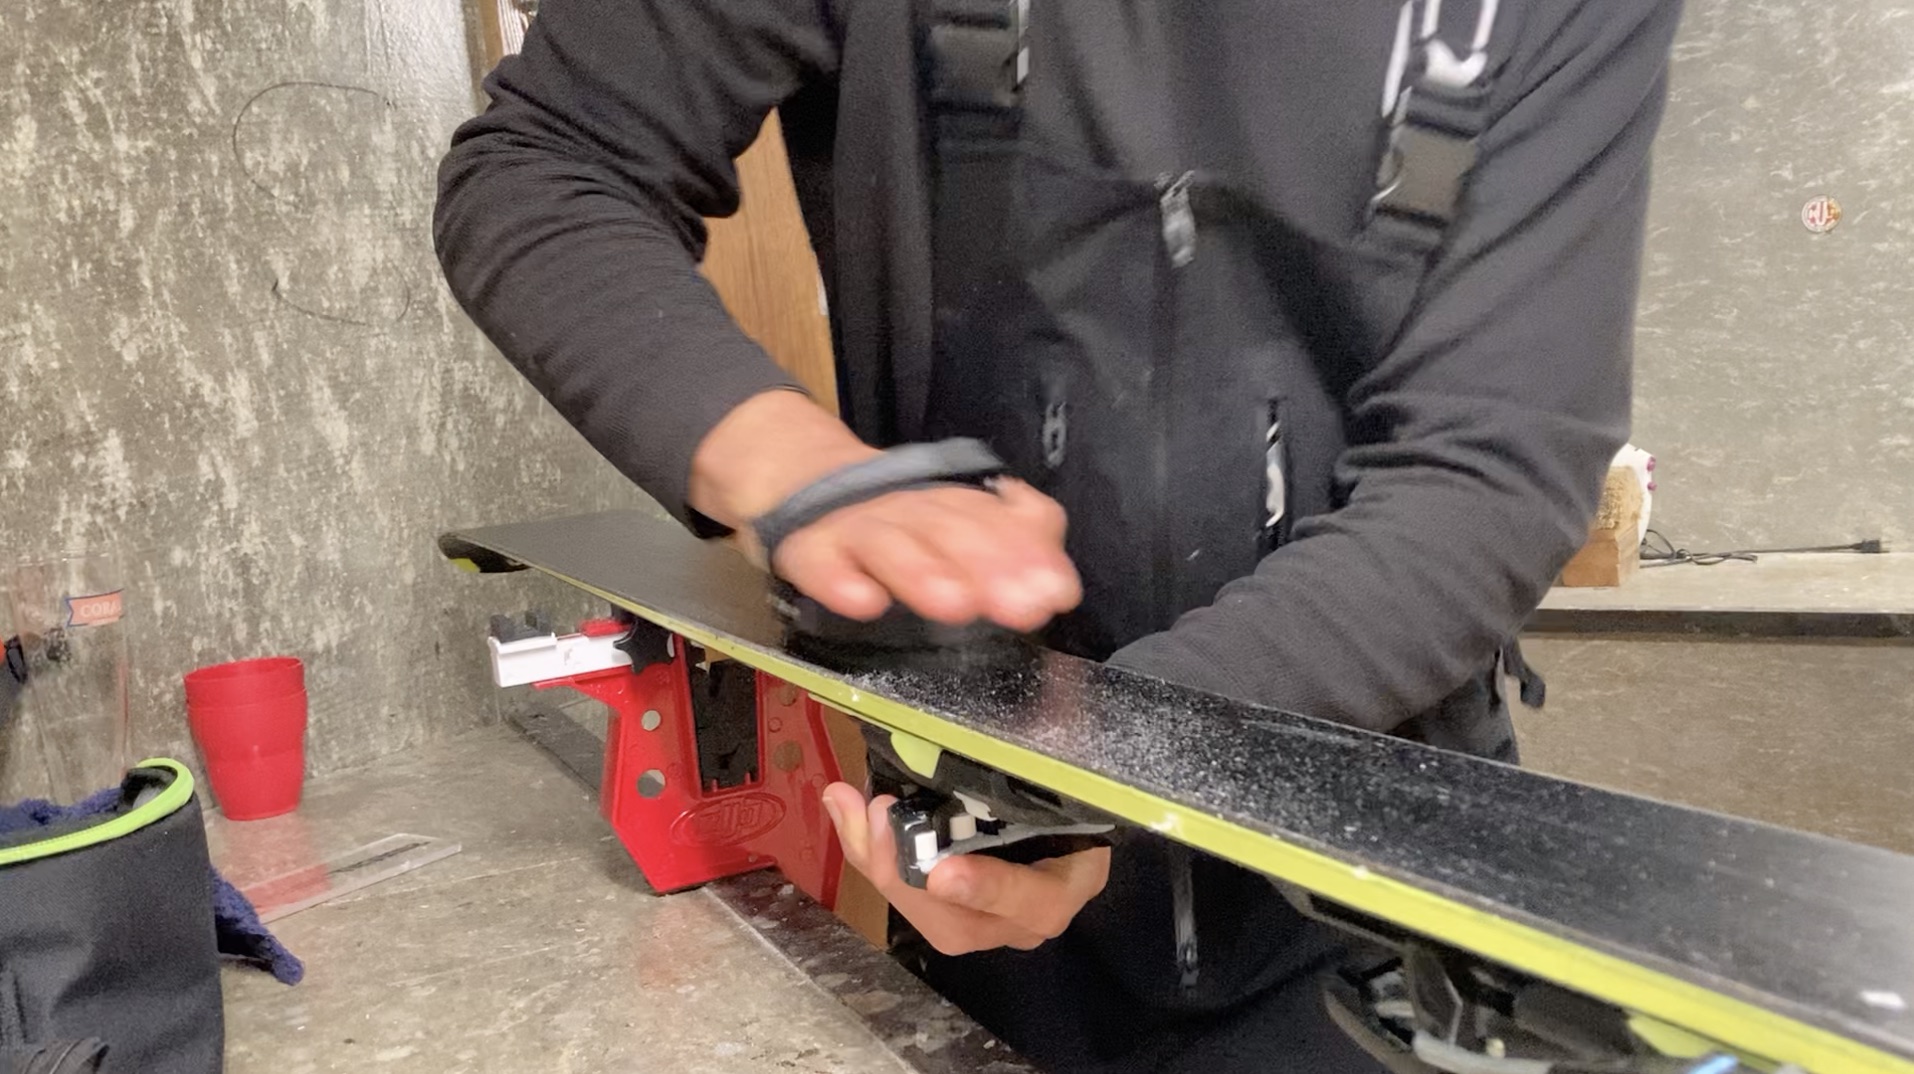
Nylon Brush (Tip To Tail)
The final step is to rub a nylon brush on the base of the ski. This really brings the wax out and pushes it into the pores of the ski base. You can apply lots of pressure, once again, working the brush from tip to tail.
-
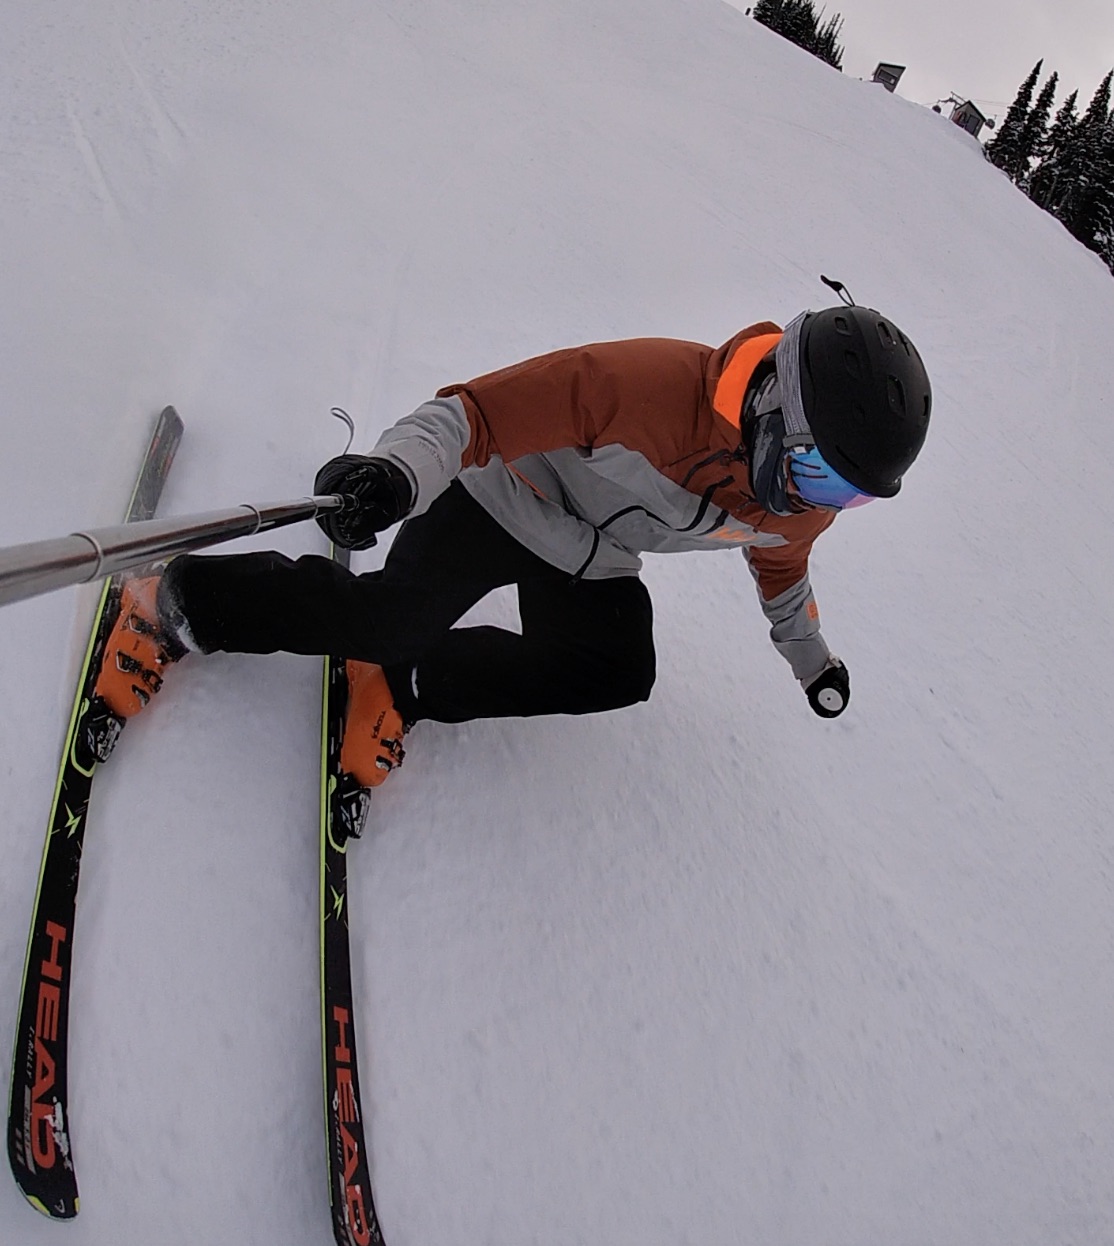
SHRED
The final and most important step is to go to the ski hill and SHRED!
Can I Damage My Bases?
Waxing is super easy and will not damage your bases. If you leave an iron sitting in one spot on your base, or use a metal scraper instead of plastic then you maybe you could be in trouble. Realistically, The biggest mistake you can make is applying too much wax (this is what I did my first time) and this isn’t much of a mistake, it just means that you will have to scrape for a little longer.
How Often To Wax?
You can wax skis as often as you want. World cup racers will wax their skis every single run. Most recreational skiers are not competing for gold medals so as a general rule of thumb, I would recommend re-applying wax every 4-6 days as needed. Any longer than 6 full days on the mountain your bases will once again be thirsty for wax and will be more susceptible to damage if you don’t give them the love they deserve.
Should You Wax New Skis?
Absolutely! Even though manufacturers or salesman might say they are ready to go, it is always best to hot wax them before you take your first turns.
Waxing skis is super easy and I think it is something that every serious skier and snowboarder should get in a habit of doing. Don’t be intimidated by the thought of waxing your own skis. It’s super easy and you won’t do any damage to your skis by applying too much or too little.
Hopefully this beginners guide to waxing skis and snowboards was helpful.
I want to apologize in advance to all of the people out there whose clothes may become stained if someone else in your household decides to use the clothing iron for more important purposes (ie. Waxing skis).
Let me know if you have any questions about waxing skis in the comments!