If you are contemplating it at all, the answer is simple, YES, YES and YES. This experience could be the difference between a safe or disastrous day in the Backcountry.
Avalanche training offers invaluable knowledge for new and more experienced Backcountry goers alike. These days most groups heading out for a trip will not be willing to have you join if you don’t have your Avalanche Safety Training Level 1, greater, or an equivalent.
I’ve always had a lot of respect for the ocean, water, and the power of rivers. I’ve seen plenty of fisherman plunge into sub-zero temperature water and struggle to get out alive in their fishing waders. But, resort skiing most of my life I never really saw snow or mountains as a potentially life threatening or dangerous, I just saw fun. I’ve admittedly ventured out of bounds many times having no clue if what I was doing was safe unaware of the many dangers above me and just below my feet.
Prior to taking my AST 1 course I had ventured on a few backcountry trips with some buddies with more experience than me. We ventured off in times of extremely low avalanche hazard and they gave me the lowdown on how to use the equipment and explaining to me some of the basics of safe travel and terrain recognition. To be honest, I thought I was a pro and had no problem evaluating safe terrain and would know exactly how to conduct effective recoveries if a need arose. Frankly, I’m very lucky that I didn’t have to learn lessons the hard way by getting buried or being unable to rescue a friend. I was nowhere close to being a pro and learnt that I will never be one. The mountains, weather and technology are always changing. Becoming and remaining educated on safe backcountry planning and travel will be something that I continue to pursue so long as I am summiting mountains and enjoying fresh turns away from the crowds. In short, taking my first ever avalanche safety course is up there as one of the best investments I’ve ever made.
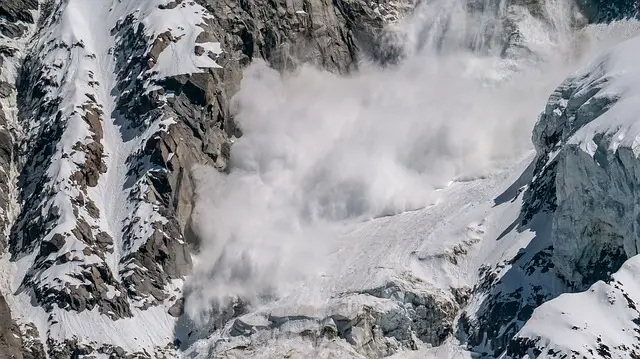
Table of Contents
My Personal Experience
Taking an avalanche completely changed the way I look at the mountains in the winter and has improved my systematic decision making in all seasons.
The first takeaway, which prior to attending I expected to be the most important portion of the course, was learning how to use avalanche equipment and conducting a companion rescue situation. I always thought the use of this equipment was self-explanatory but I learned that the little techniques matter in shaving off precious seconds and saving a buried persons life. Specifically, I found digging techniques helpful and practicing a number of rescue scenarios and receiving criticisms from the instructor was invaluable.
Prior, I imagined avalanches as random with overly complicated and unpredictable mechanics. believed people just got unlucky and that they could happen everywhere. Again, I wrong….
It turns out that rescue isn’t actually the most important part of the course.
I was trained to understand how avalanches form and how to classify the different types and sizes of avalanches. I became familiar with the Avalanche Terrain Exposure scale and how to understand the Avalanche bulletin on the Avalanche Canada Website.
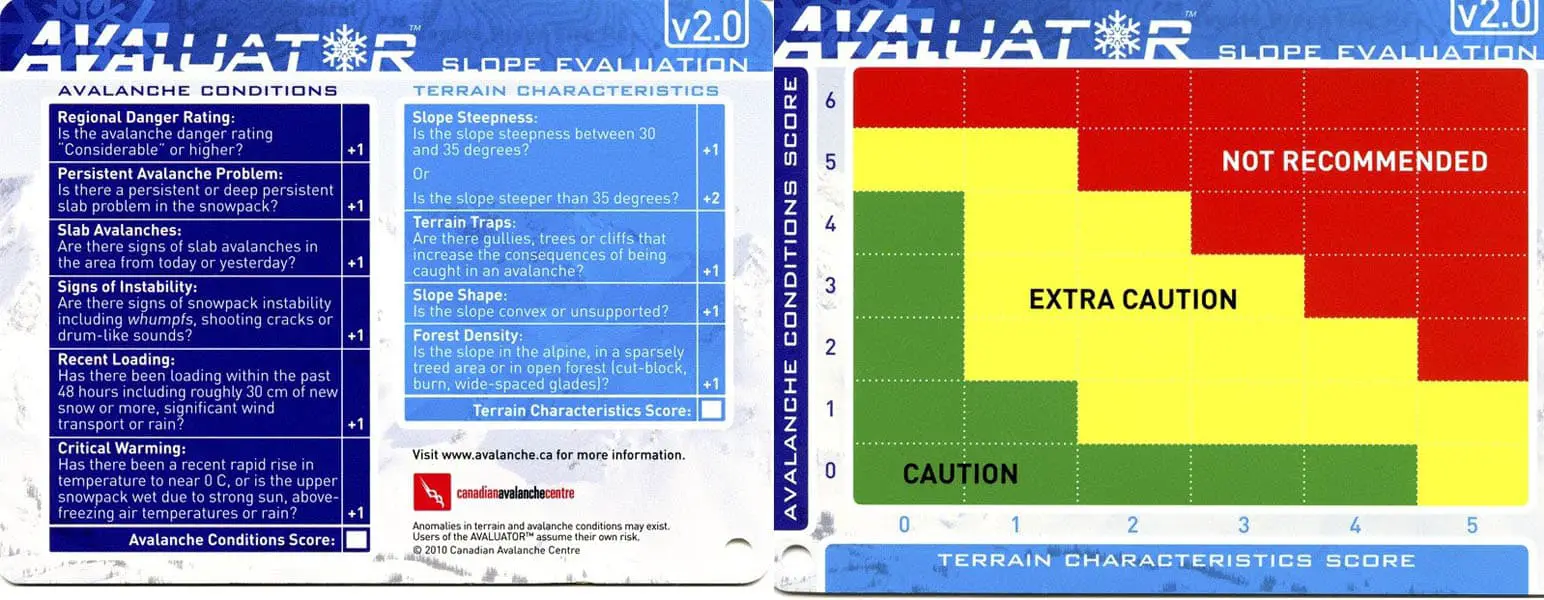
Most notably I became more educated on snow, weather observations and terrain selection enabling me to use these factors to minimize risk and keep me out of avalanche prone areas in the first place. One of the tools provided to help with this was the Avulator Trip Planner card which I continue to use to this day. It helps skiers and riders better decide the best terrain to travel and ride through depending upon the avalanche bulletin and conditions on that particular day. Avalanches can happen to the most experienced Backcountry goers and that’s why you have to be trained in rescue. But, by taking the proper precautions and making safe terrain decisions based upon the avalanche bulletin and comfort levels of the group you can greatly decrease and almost eliminate the potential for getting caught in a deadly avalanche.
Another bonus in taking a course is that you get to play around a bit outside and meet like-minded people. Most individuals who take an avalanche have very little backcountry experience and your instructor can be a wealth of knowledge if it’s you first time putting on skins and climbing an unfamiliar way. If you don’t have any friends who are interested in getting into the backcountry then you’ll likely meet people in a similar situation who would be more than willing to head out with you once the course is complete.
What to Expect?
The typical curriculum of an avalanche safety level 1 course can be completed in two days. The first day is typically a theory session in a classroom setting and the second day is spent in the field. Prior to Day 1 of the course you will likely be assigned some readings to get familiar with the basics. Some staple titles you may be assigned are Backcountry Awareness by Bruce Jamieson and Staying Alive in Avalanche Terrain.

Day 1
The first day is spent in a classroom learning from presentations, conversations and group activities. You will be introduced to the mechanics of avalanches and become familiarized with where, why and how they happen. You will learn how to read the Avalanche Canada avalanche forecast and use the ATES and your Avaluator tool to make sound decisions while travelling and planning for a backcountry adventure. The daily process will begin to be ingrained in your mind and you will learn the basics of companion rescue.
Day 2
It’s time to take all of the knowledge you acquired on day 1 and apply it to real life situations on the snow. Depending on where you are taking the course your instructor will plan a short backcountry route where you will practice your skills. You will begin your day with the “daily process” and During your uphill hike your instructor will work with you to improve your skills at identifying avalanche zones, terrain traps, steepness of terrain, snow types and layers and using appropriate travel techniques. On day 2 you will have a chance to practice companion rescue using your avalanche rescue gear in real time. It’s important to play around and be very comfortable with your gear so don’t feel embarrassed to take out your shovel and probe and practice digging like a maniac.
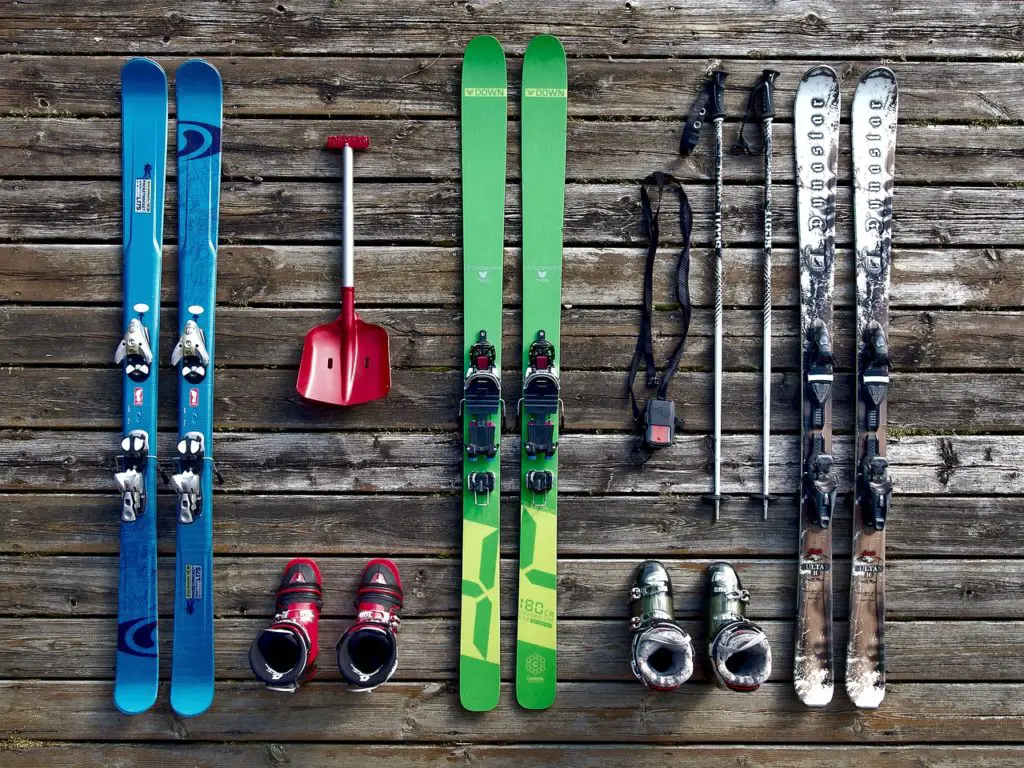
What Kind of Gear Do I Need?
To take an avalanche course you will have to have a way to travel effectively through snowy backcountry terrain. Most courses require either skis and skins, Snowshoes or a splitboard. The avalanche training companies will not rent this type of equipment so if you need to rent you will have to find a local third party company like All Access Adventure who rents backcountry gear.
You will also be required to carry an avalanche transceiver, probe and shovel. You can use your own safety gear (which I recommend), because it is always best to be most comfortable with how to use your beacon, probe and shovel. However, if you do not want to commit to purchasing gear most courses will rent you everything for around $30 for the entirety of your course.
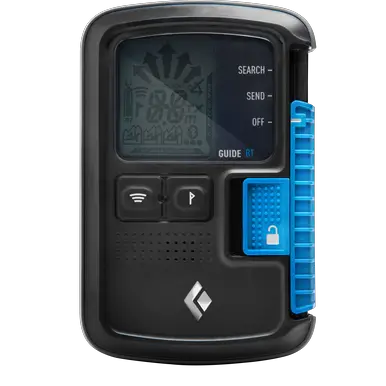
The Transceiver “Beacon”
An avalanche transceiver is an emergency locator worn on your body and used in a companion rescue. All adventurers are expected to be wearing a beacon and have it on in the “Transmit”/ “Send” mode at all times when travelling in the backcountry. Beacons all admit an internationally standardized radio frequency of 457kHz and have more than 2 antennas usually 3. Digital beacons are the most commonly used beacons and what is recommended, they use arrows on the display and audio frequencies to help you locate buried victims. I personally use a Black Diamond Guide BT Beacon and have become very comfortable with it.
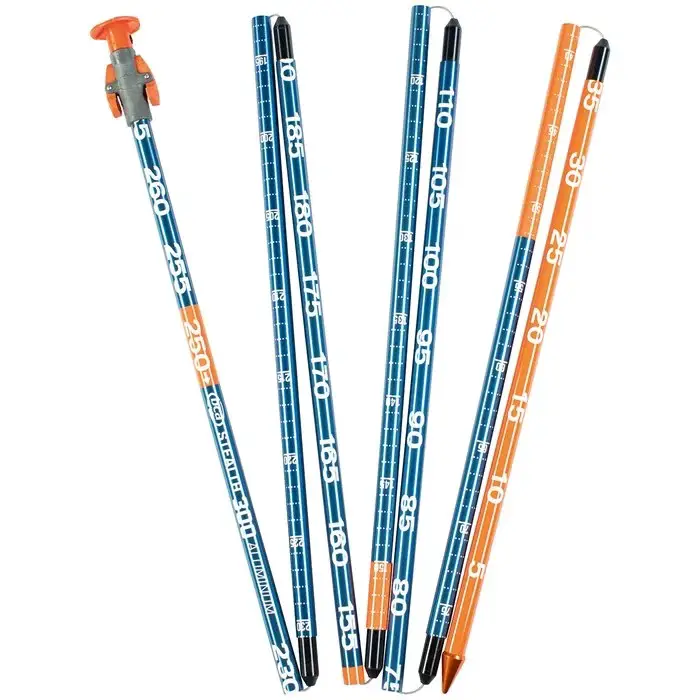
The Probe
Once the location of the buried victim is pinpointed using the transceiver it’s time to use your probe. The probe is a long collapsible aluminum/carbon rod that is used to pinpoint the exact location of a victim under the snow. The burial depth of a victim in an avalanche can very so many probes are around 300cm to ensure you will be able to locate the victim no matter the depth. A probe is used in a stabbing fashion in the snow until your hit the victim allowing you to dig in the best possible area and save time. I carry a BCA stealth 300 aluminum probe every time I venture into the backcountry.
The Shovel
Avalanche shovels come in all shapes and sizes. The important thing is that it’s light and packable and you know how to dig like hell with it. I personally always carry the BCA Dozer 2H Shovel.

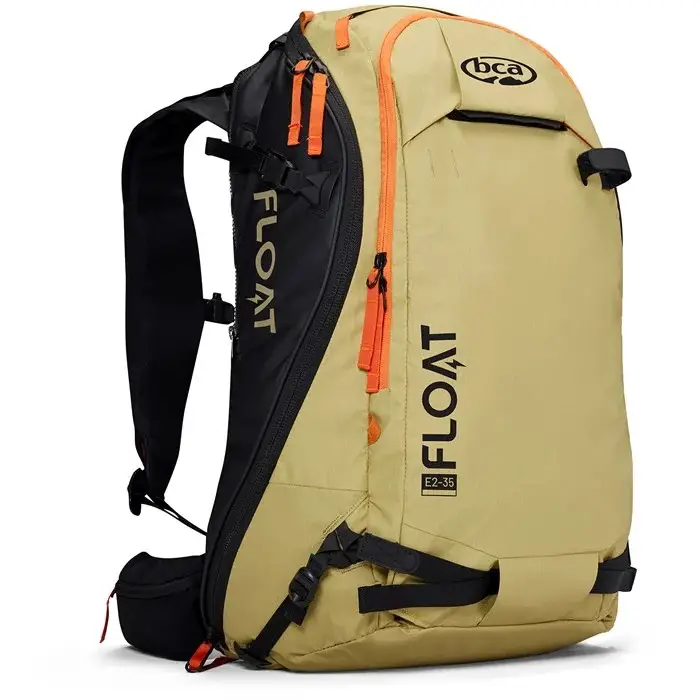
A Backpack or Avalanche Airbag
The last thing you’ll need is a backpack to carry all of your avalanche safety gear. When I first started I just used a 60L hiking backpack. However, in an emergency situation this is impractical, and most ski sized backpacks can’t fit avalanche gear. Thankfully companies make specially designed ski backpacks for backcountry skiing. These backpacks, like the BCA stash 20, have a designated area to hold all of your avalanche gear. Another awesome option is to invest in an avalanche airbag. This technology has been proven to save lives on mellow terrain. If you want to learn more about avalanche airbags you can read more here.
The Downsides?
I know it’s super hard to take a weekend off in the winter. But, to be honest, there isn’t a downside. Even if you are the best backcountry traveler on the planet everyone needs a little refresher now and then. A typical AST 1 course in Canada costs around two to three hundred dollars. This small cost to getting educated will pay off in massive dividends over the course of you back country lifetime. In the end, you cannot really put a price on your friends, your loved ones and everyone getting back for a beer after a great day of adventure.
Who should I take the course with?
There are many organizations that offer Avalanche training. Below are some well known and recommended Avalanche training course providers for those living in BC’s lower mainland.
Canada West Mountain School: https://themountainschool.com/
Extremely Canadian: https://extremelycanadian.com/avalanche-skills-training-1
Grouse Mountain: https://www.grousemountain.com/products/avalanche-skills-training-level-1
Mountain Skills Academy & Adventures: https://www.mountainskillsacademy.com/
Use the Avalanche Canada Search tool to find an accredited avalanche course provider nearest to you.
https://www.avalanche.ca/training/courses
What’s Next?
Like anything In life, you can always learn more, hone your skills and become better prepared. Personally, I plan to take my higher level Avalanche Safety courses and get very comfortable with crevasse rescue so I can be better prepared in complicated terrain.
Have you taken an avalanche safety course? Do you think it was beneficial?
Let me know in the comments.