The Cape Scott Provincial Park highlights the absolute best of Vancouver island. The 48km (out and back trail) journeys across breathtaking coastline, white sand beaches, dense coastal rainforest and showcases the best of West Coast wildlife. It’s an unforgettable journey that follows the rugged remains of wagon trails left behind by Danish Settlers in the late 1800s. The trail is loaded with history and many artifacts still remain on and off the hiking route. There are 3 main beach campsites on the trail which are all equally amazing; Nels Bight, Experiment Bight, and Guise Bay. The ideal stay on the Cape Scott trail is 2-3 nights and is the perfect way to experience the park. We met many North Coast trail hikers who admitted their favourite section of the trail were the beaches at Cape Scott. The Cape Scott trail is a bucket list adventure for all backpacking enthusiasts and allows the opportunity to sleep in the sand of the most beautiful beaches in Canada.
Table of Contents
The Breakdown
| Distance (Round Trip) | 48km |
| Elevation Gain | 1048m |
| Time (Round Trip) | 3-4 days |
| Dogs | Prohibited |
| Camping | Yes (Wilderness - $10/night) |
| Season | Year Round |
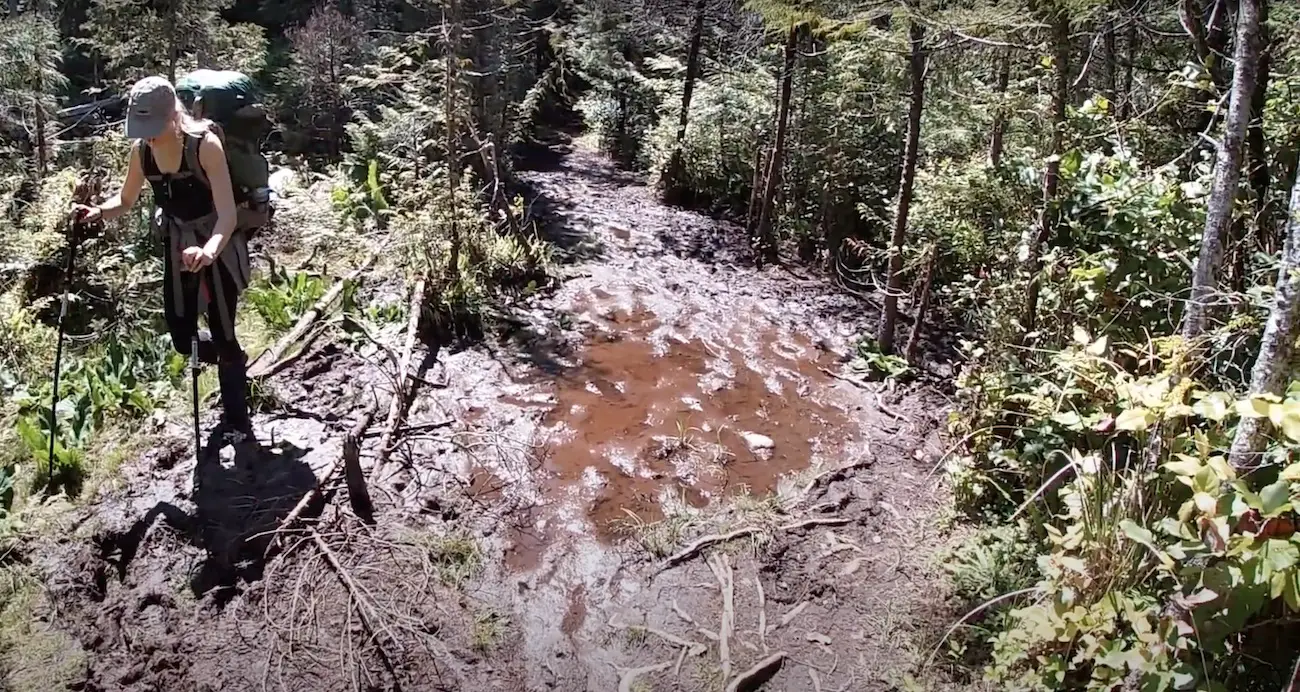
| Difficulty | Complex coastal & rainforest terrain (MUDDY & ROOTY) |
| Remoteness | Heavily Trafficked |
| Peak Season | June-Sep |
Remember the Backcountry Basics
- Carry your Survival Kit & Essentials
- Let someone know where you’re going with a Trip Plan
- Know how to avoid negative wildlife encounters
- Practice Leave No Trace to keep the wilderness pristine
- Carry a Satellite Communicator like SPOT X
Driving Directions
Make sure to stock up on food and snacks in Port Hardy. This is also the last place that you will have cell phone service so make sure to send off a trip plan to a friend or family member.
The road from Port Hardy to Cape Scott Provincial park is not paved, it is a very well-travelled and well-graded logging road. It can be easily driven by most vehicles, just make sure to take it slow if your vehicle has lower clearance. There were some large potholes, especially before and after bridges. Make sure to always stay to the right side of the road and expect the unexpected.
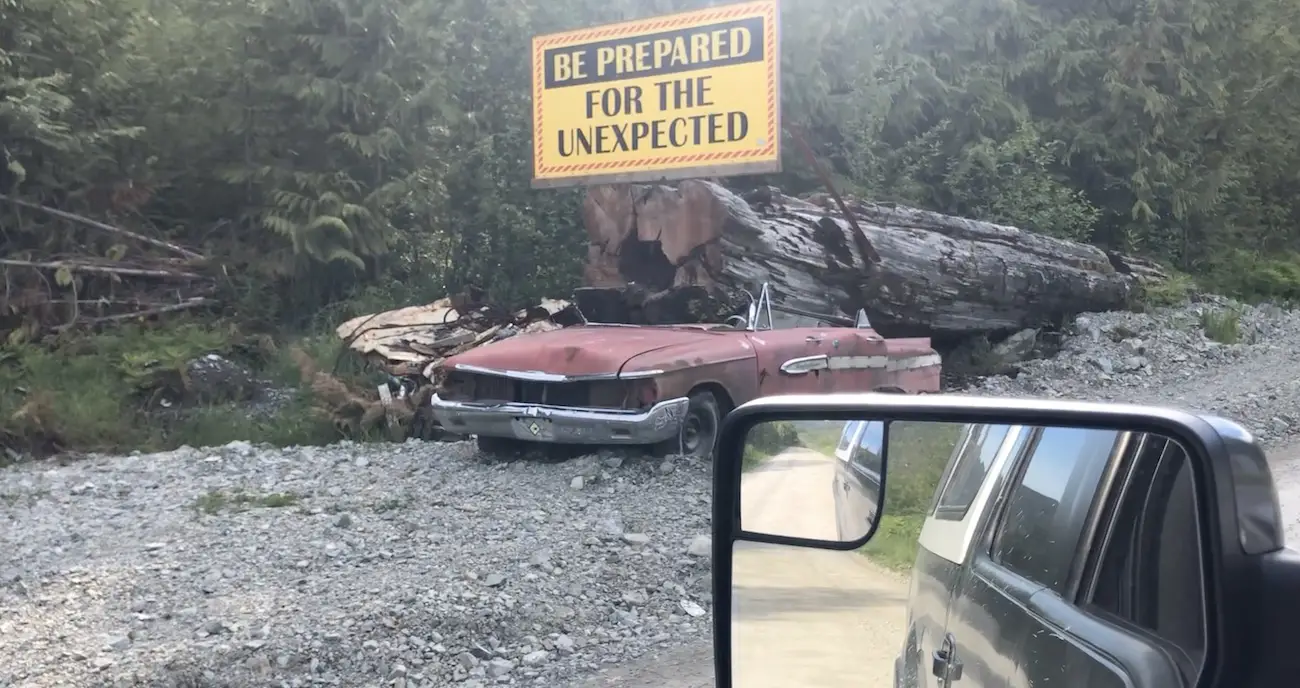
From Highway 19, approx. 2km south of Port Hardy, take Holberg Road and follow the 45.5km gravel road to Holberg. Go slow when passing through Holberg and enjoy peeking around the very unique tiny town. There is great signage to Cape Scott from here on out. Continue on San Josef Main Road and keep following signs to Cape Scott Provincial Park. The trailhead is at the end of San Josef Main, approx. 18.5km from Holberg. There is an upper parking lot and a lower grass lot if its super busy. Give yourself around 2 hours for the drive or more and drive a speed suitable for the conditions.
Two notable stops to check out on the drive
-
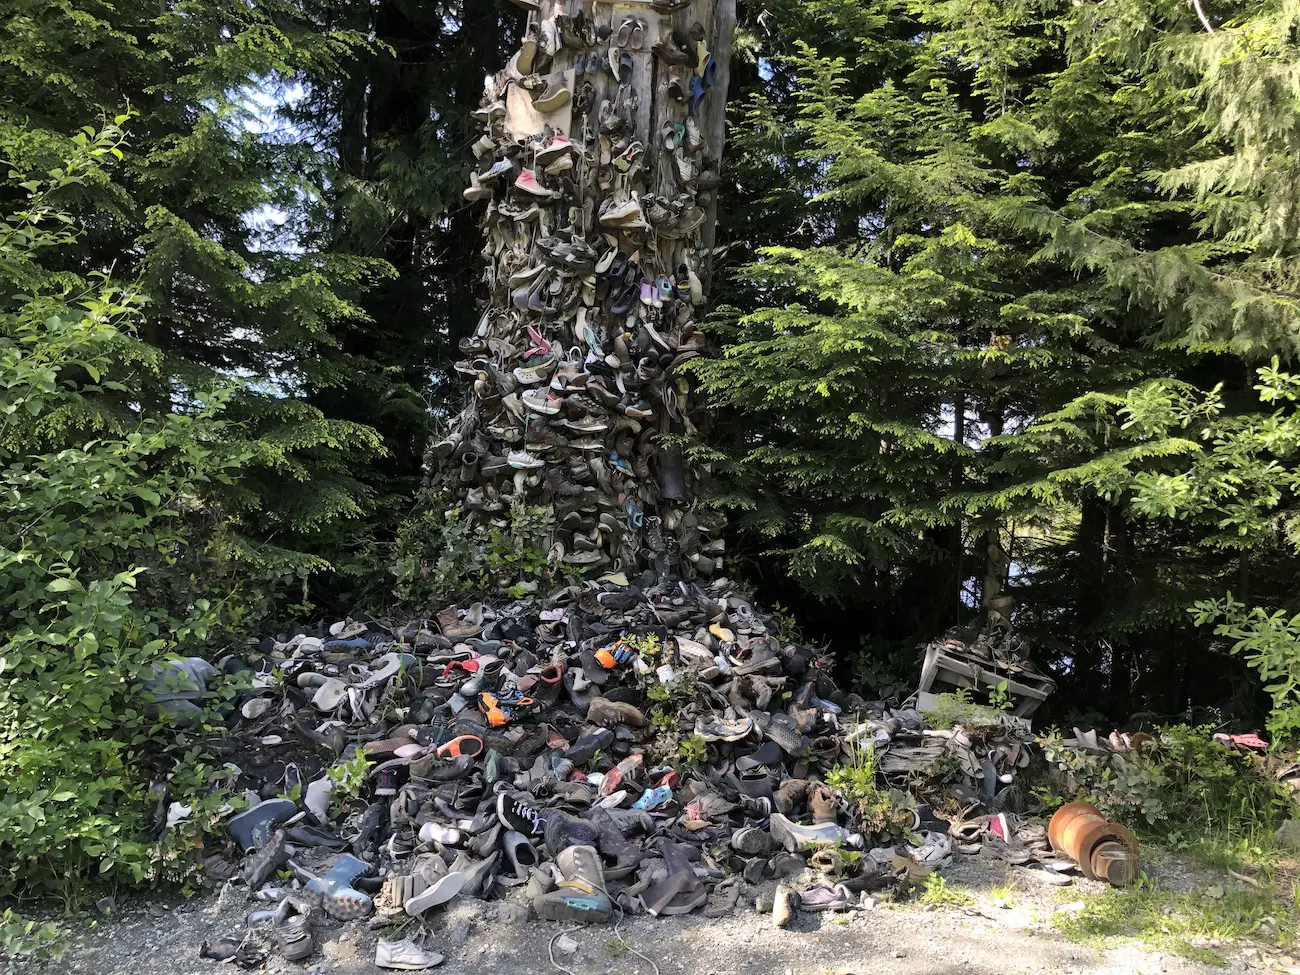
Shoe Tree
The ‘Shoe Tree’ is an old cedar tree completely covered in shoes. I saw sneakers, hiking shoes, heels and even some ski boots lying in the mess. The tree began as a joke by Holberg resident Tracey Anonsen in 1989. Now it is home to thousands of hikers shoes.
-
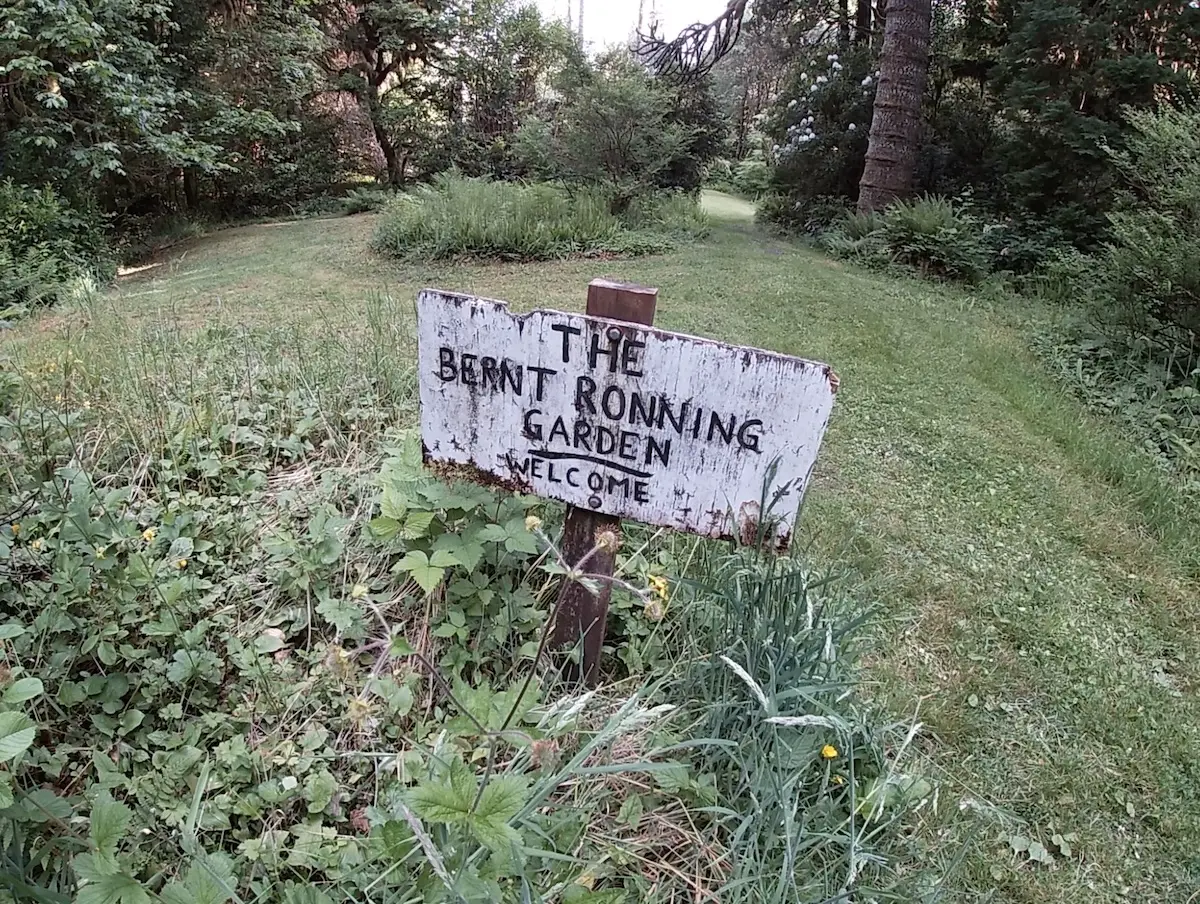
Ronning’s Garden
The second important stop is Ronning’s Garden located off to the right a few km’s before the Trailhead parking lot. This Garden is absolutely amazing and seems so out of place in the coastal rainforest. Bernt Ronning, a Norwegian settler, created the garden at his homestead near the terminus of the San Josef Wagon road in 1910. Over the years he cleared five acres of rainforest and planted the wilderness garden of his dreams. He ordered exotic plants from all around the world and even became a seed trader. His old house and garden are now a regular stop for all visitors in the area.
Trail Maps
All Trails Map
BC Parks Map
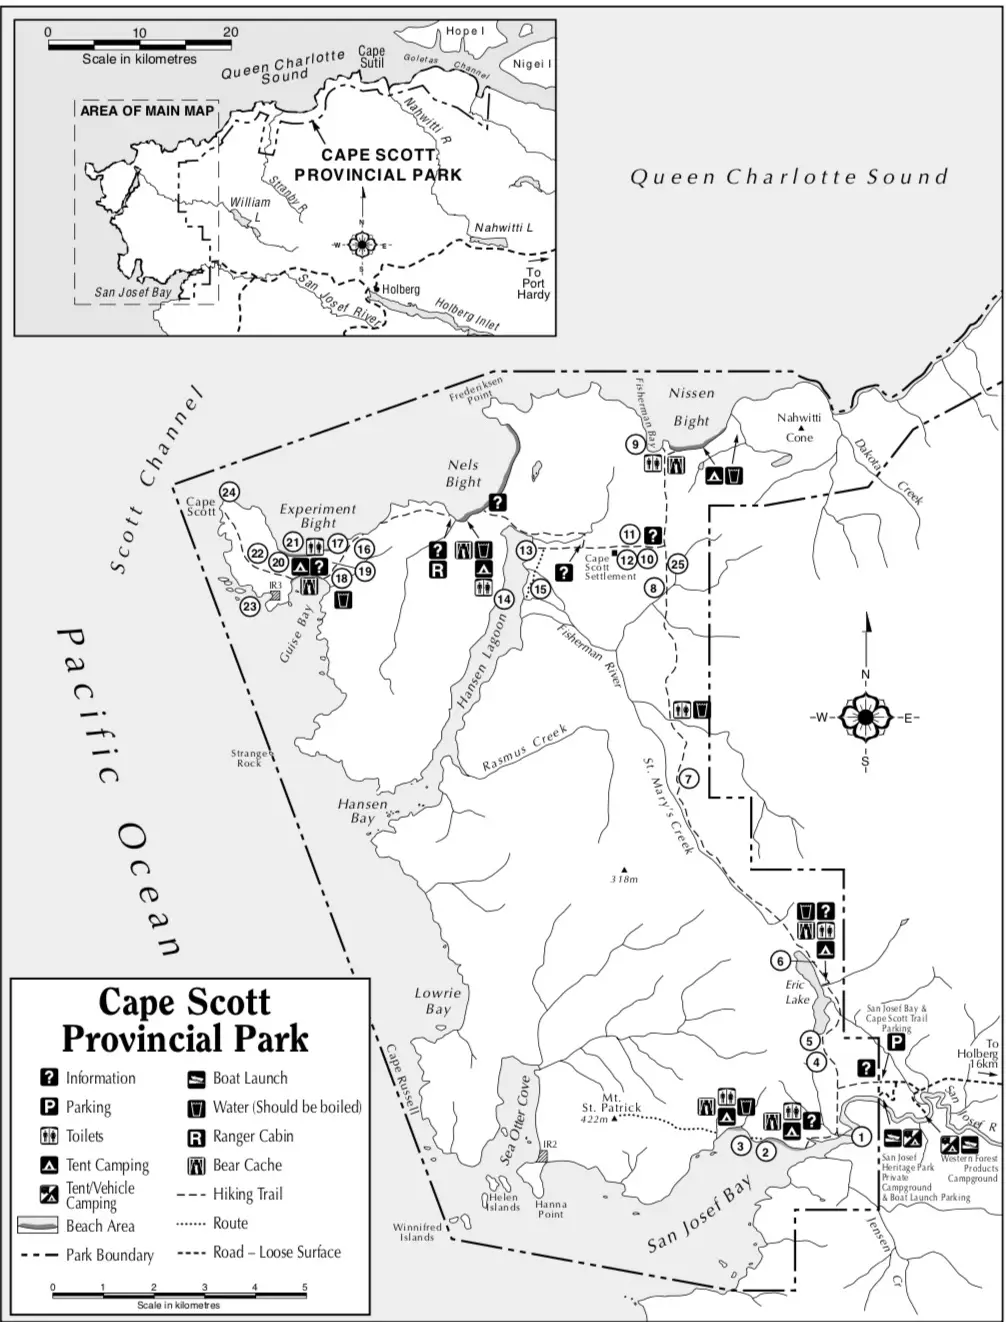
Click Here to Download and Print The BC Parks Map and Interpretive Guide
Free Camping at the Trailhead
If you want to sleep at the trailhead before embarking on the trail in the morning, the Western Forest Products campsite is a great option. Bear in mind, it’s extremely rugged, unmaintained and many of the sites were destroyed by fallen trees. However, it’s the perfect spot to park and get yourself all ready to go in the morning before you head off on the trail.
Campsites & Permits
Camping on the Cape Scott trail is first come first serve wilderness camping and is available year round. A backcountry registration is required May 1st – Sep 30th. You can self-register online (click here) or fill out the form and pay in cash at the trailhead. There is no change so be prepared to pay up front for all the nights you plan to stay. Take a screenshot, print or carry along the form you filled out because park rangers will ask to see it if you encounter them.
Bear Caches are at each campsite. Ensure you bring along some rope in prime season when the trail gets busy as you may have to create a bear hang if the cache is full.
The Backountry Camping fee is $10 per person/night (16 years and older) and $5 per child/night (6-15 years of age).
Click here to get your backcountry registration online
Eric Lake (3km)
The Eric Lake campsite is the least desirable place to rest your head for the night. The tent pads are located in dense forest and it doesn’t get too much natural light. The campsite is not on the lake and access to the lake isn’t very easy. It’s a boggy marsh type lake and isn’t the kind of place you would want to kick back, sun bathe or swim in. However, if you have a late start or become exhausted on the way back, it’s a great option to split your hike up.
Nels Bight (16.8km)
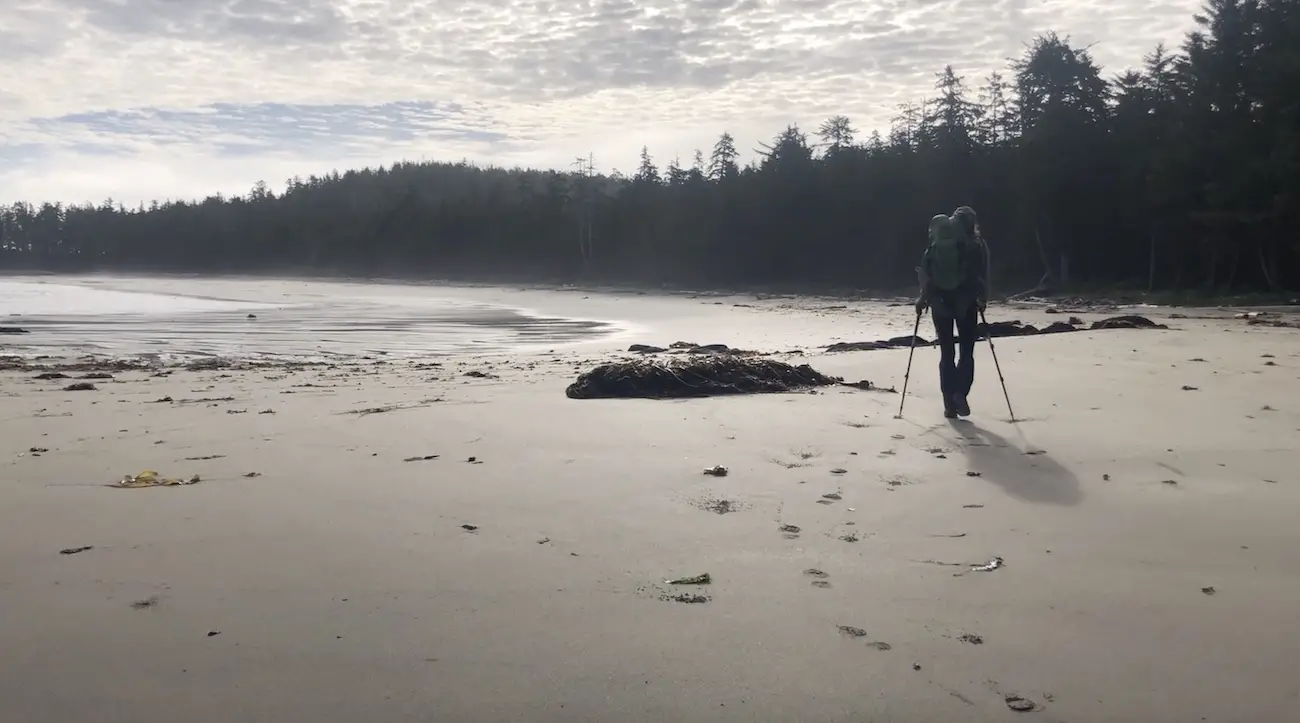
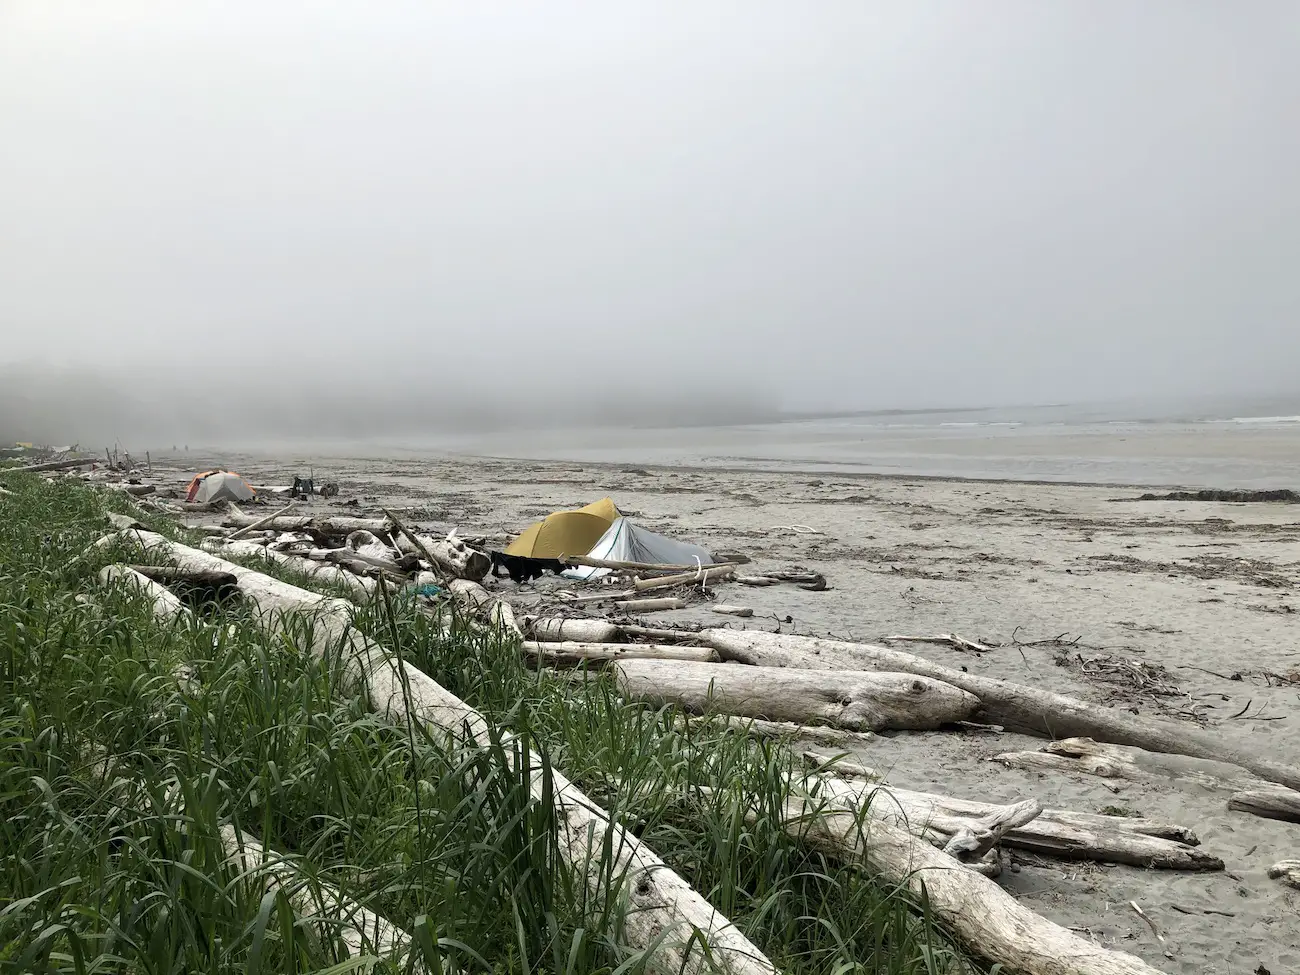
Nels Bight is the first beach on the Cape Scott trail and it’s a sight to behold. Nels is gigantic and at low tide stretches 2.4km long and 210m wide. It’s a favourite among hikers and is the most popular camping area in the park. Even in peak season, there is no shortage of areas to pitch a tent in the sand. It’s central, and the first beach camping area, making it the ideal site to setup basecamp and continue exploring the park. There is a water source, food caches, outhouses and the Ranger cabin is located near the beach. Nels Bight is well known for incredible beach sunsets.
Experiment Bight (18.9km)
Experiment Bight is the quietest of the three beaches. There are no facilities or a reasonable water source year round at the beach making it less popular for campers. The beach is gorgeous and is a fantastic spot to walk the sandy/rocky shoreline to find shells and sea creatures while enjoying the sound of thumping waves. If you do decide to camp on the shoreline of Experiment Bight you’ll likely have the beach all to yourself.
Guise Bay (20.7km)
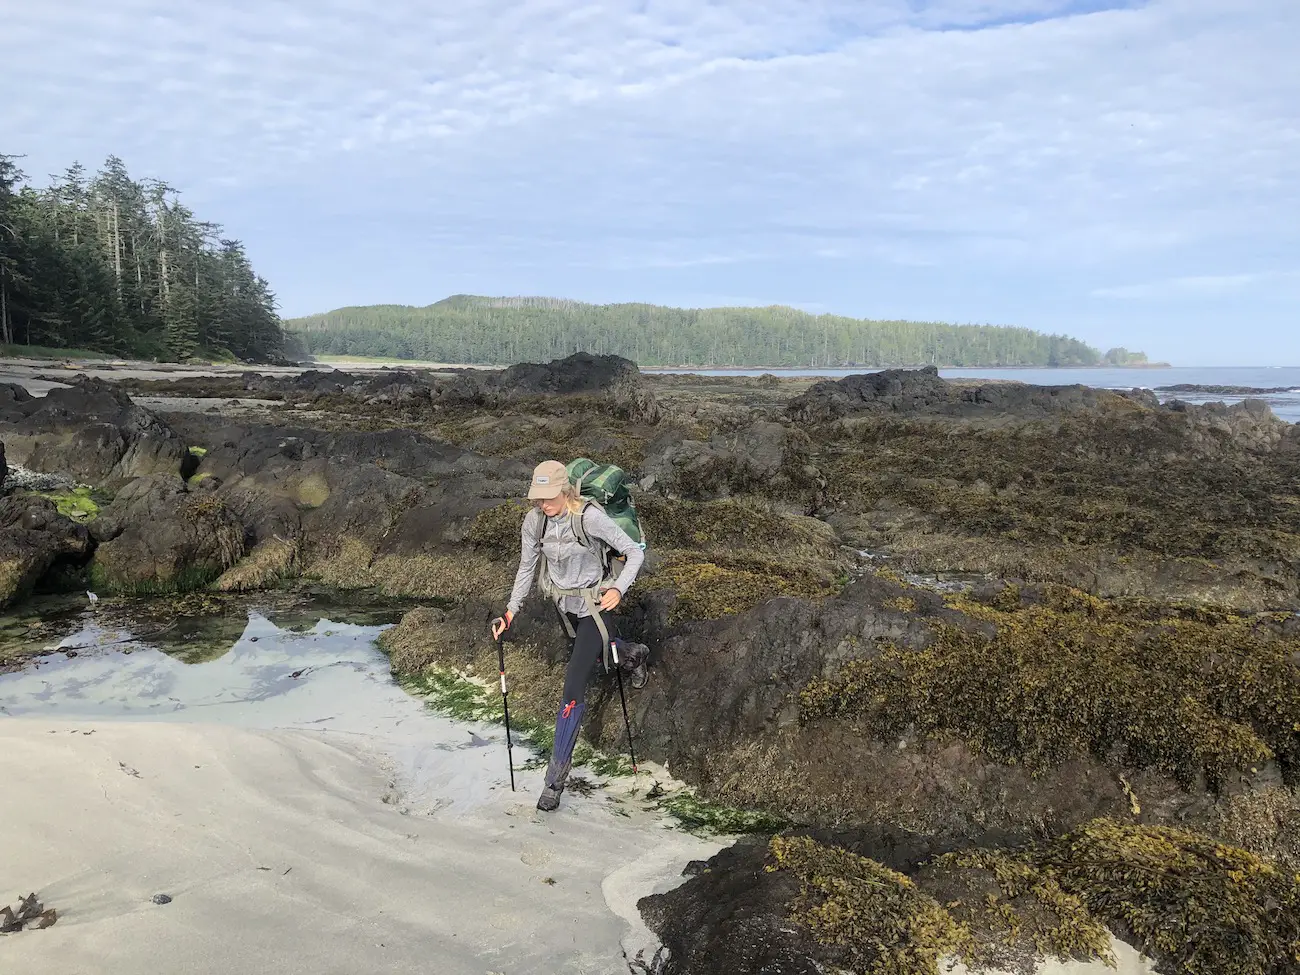
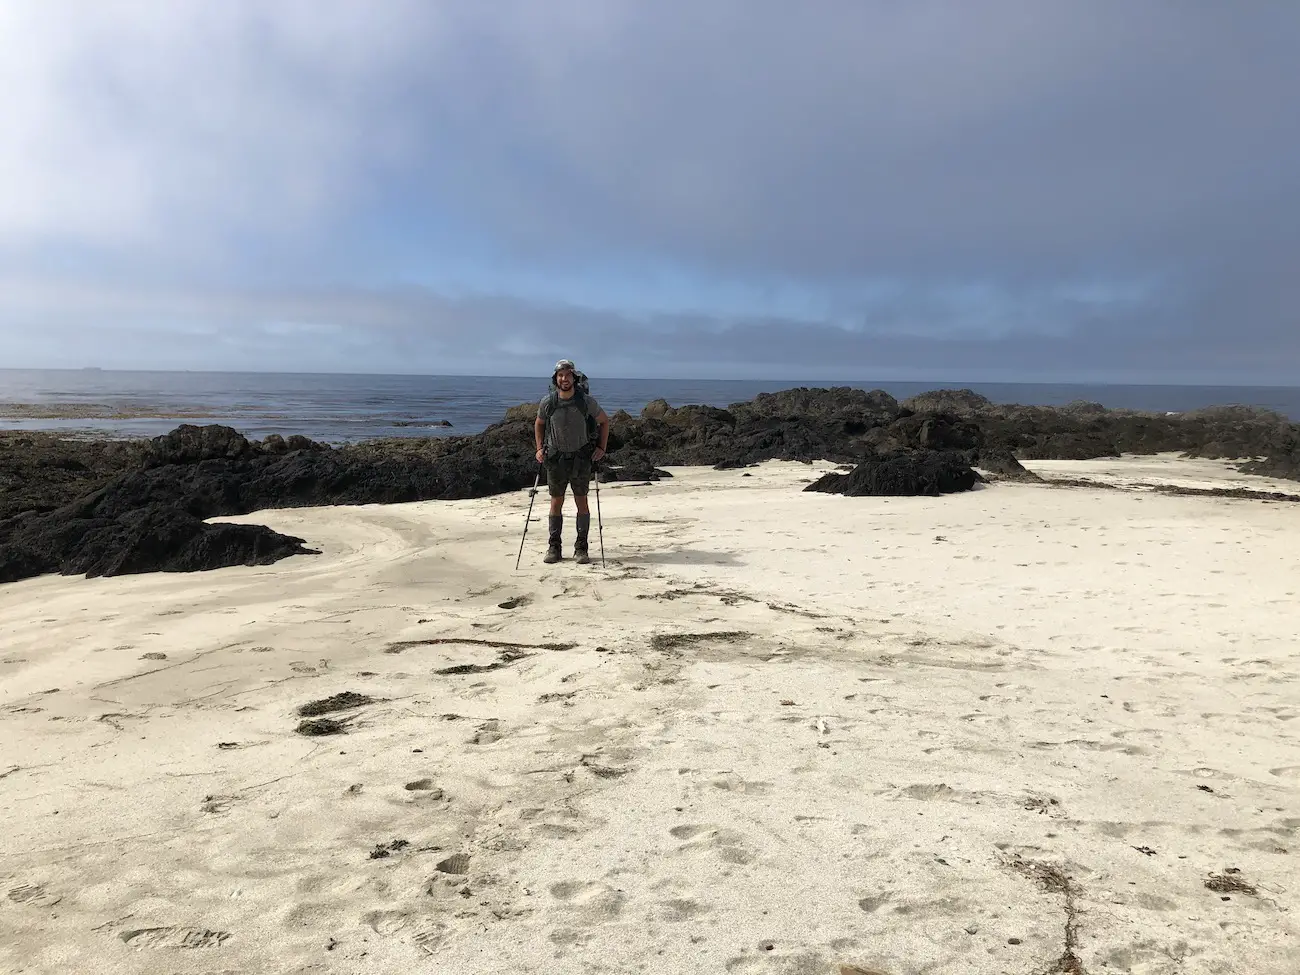
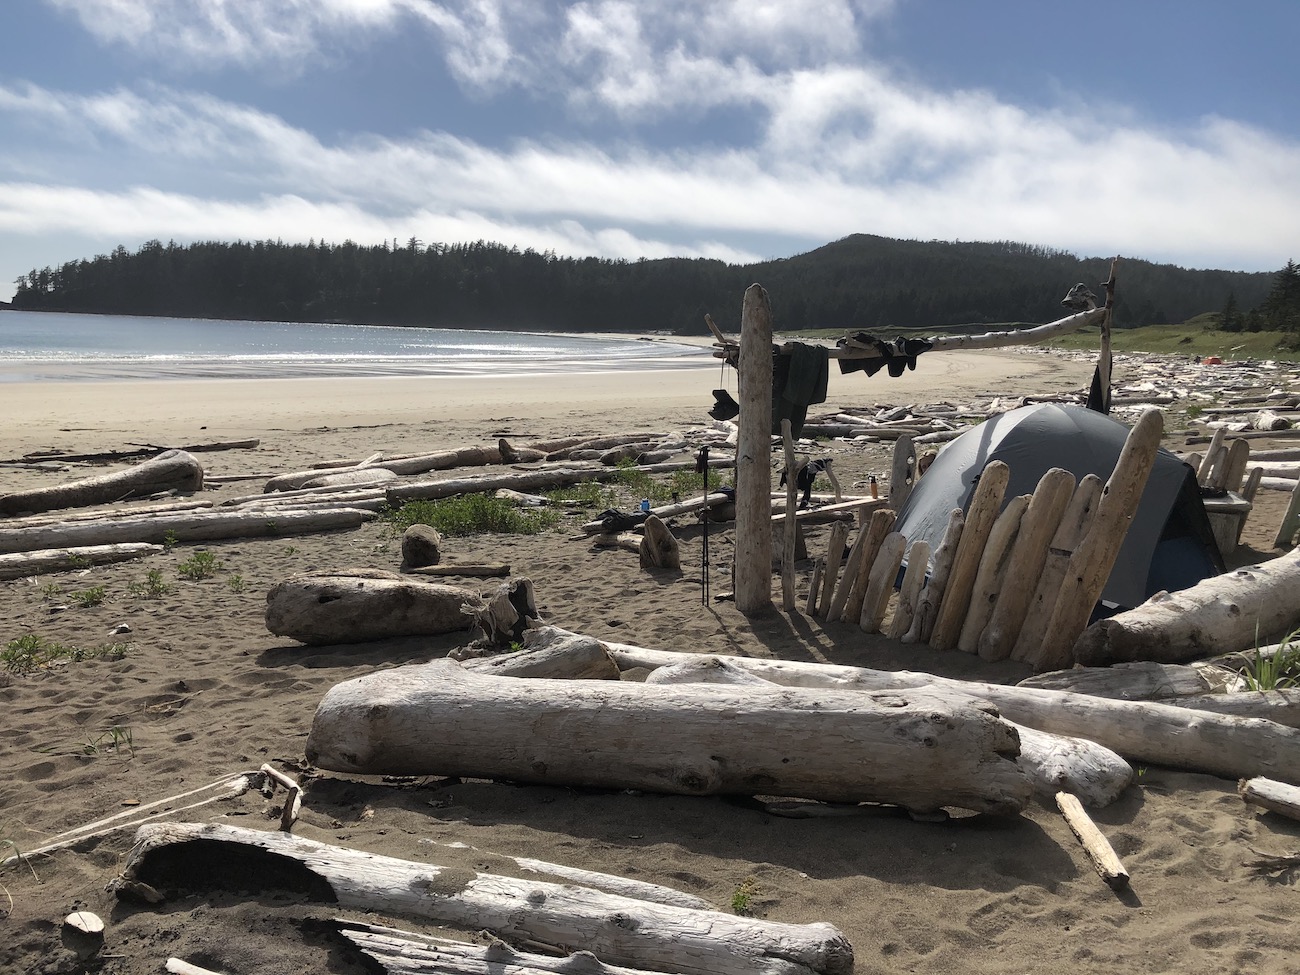
Guise Bay is indisputably the best camping spot on the Cape Scott Trail. The beach is a tropical paradise minus the frigid Pacific Ocean water. The shoreline is a crescent moon shape smothered in fine white sand from end to end. It’s protected from the wind, and the water is an amazing turquoise blue making it even more heavenly. It’s a great spot for a refreshing swim or to eat lunch if you doing a day trip to the lighthouse from Nels Bight. Guise Bay is significantly less popular since hikers have to carry gear an extra 5km in and out. Facilities are available including an outhouse, food cache and a creek for filtering water.
San Josef Beach (2.5km)
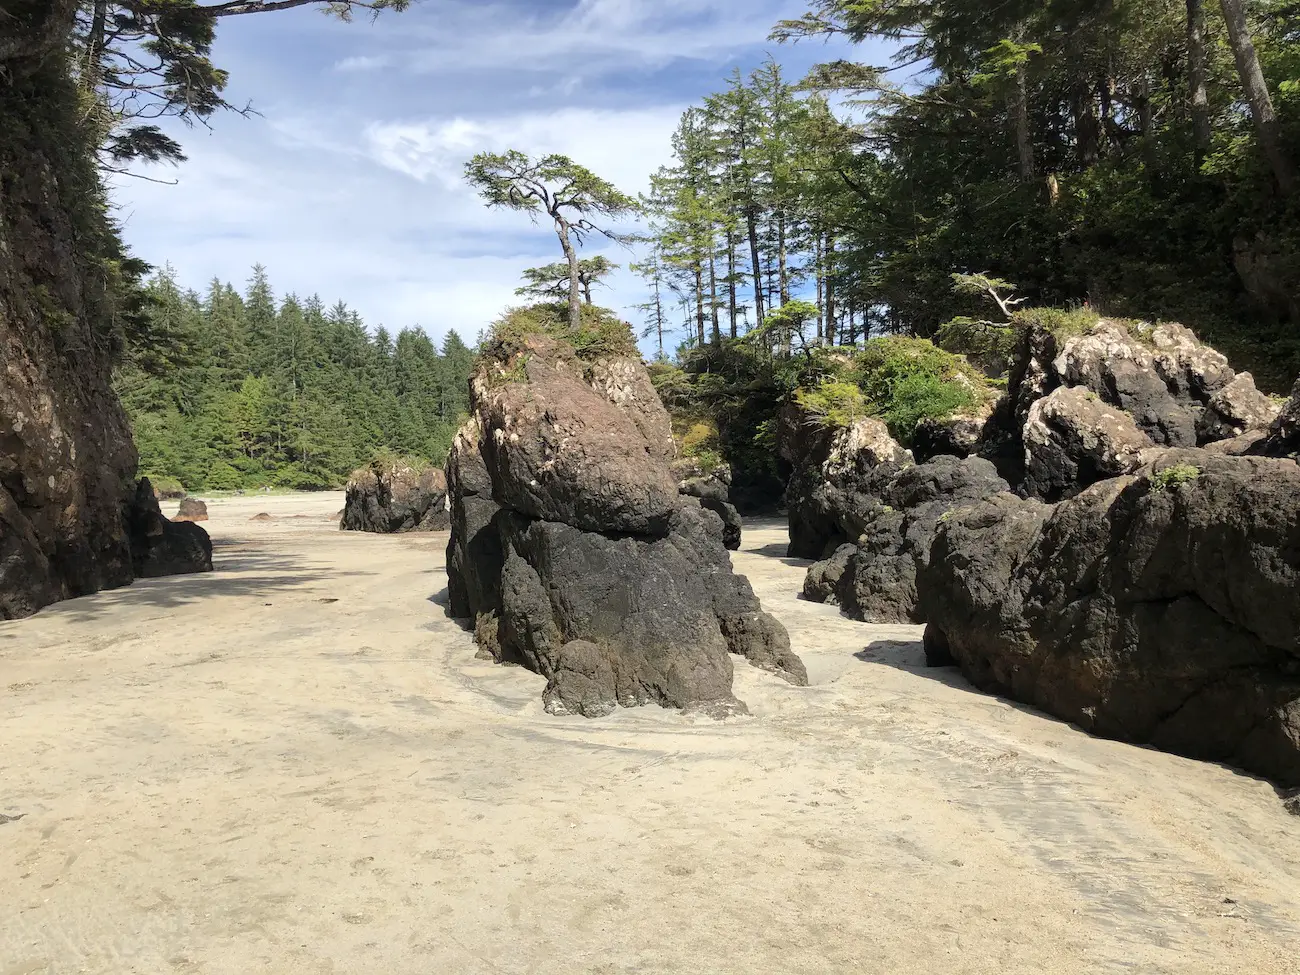
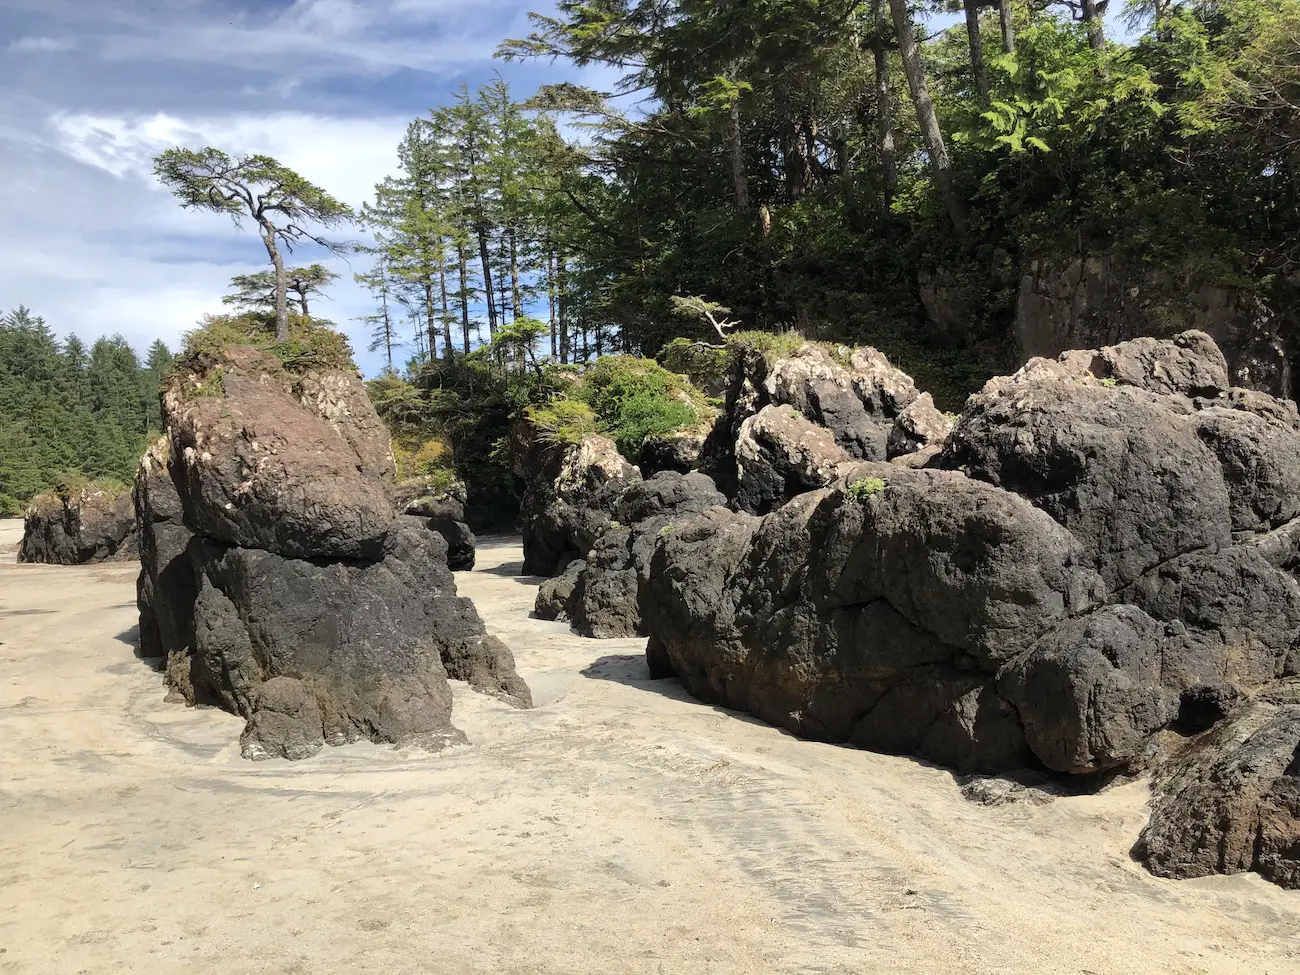
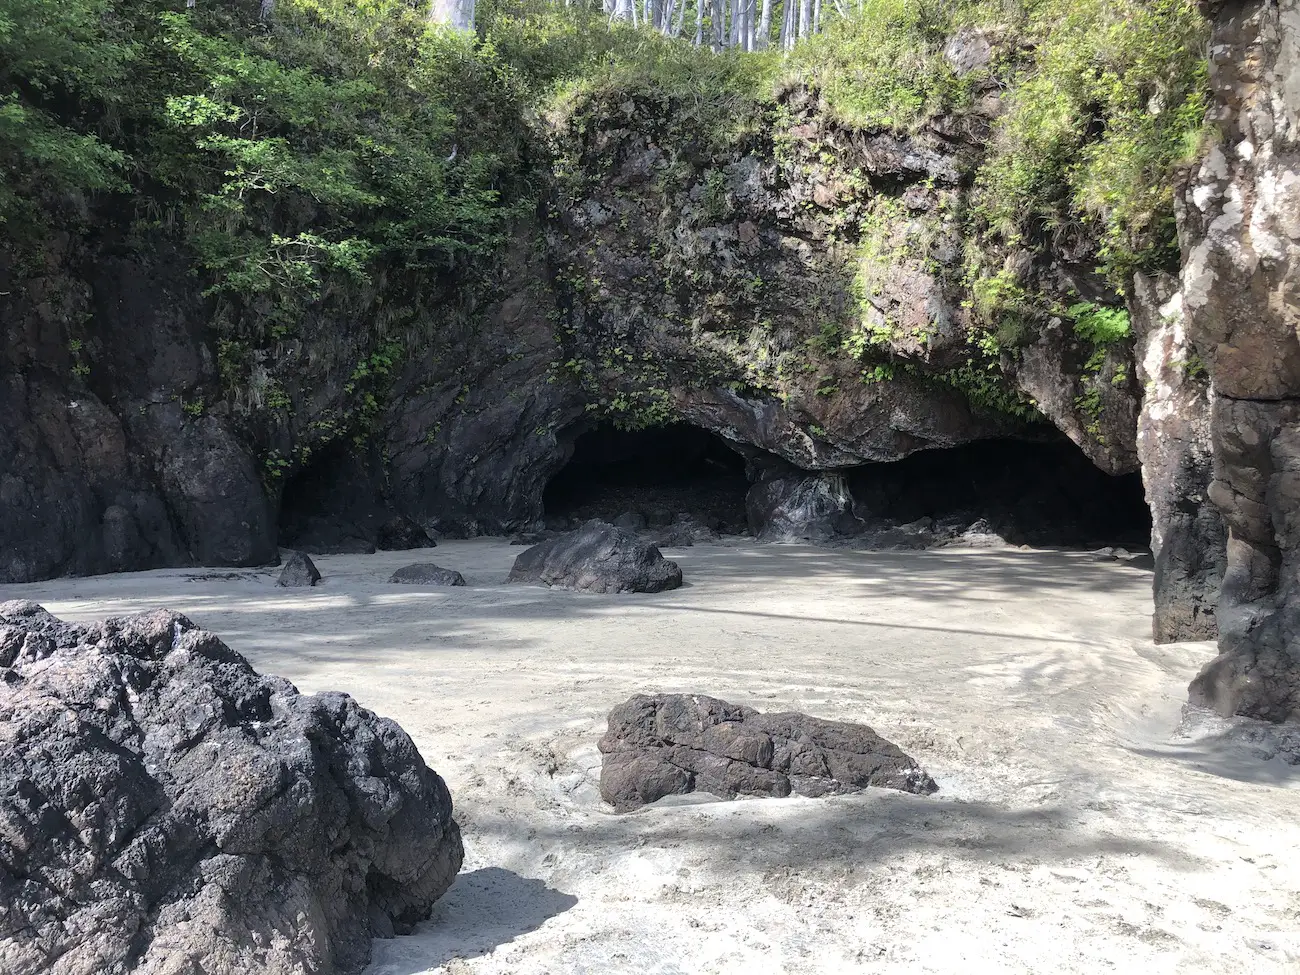
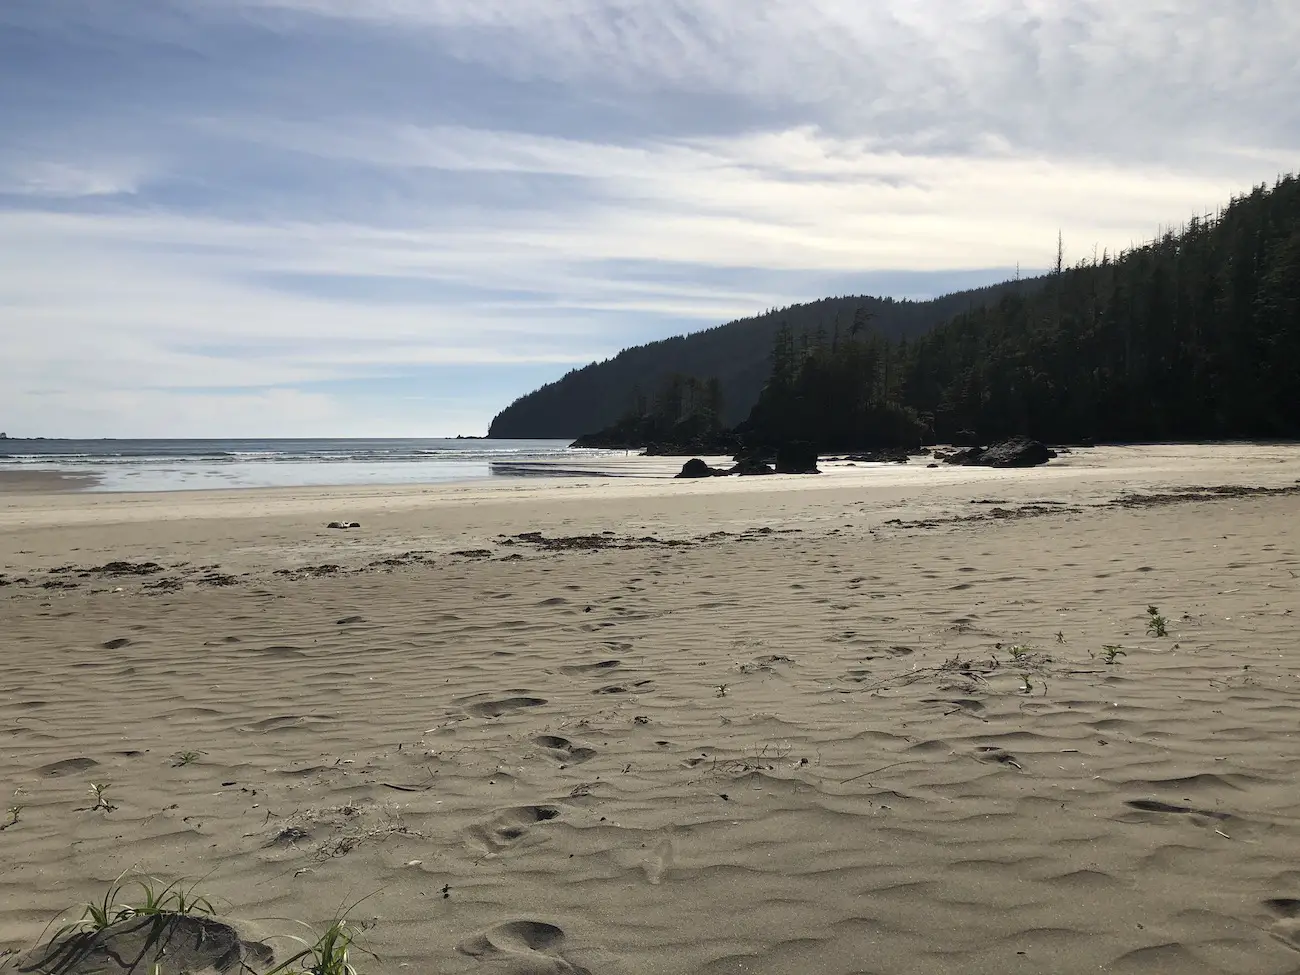
San Josef is the most popular beach in Cape Scott Provincial Park because of its easy accessibility. Campers flock to the beautiful shorelines of San-Jo all summer, some even pull wagons of camping gear and fire wood down the 2km gravel trail. The sea stacks and sea caves at low tide are what make San Josef so incredible. The sand is amazing and there are no shoes required here! When the tide is low walk to the far right to check out the sea stacks and sea caves. If you want a bit more privacy you can camp on a second section of beach just past the sea caves on the sand.
Our Cape Scott Trail Experience/Recommended Route (3 Days – 2 Nights)
Day 1: San Josef Trailhead – Guise Bay (20.7km)
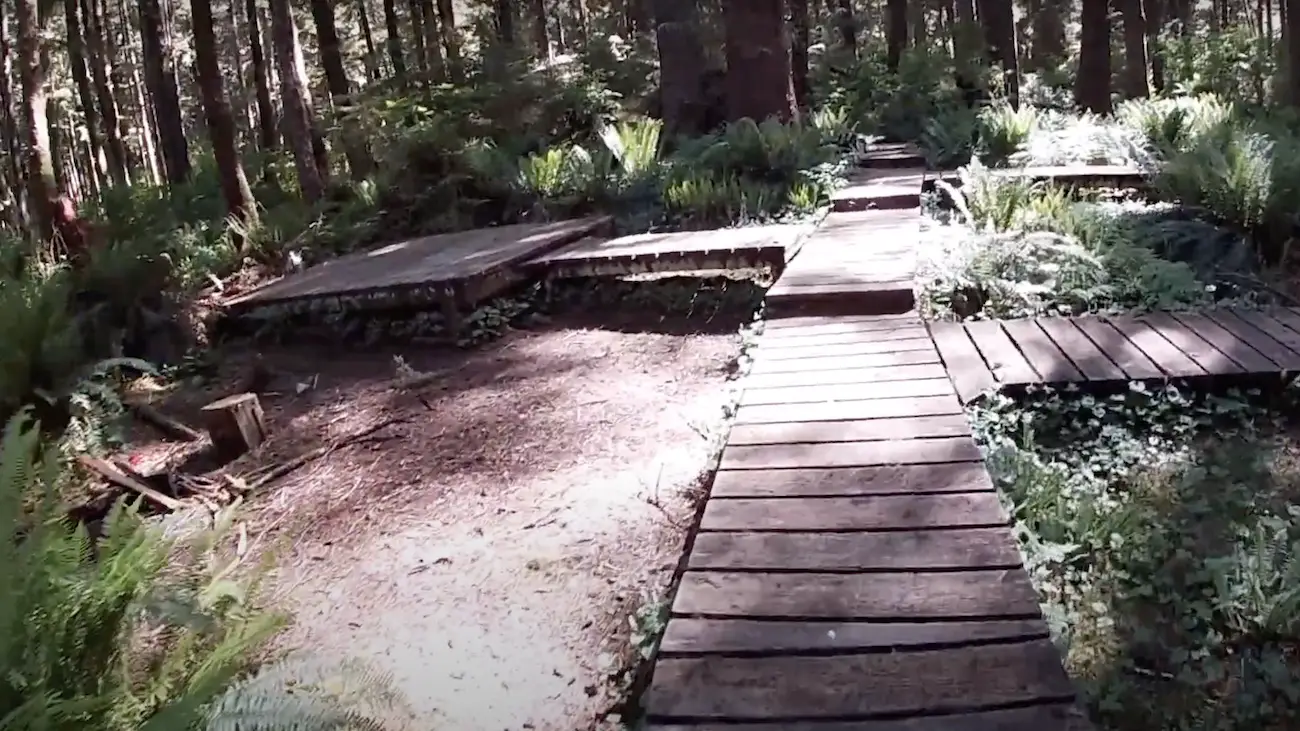
We woke up at the Western Forest Products Campsite and spent the first hour of our morning battling mosquitos while we packed our bags. Fortunately, we lucked out with a morning of sunshine. We paid for our camping permit and headed off on the trail at quarter to ten. The mud started immediately and my feet were soaked by Eric lake at the 1km mark.
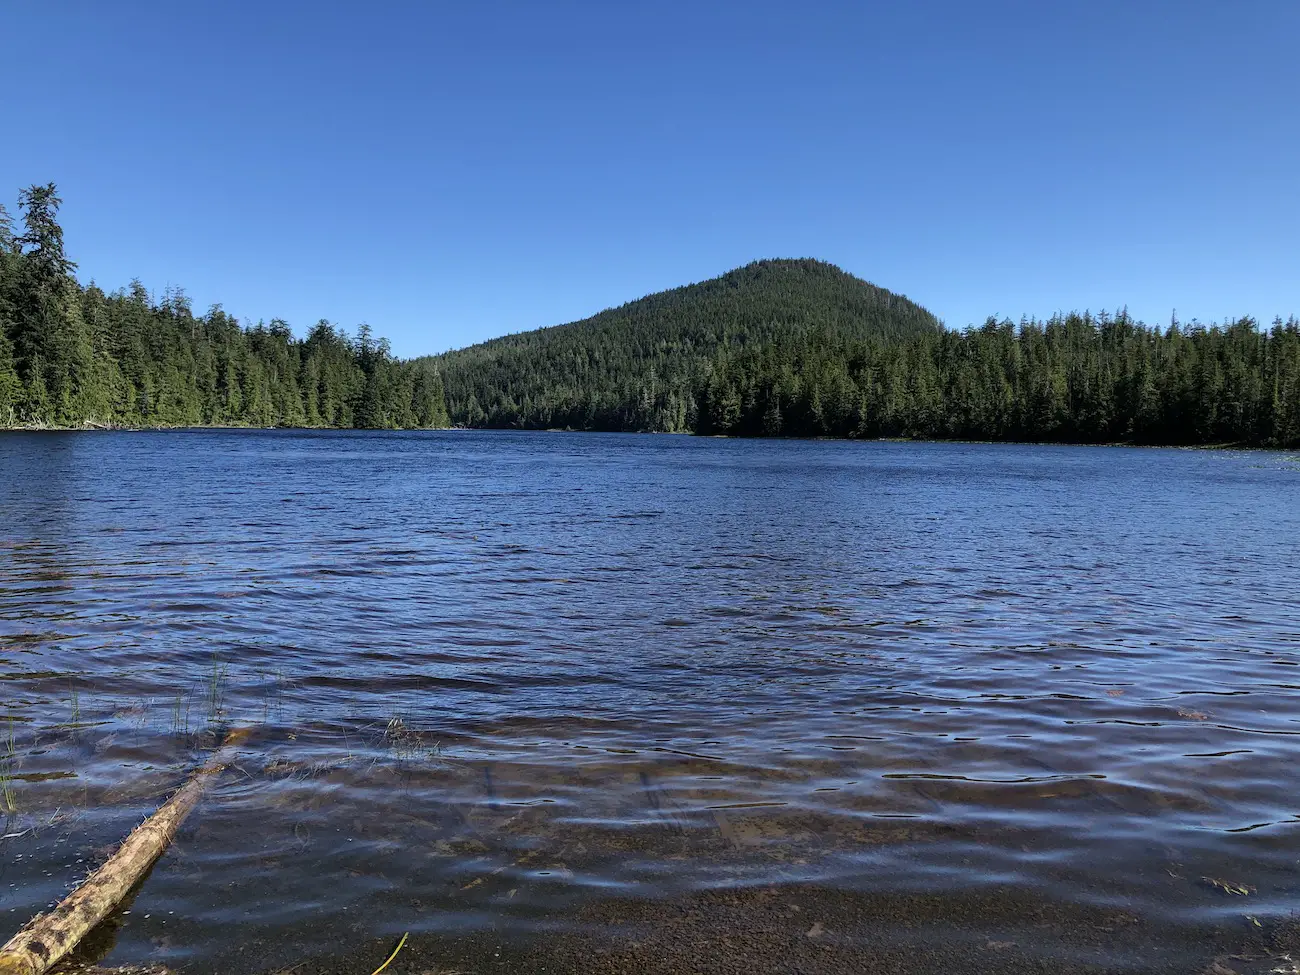
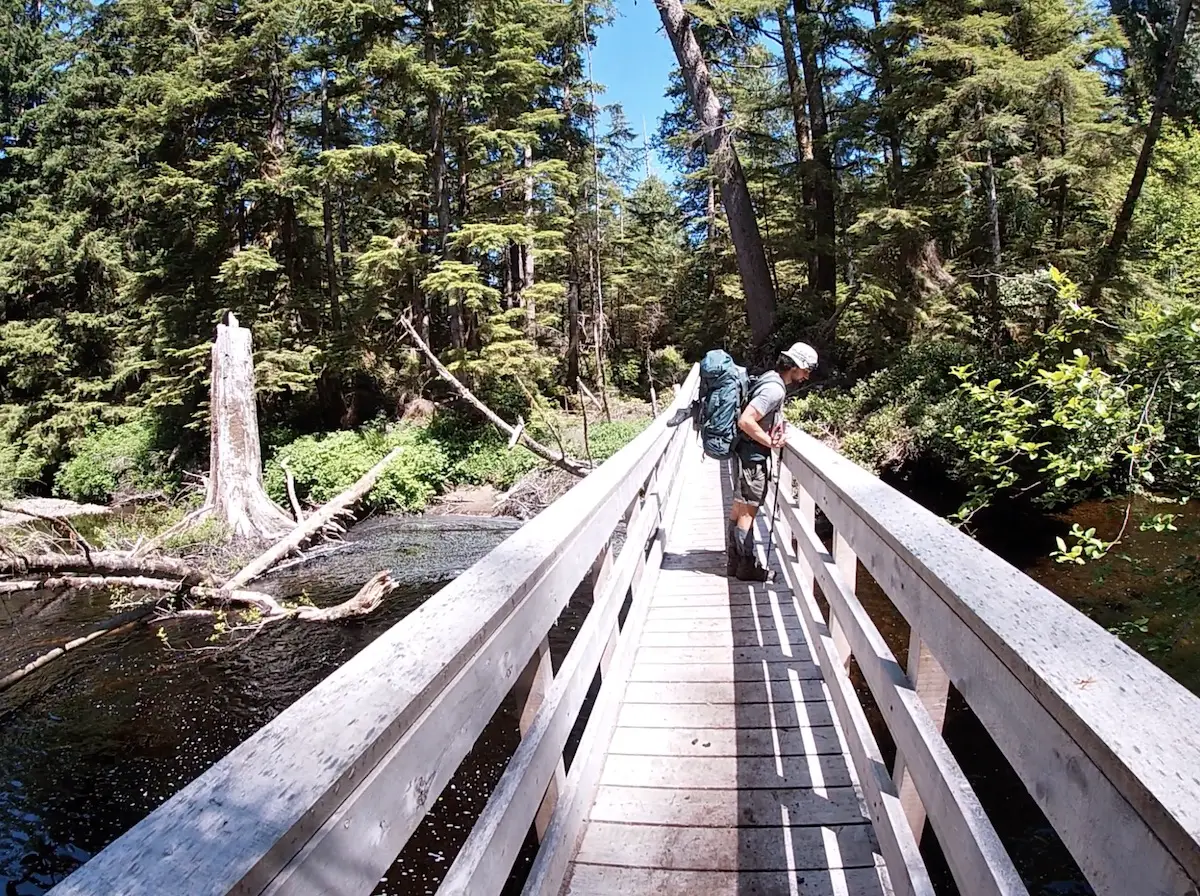
The trail continues to be rooty and muddy and by around the 3km mark started to harden up a bit and become a more traditional soil trail. Make sure to fill up water if needed at the Fisherman’s River as this is approximately the halfway point and is the last reliable water source before the campsite. Other than some cool old growth Sitka spruce there aren’t many notable artifacts or terrain changes until the 10km mark. We stopped at the information sign along the way and followed the trail towards the Hansen Lagoon for a short period to look at the Cape Scot Settlement. If you like history and reading, checking out the remnants of the settlers is pretty cool, but if you’re more of a beach person, you’re not missing anything crazy special so feel free to breeze on past towards the beaches. The trail turns into an old wagon road and it feels like you follow it forever through the marsh. Laura and I stopped for lunch at the Spenser farm. We had sunshine all day but upon arriving at the farms open fields we were met with a dense wall of fog.
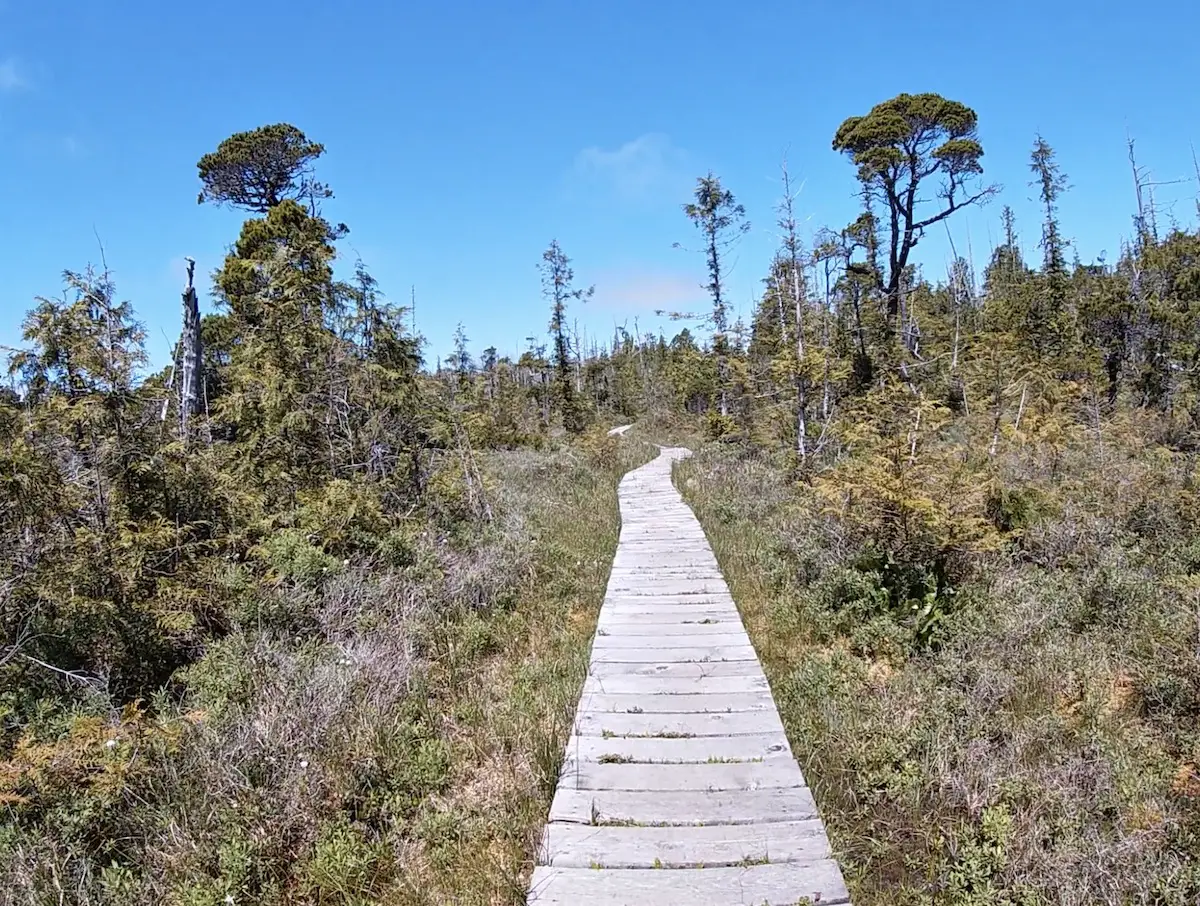
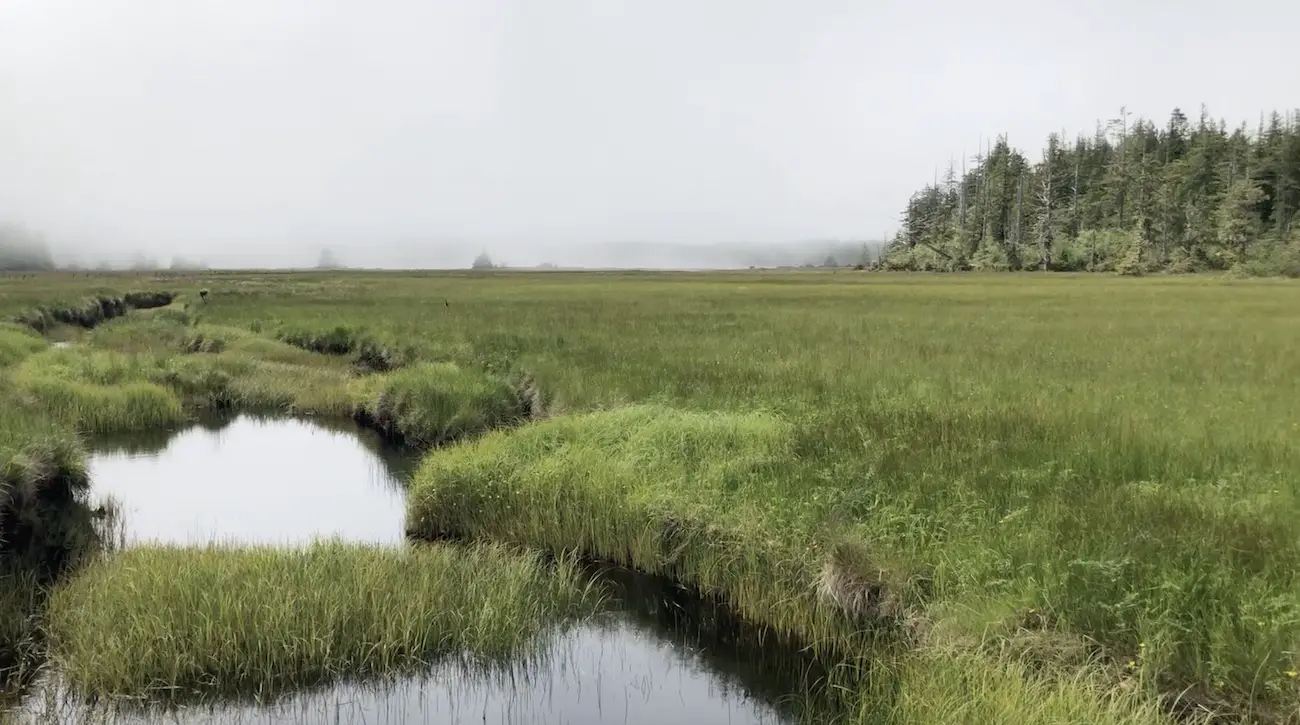
We continued following the trail to Nels Bight and to our surprise, noticed over 15+ tents on the shoreline. It was surprising for a weekday in mid-June, but, thanks to the beaches size, it didn’t feel crowded and could probably host another 100 tents if needed. Since we wanted a more remote experience, hell, that’s why we hike in the first place we toughed it out and continued along the 4.5km of trail.
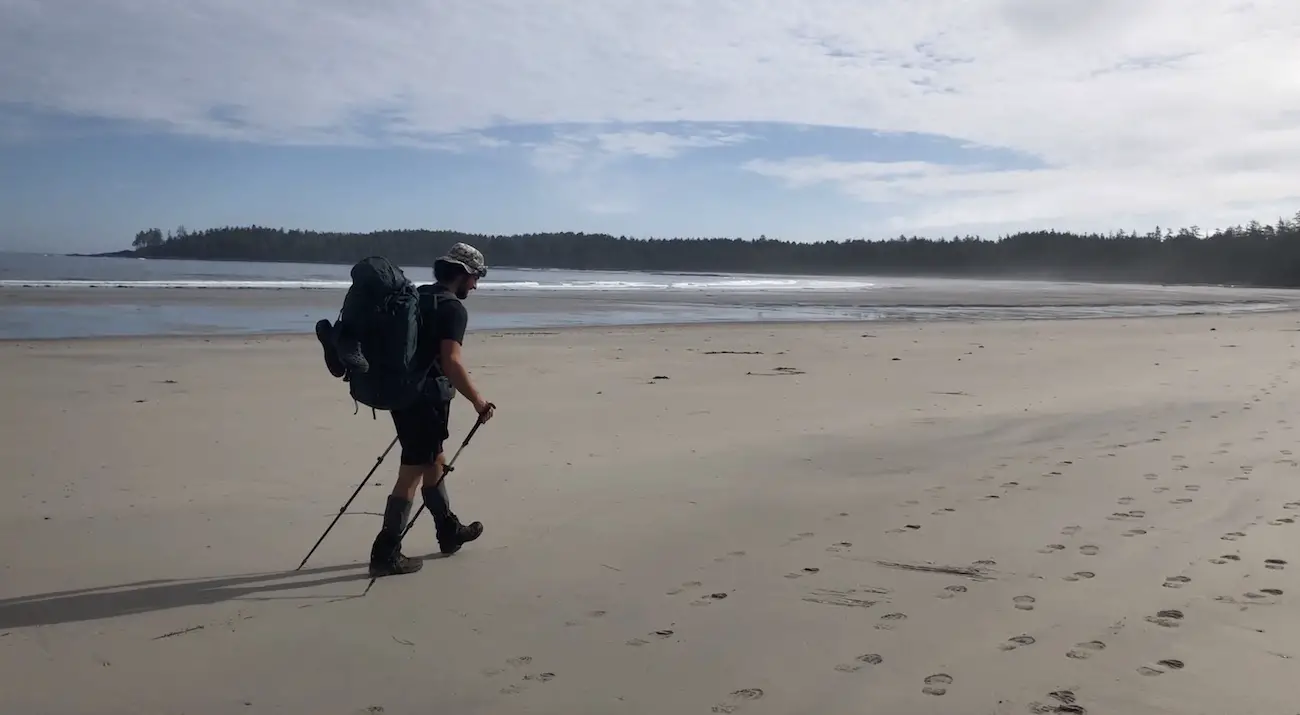
We quickly passed through the ever so gorgeous Experiment Bight as the sun started to peer once again through the fog. We were on a mission so didn’t spend much time admiring the beach and continued stepping through the sand.

The trail leads back into the forest for about a kilometer before arriving at Guise Bay. When we poked our heads over the trees and saw Guise Bay for the first time our minds were blown. It was completely sunny, no one was there, and frankly, to date, I’d never seen a more beautiful beach in my life. We tossed our bags down, tore off our clothes, and went for a bone chilling dip in the Pacific Ocean.
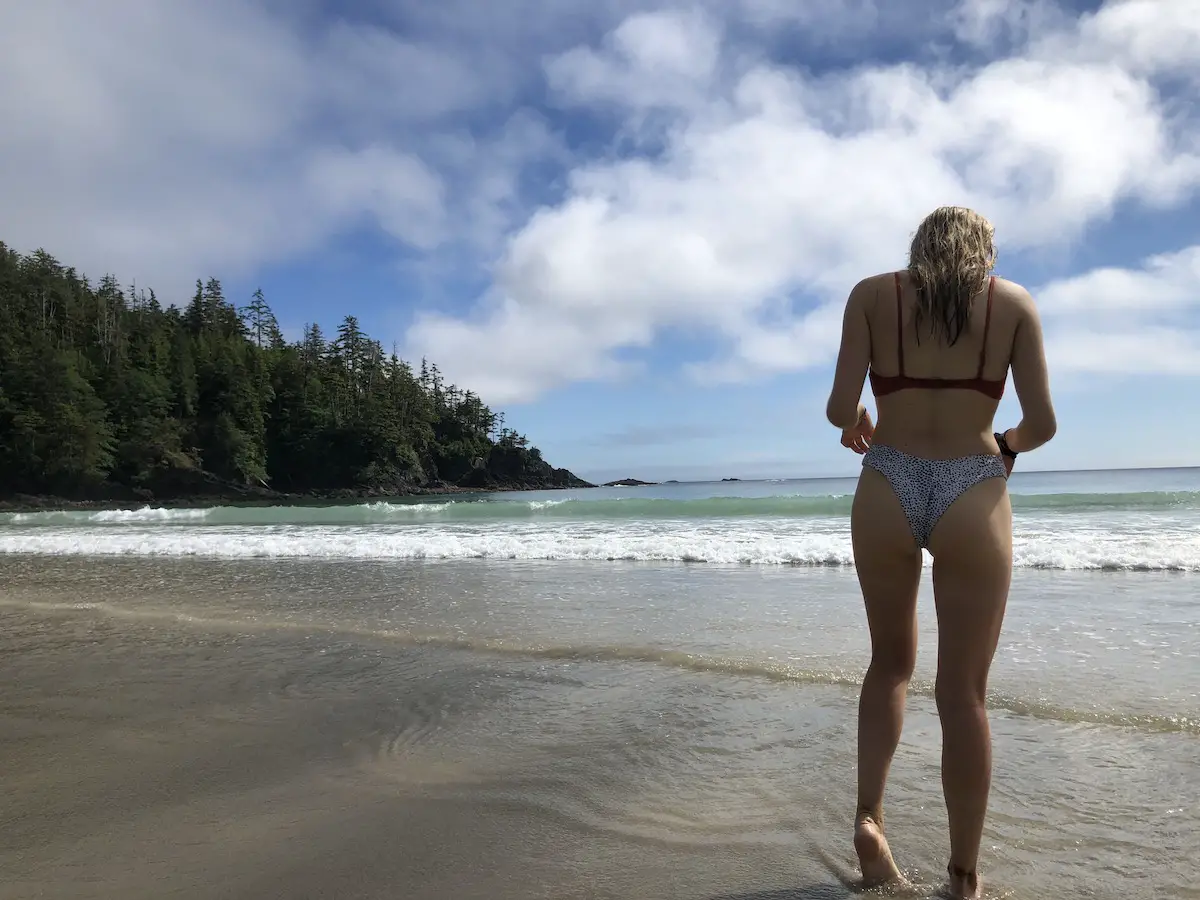
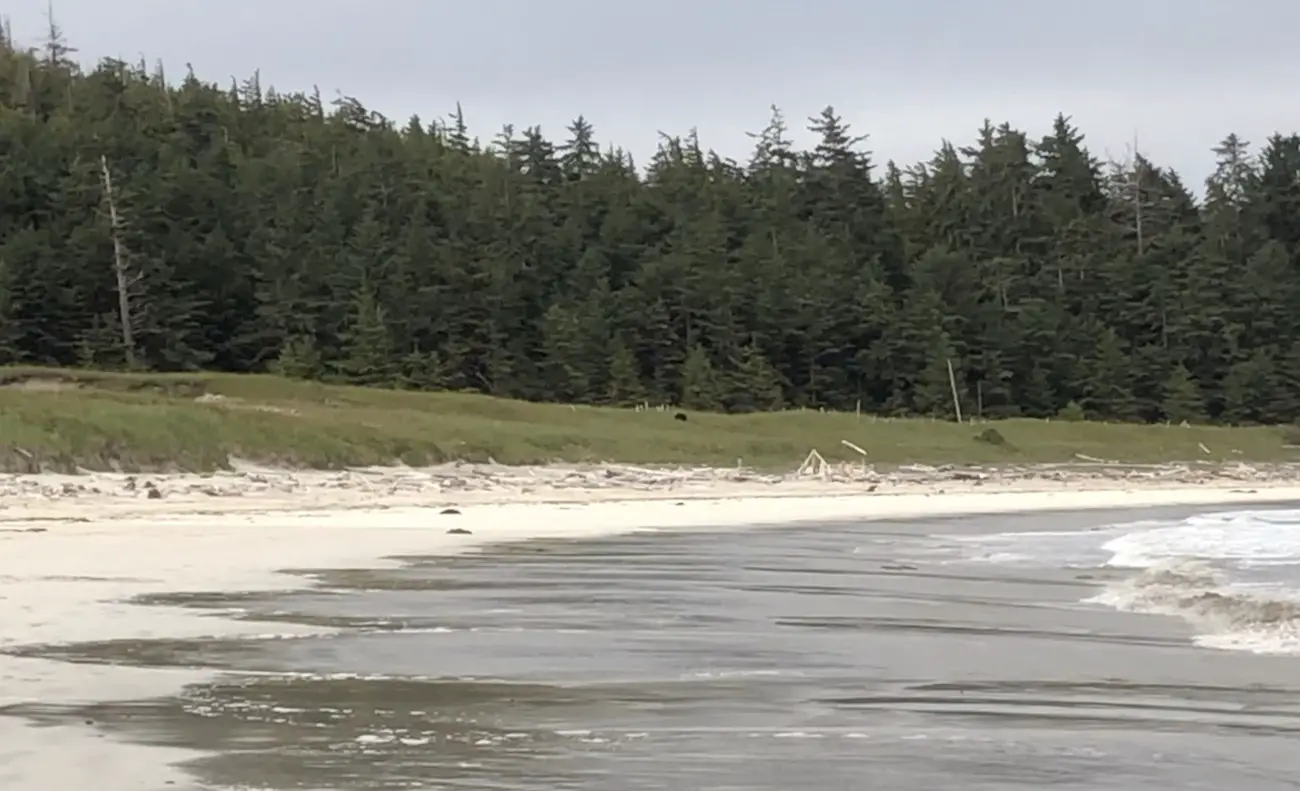
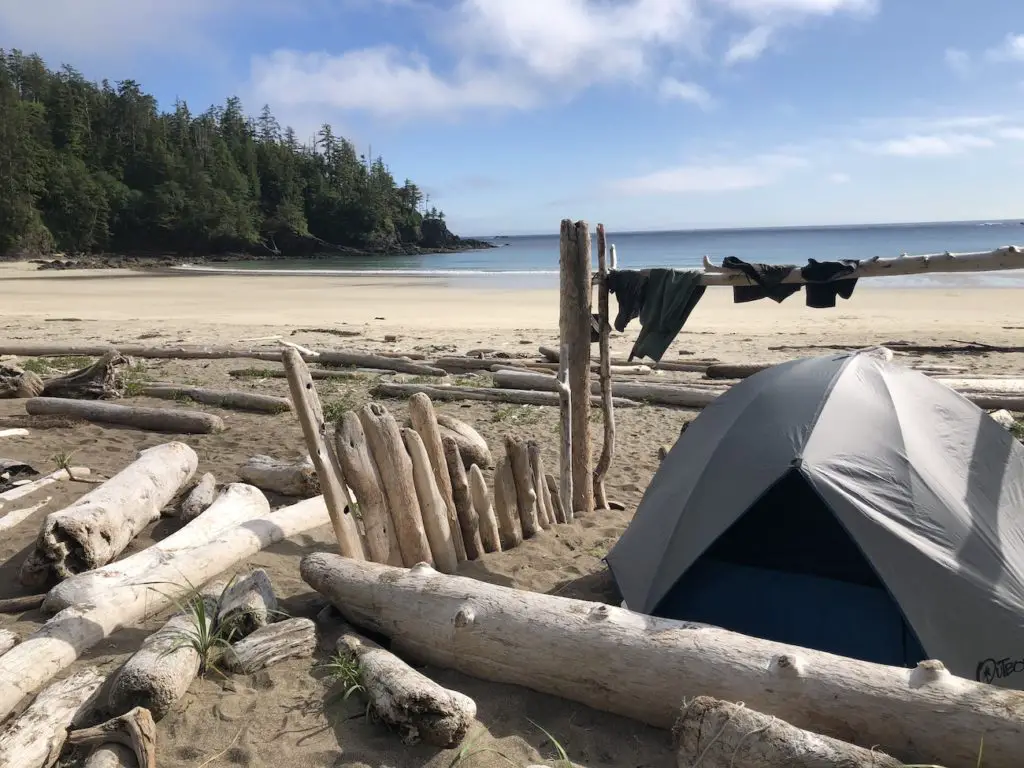
We found an extremely unique camping area on the sand built out of driftwood. We setup camp, enjoyed a sidekicks dinner, and filtered water. We spotted a bear sniffing around the Sand Dunes near our campsite and we watched him mess about eating the wild strawberry’s. There was no shortage of driftwood and Laura and I ended the night with the perfect fire. We only shared Guise bay with 1 other party who was camping on the far side of the beach away from us.

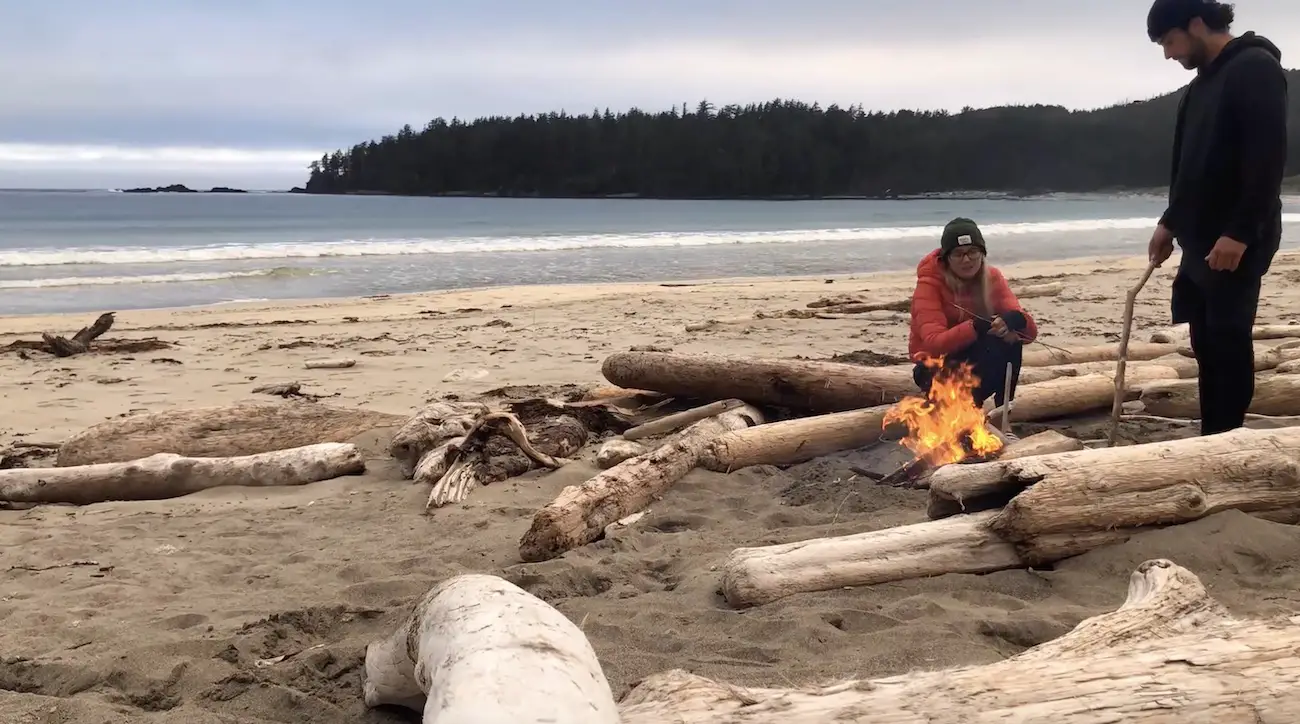
Day 2: Guise Bay – Cape Scott Lighthouse + Secret Beaches & Unmarked Shoreline Loop Trail
On day 2, after a fabulous sleep in, we hiked to the Lighthouse and back then did a little adventuring of our own. The trail to the lighthouse begins at the far end of Guise Bay just past the Sand Dunes. It’s a super easy 3km Hike from Guise Bay to the Cape Scott Lighthouse.
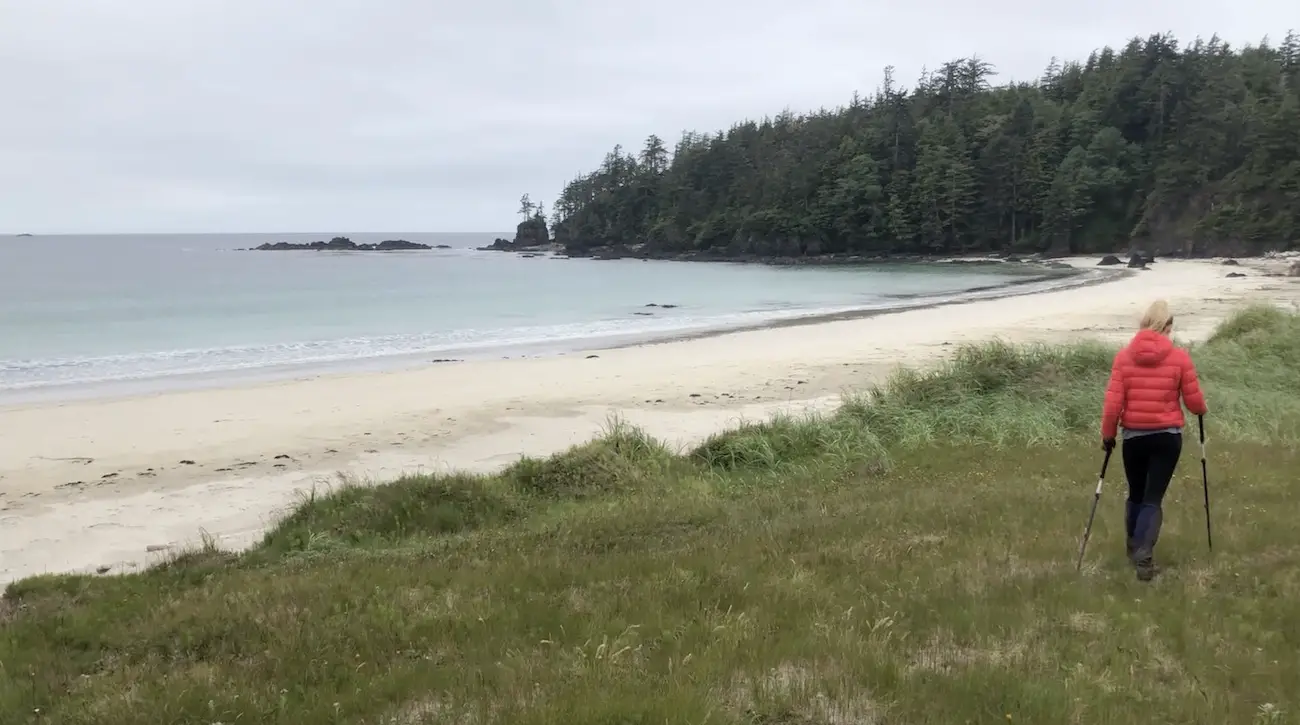
Secret Beach #1
Along the way there are two secret beaches that you have to check out. The entrance to the first secret beach is marked by a yellow Buoy in a tree. The trail down is a few hundred meters and is quite overgrown. The first beach has some really beautiful sea stacks with trees on top on the far right side of the beach. We tried to hike closer to the sea stacks but ran into another black bear so had to turn around. Apparently, some hikers camp at these secret beaches as well to have even more privacy, I’m not sure if this is technically allowed, but I’m sure the park Ranger wouldn’t care.
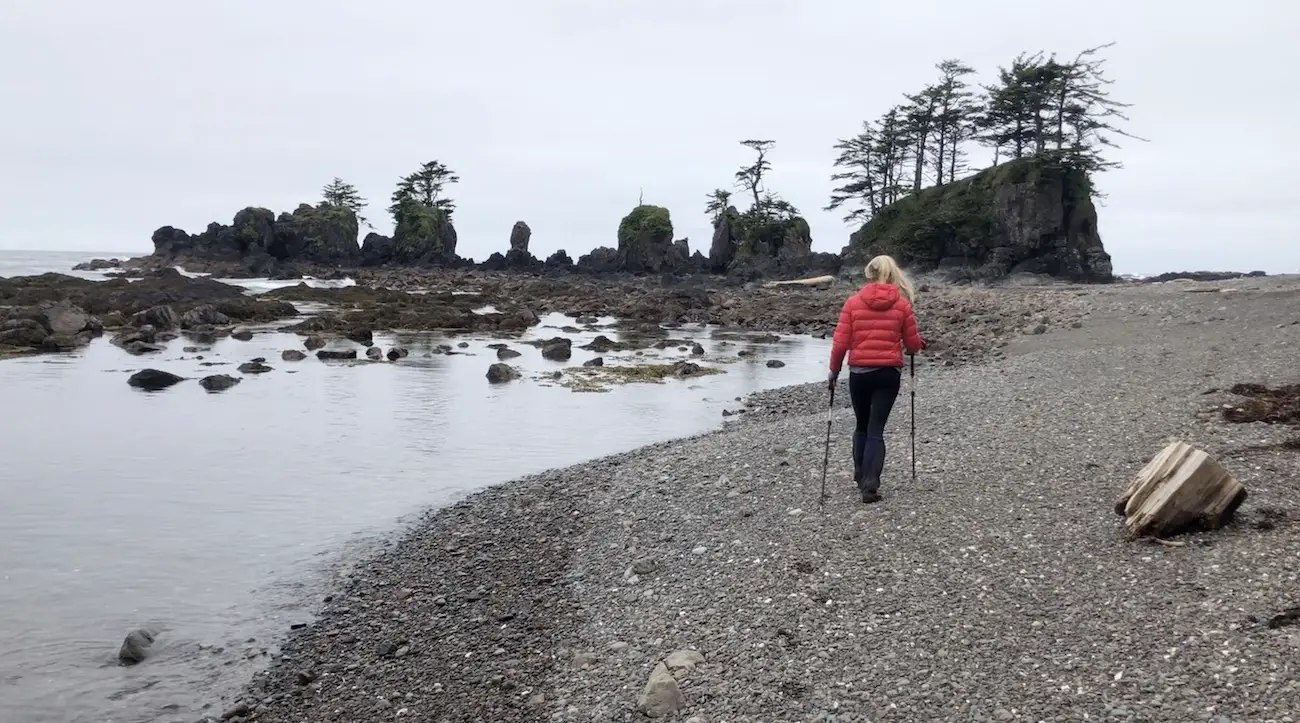
Secret Beach #2
The second secret beach entrance is marked by a grassy logging road with an orange buoy on the ground. It’s a quaint little beach surrounded by big black rocks with a nice rocky shoreline and some sandy portions. We saw hundreds of sea otters floating around at this beach with their arms linked together in the water.
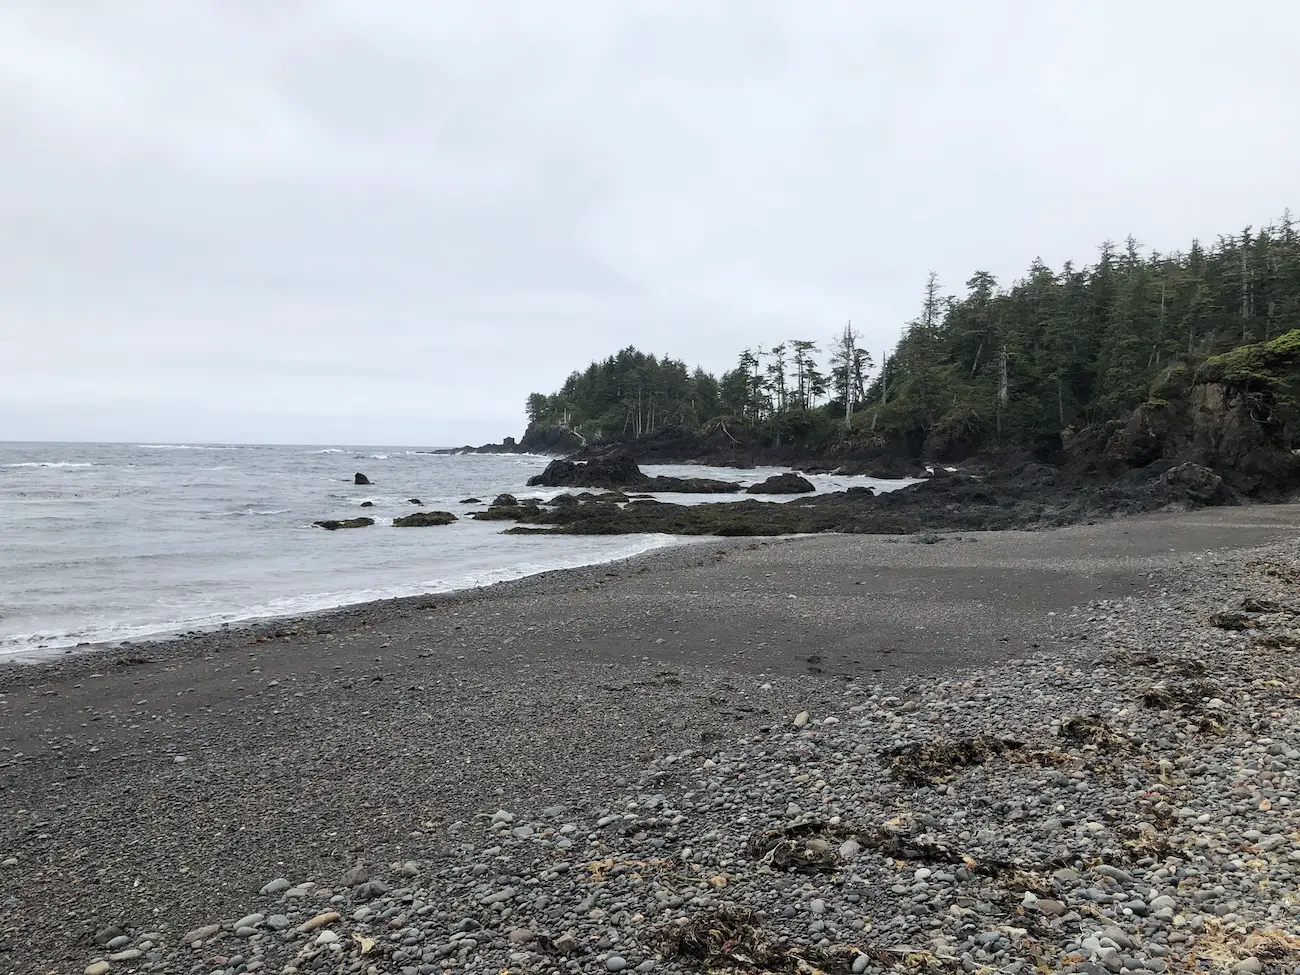
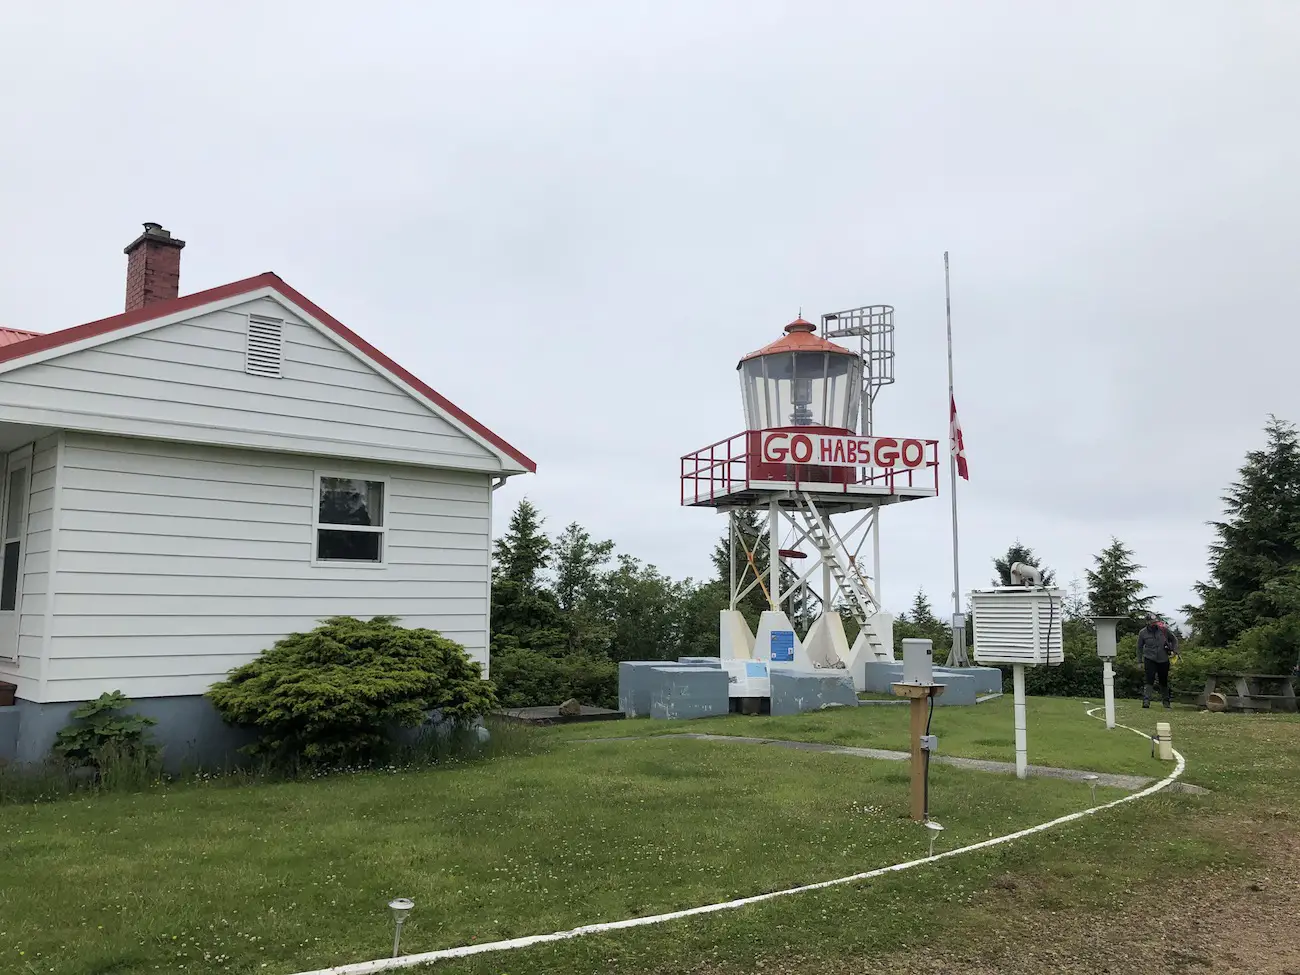
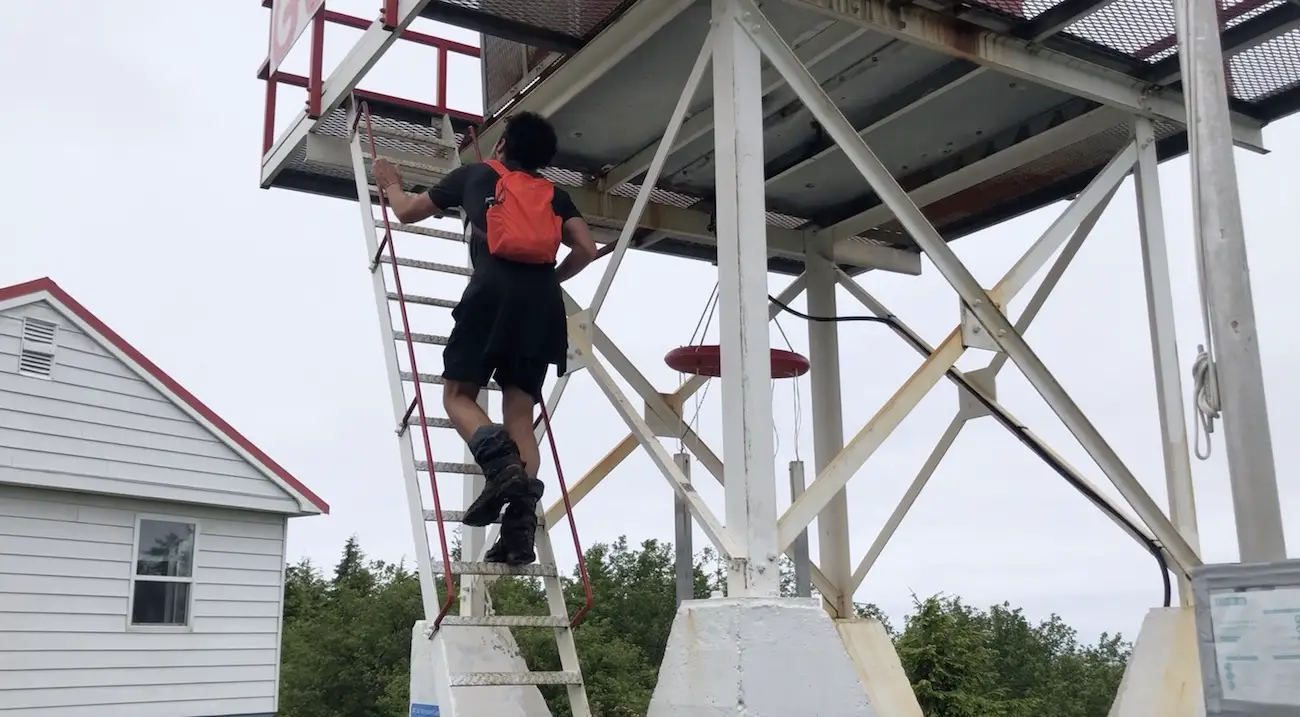
Once we had enough of the secret beaches we headed up to the Cape Scott Lighthouse. The residence at the lighthouse was awesome and the lighthouse keeper was a great dude. It was the NHL playoffs when we were hiking and he had posted a huge GO HABS sign on the lighthouse. He let us climb up the lighthouse and check out the views from up top. Remember to bring your water bag to the lighthouse because they have a tap with cold and delicious filtered water for hikers to drink. We chugged a bunch of water and hiked back to Guise Bay for lunch.
The MUST DO Secret Unmarked Shoreline Loop Trail
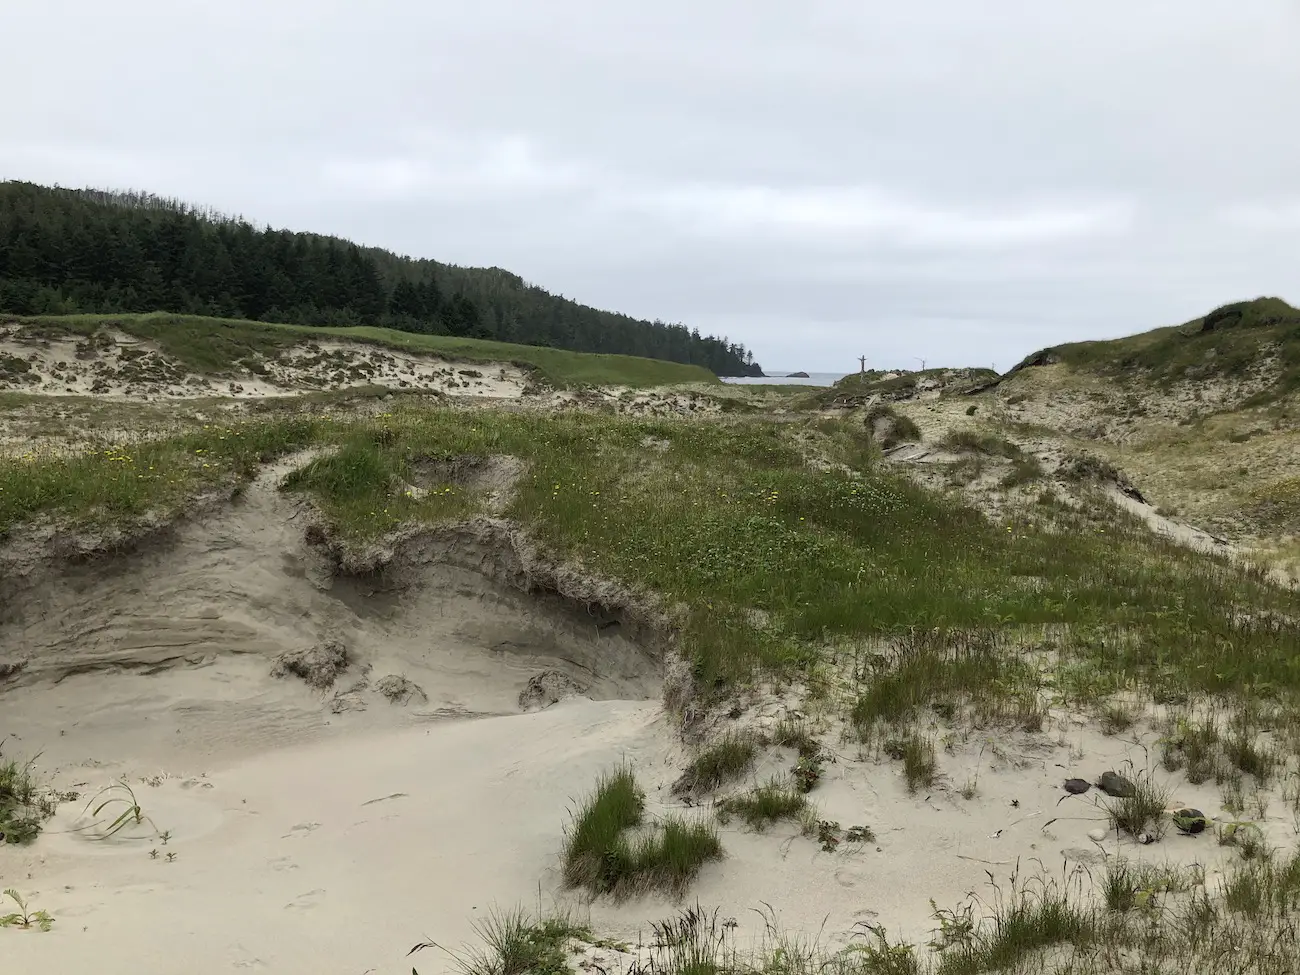
After lunch we were doing a little adventuring in the Sand Dunes (which was super fun) and we happened to stumble across a trail that followed the shoreline all the way back to experiment bight. This hiking loop was a huge highlight of the trail for me as it weaves along the shoreline past many coves, caves, sea stacks and cool small rocky beaches. I’ve drawn out a rough version of the loop we hiked in All Trails so you can give it a whirl as well. If you are doing a day hike to the Cape Scott Lighthouse, this would be the perfect way to hike back to experiment bight.
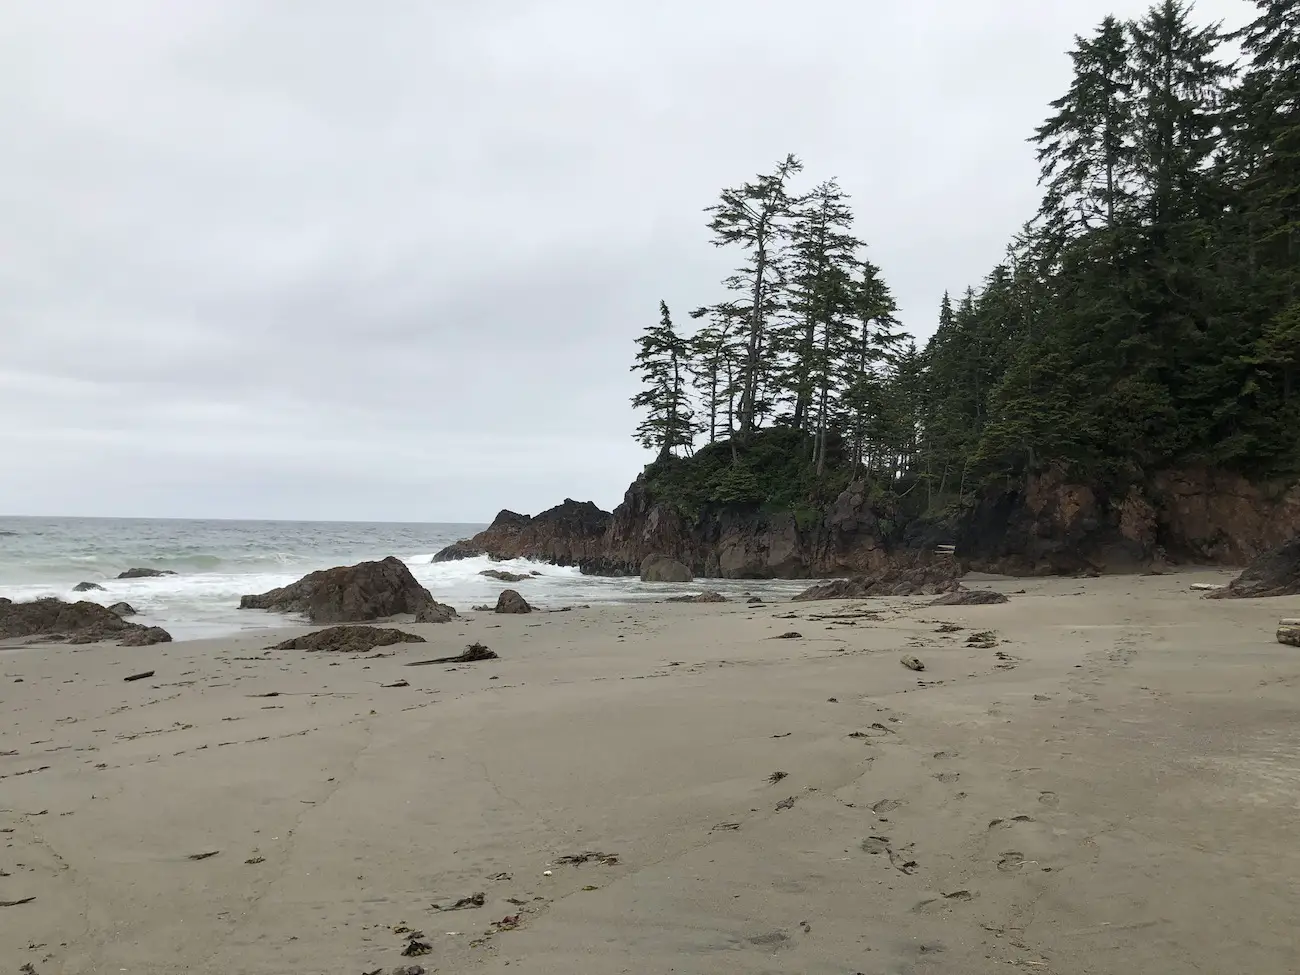
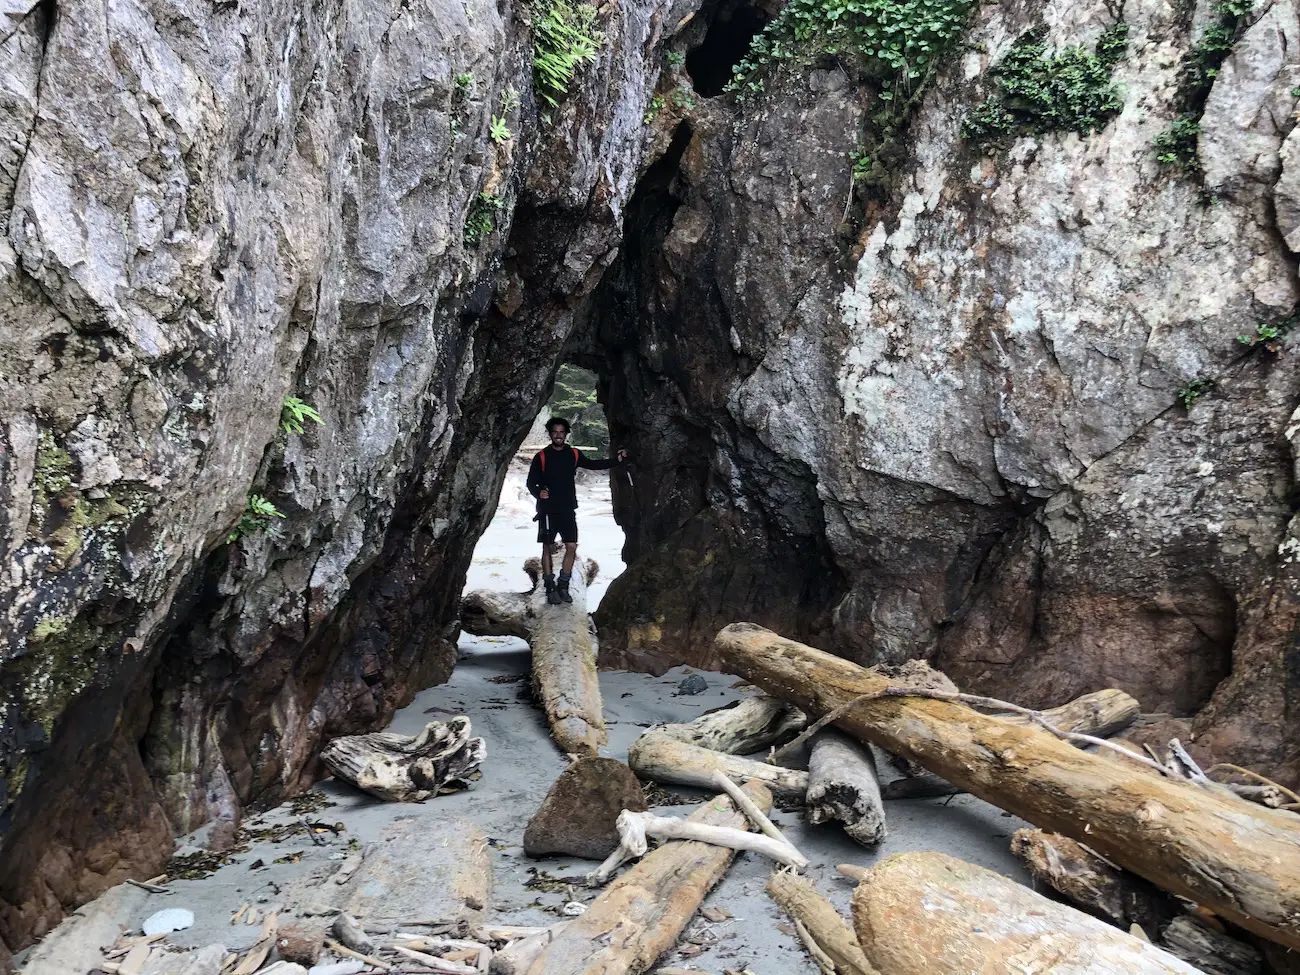
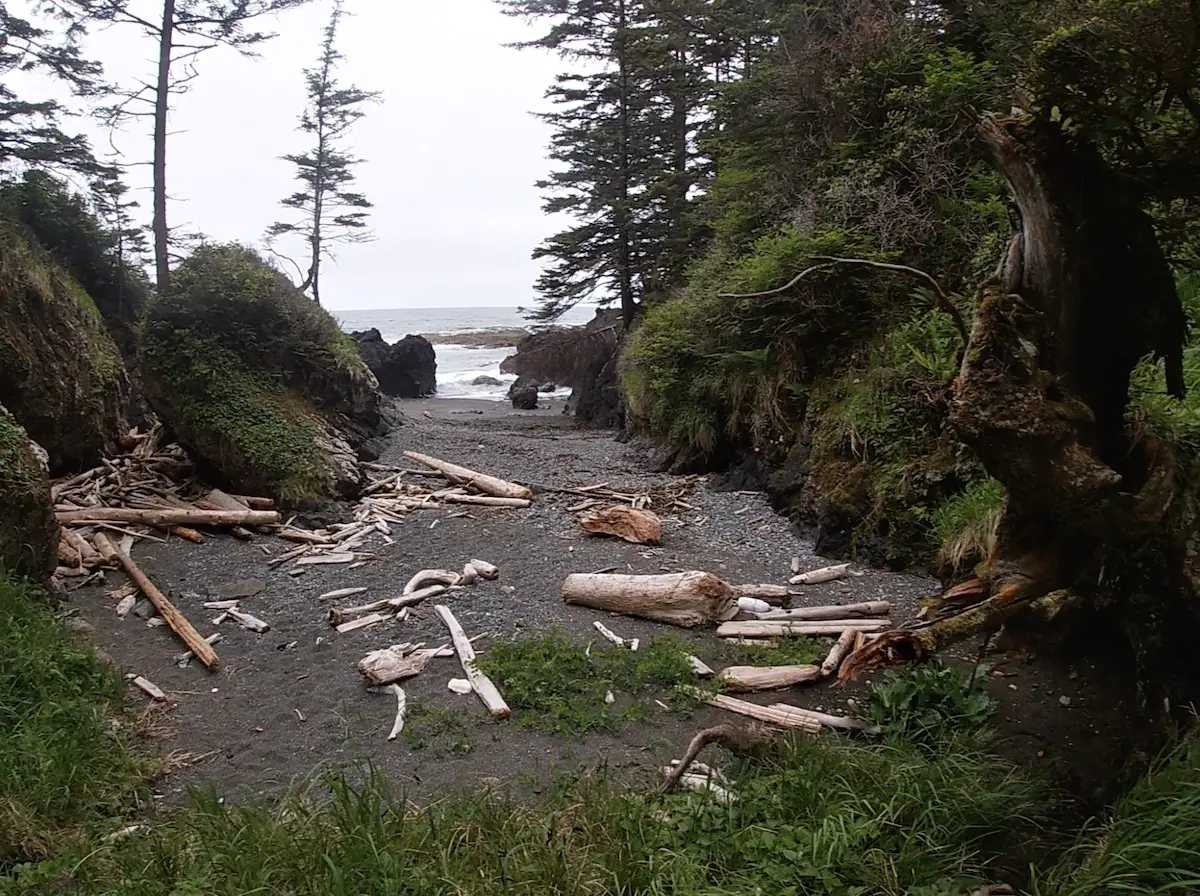
Once we arrived back at the campsite we made dinner and started a big fire. As the sun set in the horizon we saw a pod of orcas swim by. This was hands down one of the most memorable evenings of our summer.
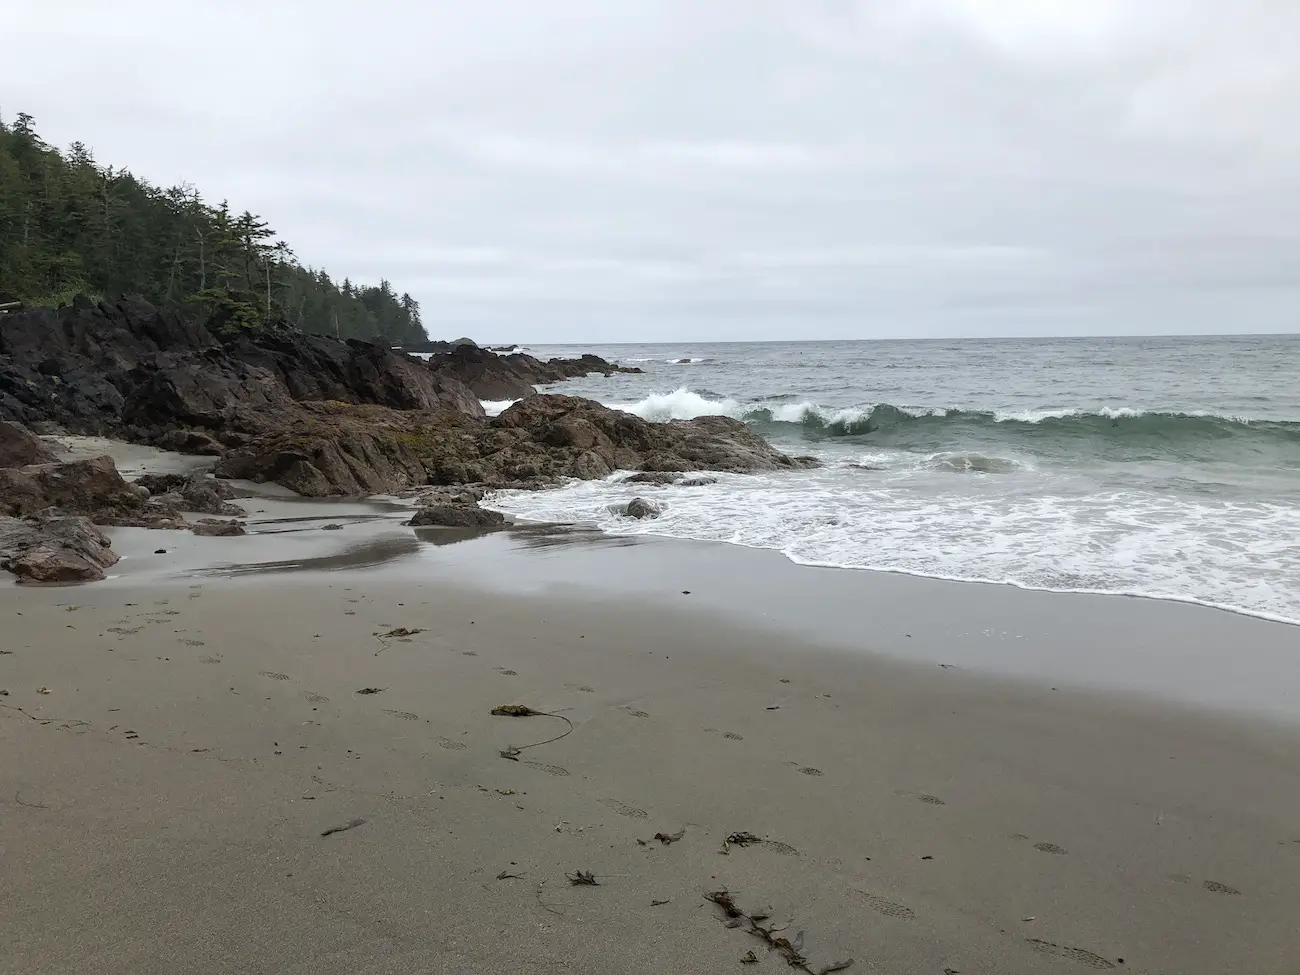
Day 3: Guise Bay – San Josef
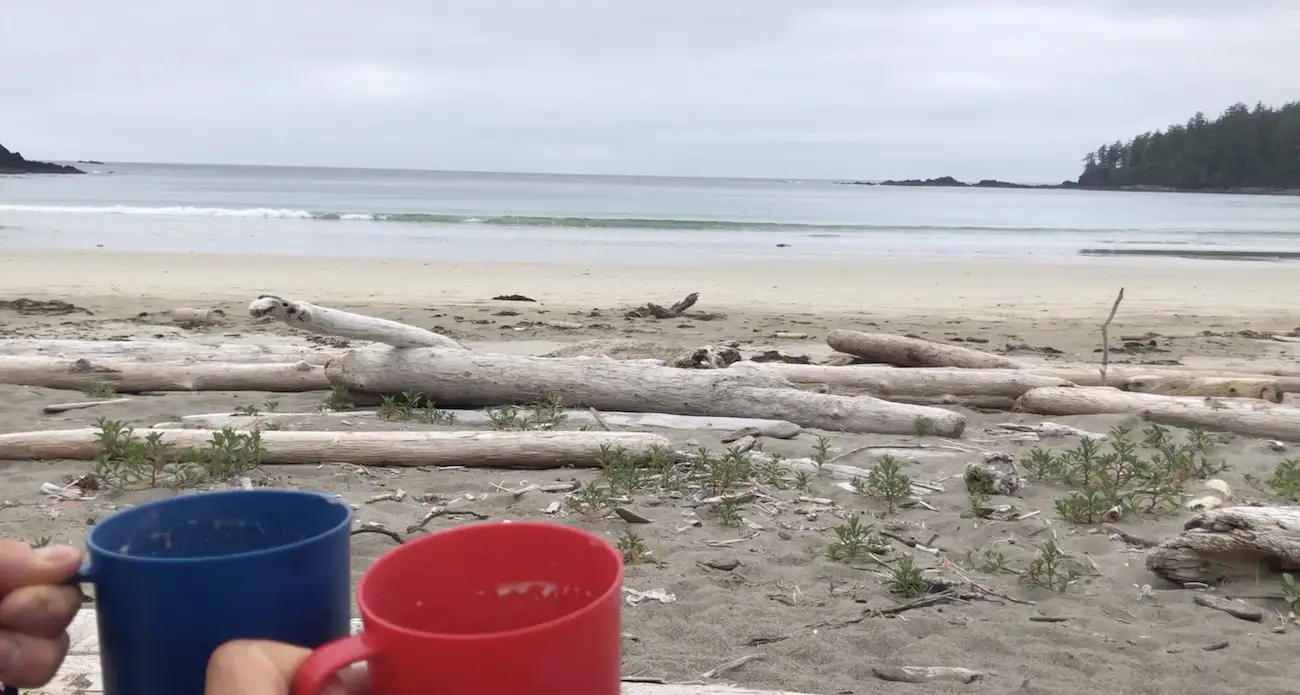
On our final day we woke up, had coffee, and hiked back to the San Josef Parking lot with purpose. We arrived back at the truck after 5 ½ hours. We dried out all our gear in the sunshine, grabbed a few adult beverages and then walked the trail down to San Josef for some exploring and an afternoon drink and snack.
The Most Popular 2-Night Itinerary
The most popular itinerary involves the least amount of time with an overnight pack on. Hike into Nels Bight Day 1 and spend the night there. On day 2 leave camp with a daypack and hike to the lighthouse and check out the additional beaches and loop trail. If you’re following this itinerary then make sure to stop at Guise Bay for lunch and a swim on the way back before hiking into the sand dunes and following the unmarked coastline trail to Experiment Bight. Sleep your second night at Nels Bight. On Day 3 pack your gear and hike from Nels Bight to the trailhead.
Day 1: San Josef Trailhead – Nels Bight
Day 2: Nels Bight – Cape Scott Lighthouse + Beaches & loop Trail
Day 3: Nels Bight – San Josef Trailhead
Add in a Night at San Josef Beach
If you have the time and the weather is decent you should absolutely consider staying another night at San Josef Beach or just popping down to see it before heading home. Although it can be busier, San Josef is a gorgeous beach and at low tide has some of the most unbelievable sea stacks and tidal caves I have ever seen. Since San Josef is only 2.5km from your parked vehicle, and the confluence of the Cape Scott and San Jo trail is only 600m from you vehicle, you can easily go back to your car for a restock, or even better, to grab some beers and wine before heading back down to San Josef. The walk down to San Josef only takes about 20 minutes so it’s a super easy addition before you head out on the Cape Scott trail or for when you arrive back to your car.
Wildlife on the Cape Scott Trail
Cougar, Black Bear, Whale, Deer and Wolf sightings are common on the Cape Scott Trail. We encountered a black bear near our campsite above the Sand Dunes in Guise bay and another at one of the ‘Secret Beaches’ on the way to the Lighthouse. On our 2nd night while having a fire we witnessed a pod of orcas speed across the bay in the horizon. We also witnessed many sea otters linked together floating in the water which looked like bands of kelp from a distance. There is also abundant and beautiful sea life that you would expect on the coast. We did not encounter any wolves, but heard a story from other campers of watching one eat a seal carcass in the morning at Nels Bight. Wolves and Bears are the most common ‘dangerous’ wildlife you may encounter on the trail. Remember to be prepared for wildlife sightings, give animals lots of space, and carry along bear spray for a worst case scenario. If you want to familiarize yourself with animal safety give this post a quick read.
My Thoughts
I cannot say enough good things about the Cape Scott Trail. It’s not overly challenging and the beaches are something out of a dream. I will never forget the moment we first set eyes on Guise Bay tearing our clothes off in the sunshine for a swim in the icy Pacific. Our final night was the best memory of all, sitting alone by the fire at Guise Bay, spotting Orcas swim by as the sun put itself to sleep in the horizon. Cape Scott is a destination hike that everyone needs to experience for themselves! I’m already planning my next trip back.
The Gear We Packed for the Cape Scott Trail
Worried about what to pack on the Cape Scott Trail. Check out my post HERE to read about what I bring along on every single overnight hike.
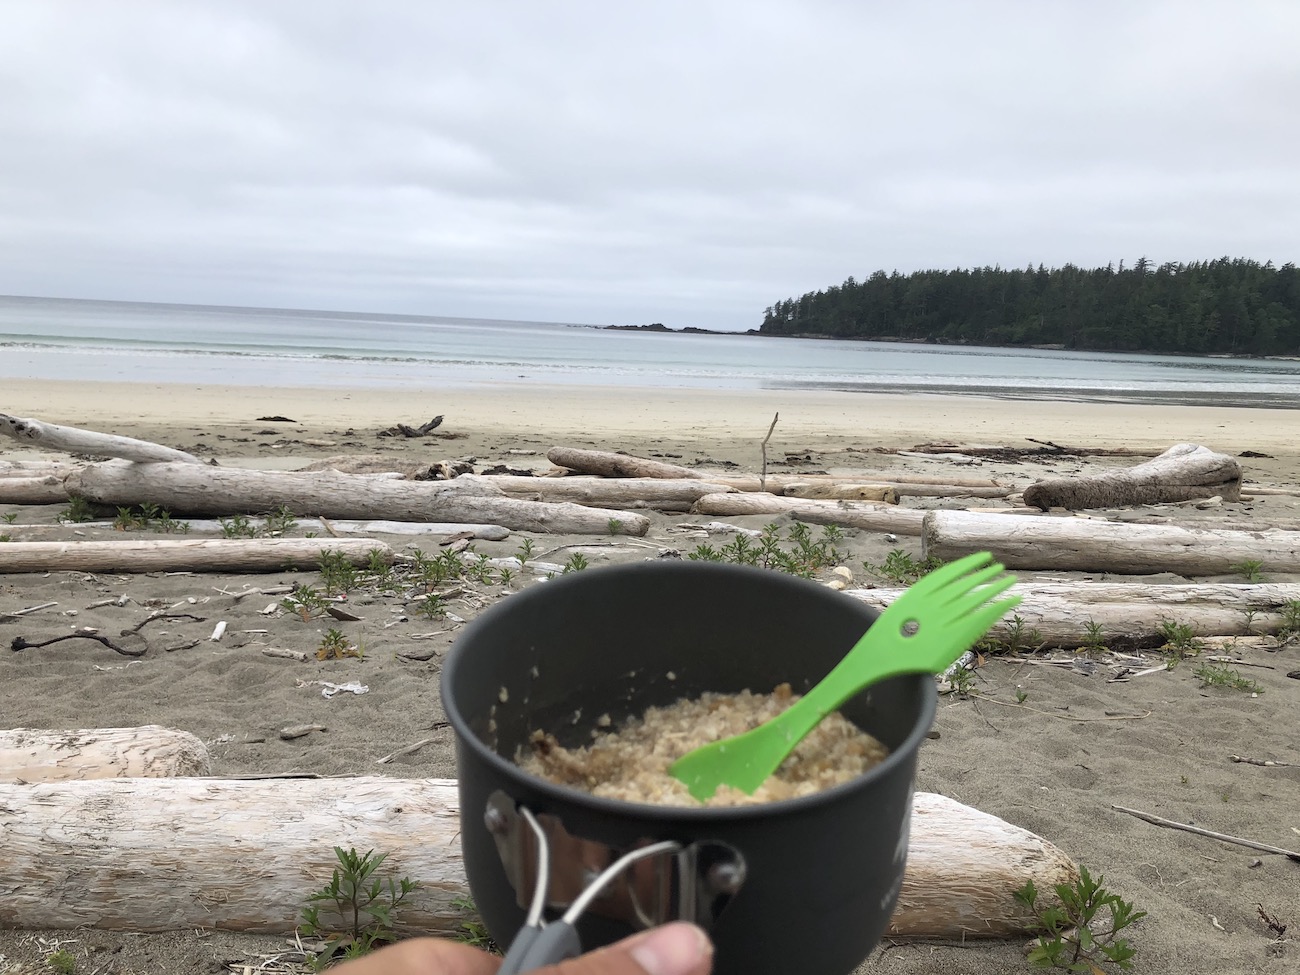
The Food We Packed For 2 Nights On The Cape Scott Trail
Day 1
Breakfast: Instant Coffee
Lunch/Snacks: Protein Bar, Nuts, Jerky, Brookside Chocolates, Banana Chips
Dinner: Taco Bowls (Cilantro Rice & Beans & Pre-Cooked Ground Beef, Peppers and corn)
Desert: Tea & Chocolates
Day 2
Breakfast: Instant Coffee
Lunch/Snacks: Cliff Builders Bar, Nuts, Jerky, Brookside Chocolates, Banana Chips
Dinner: Sidekicks Pasta Chicken Flavour
Day 3
Breakfast: Instant Coffee
Water Sources/Filtration
There are plenty of water sources along the Cape Scott Trail. However, other than the Fisherman’s river, the water comes from creeks with a very interesting colour. The colour is from tannins in the water, so even after you filter, it will have an interesting hue to it. Don’t worry about this as long as your water was filtered appropriately. I was hesitant to drink at first but Laura convinced me otherwise since she was previously aware of the Tannins in the water at the water sources.
Additional Info/Things to Remember
- Remember a bottle for Filtered Water at the Lighthouse
- Check out the 2 secret beaches on route to the lighthouse
- Hike the secret loop
- Explore the Sand Dunes behind Guise Bay
- Binoculars to view whales, bears and otters
- Firestarter
- Marshmallows
- No Tide Crossings
Video Links




One Response
Awesome post! Will be so helpful when I go on this hike in the summer! Thanks so much 🙂