
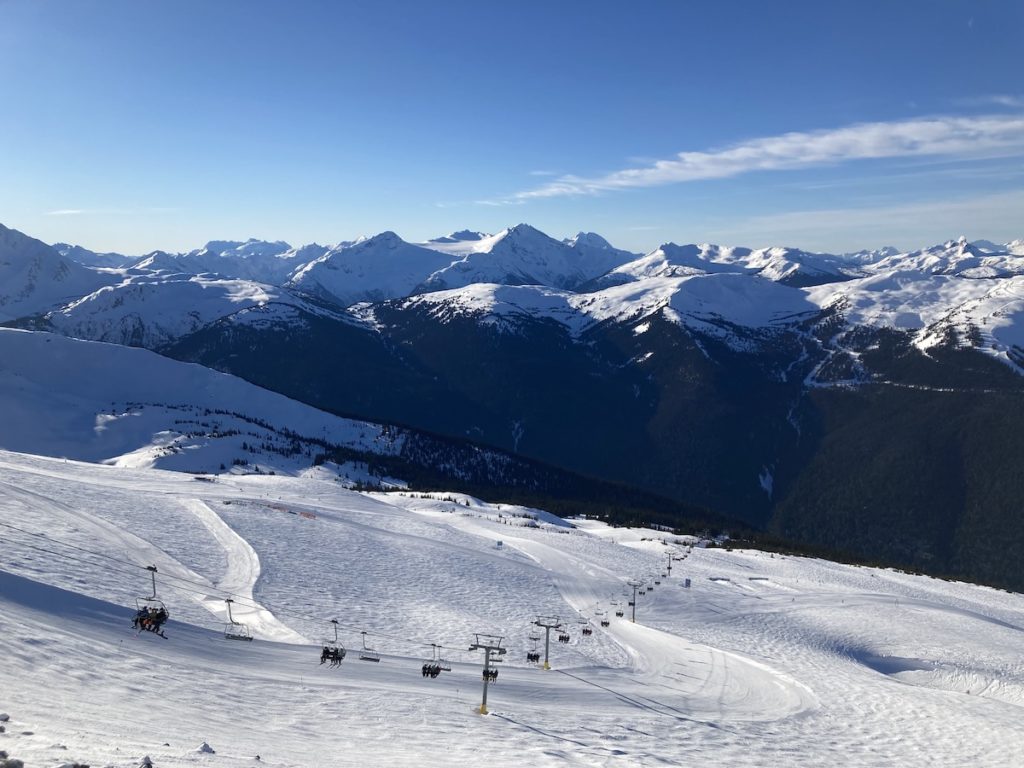
Whistler is a gigantic ski resort boasting over 8000 acres of skiable terrain. However, what the resort doesn’t mention is that the vast majority of this terrain is only accessible to advanced and expert skiers.
Although it’s intimidating, it doesn’t mean that beginner riders should stay clear from Whistler Blackcomb all together. Novice skiers can have an amazing experience and Whistler is actually home to some of the most beautiful beginner (green) runs in North America.
Skiing runs that are out of your skill range can be frustrating and down right dangerous at Whistler Blackcomb. In this post I’m going to provide details on the best beginner areas on the mountain and equip you with all the information you need to have an exceptional Whistler Blackcomb skiing experience as a beginner skier or rider!
Even thought your moving slow please remember to always wear a brain bucket AKA a HELMET.
Table of Contents
Know Your Limits & Start Slow
The first step to having a great day at Whistler is to be honest with yourself about your skiing skill, experience and ability. Maybe you had a few lessons or maybe you haven’t skied in 10 years. It’s important to start slow!
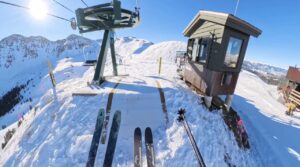
If you are unsure of your abilities I would recommend starting out on the beginner slopes. The Magic Chair (Blackcomb) and the Olympic Chair (Whistler) are the designated beginner (bunny hill) slopes on the mountain. You don’t have to stay here all day, but it’s always good to make sure you can get on and off lifts, link turns, stop, and stay on your feet before riding up the gondola’s any higher!
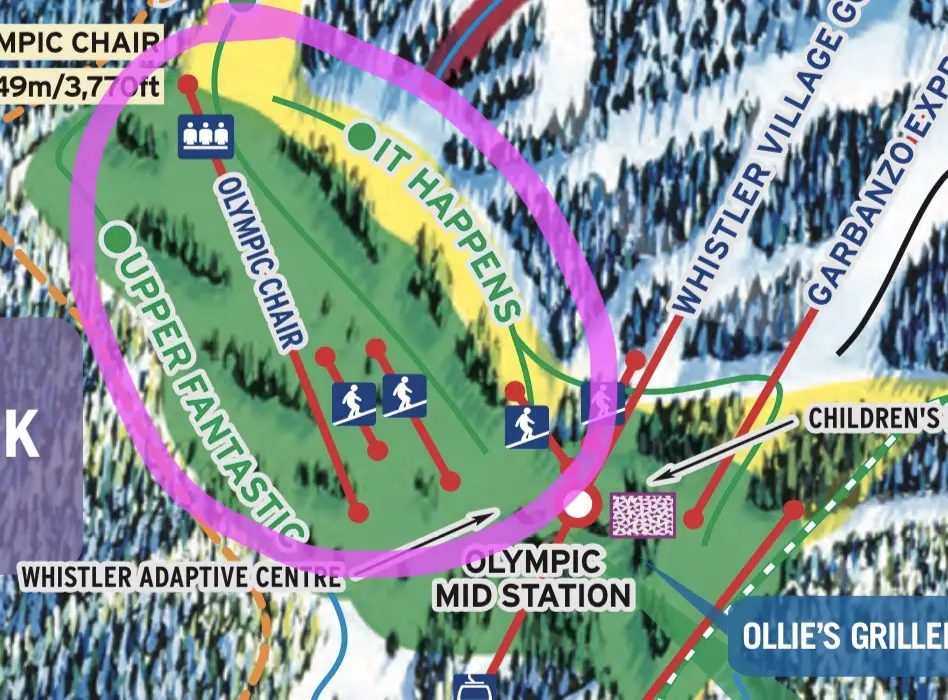
If you are an absolute beginner and plan to be spending your day on the beginner slope please note that you can purchase a $40 adult and $20 children ticket from the ticket booth. This beginner ticket will allow you to access the Magic Chair at the Blackcomb base and the Olympic Chair and mid-station of the Whistler Gondola. $40 sure as hell beats $200 especially if you can’t take advantage of the whole mountain.

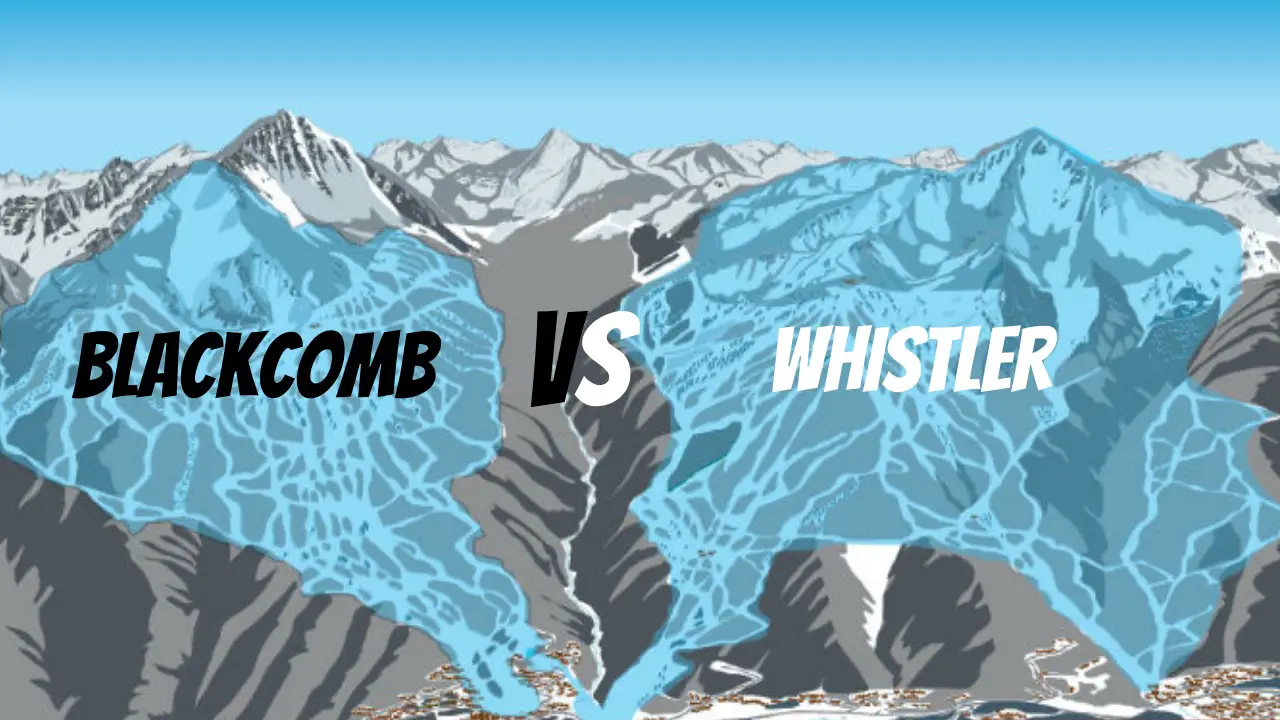
Whistler or Blackcomb?
Both mountains have great terrain options. However, I find that Whistler is the more enjoyable option for novice skiers as its green runs tend to be wider and have better views and variation across the mountain. The majority of green runs on the Blackcomb are cat-track style runs which are less wide (and less fun) when you are starting out. If you feel like learning more about the difference between both mountains I’ve compared them head to head here.
Once you advance to skiing blue runs (which might happen during your visit) then both mountains are equally awesome and fair game!!
Whistler’s Best Beginner Runs
-
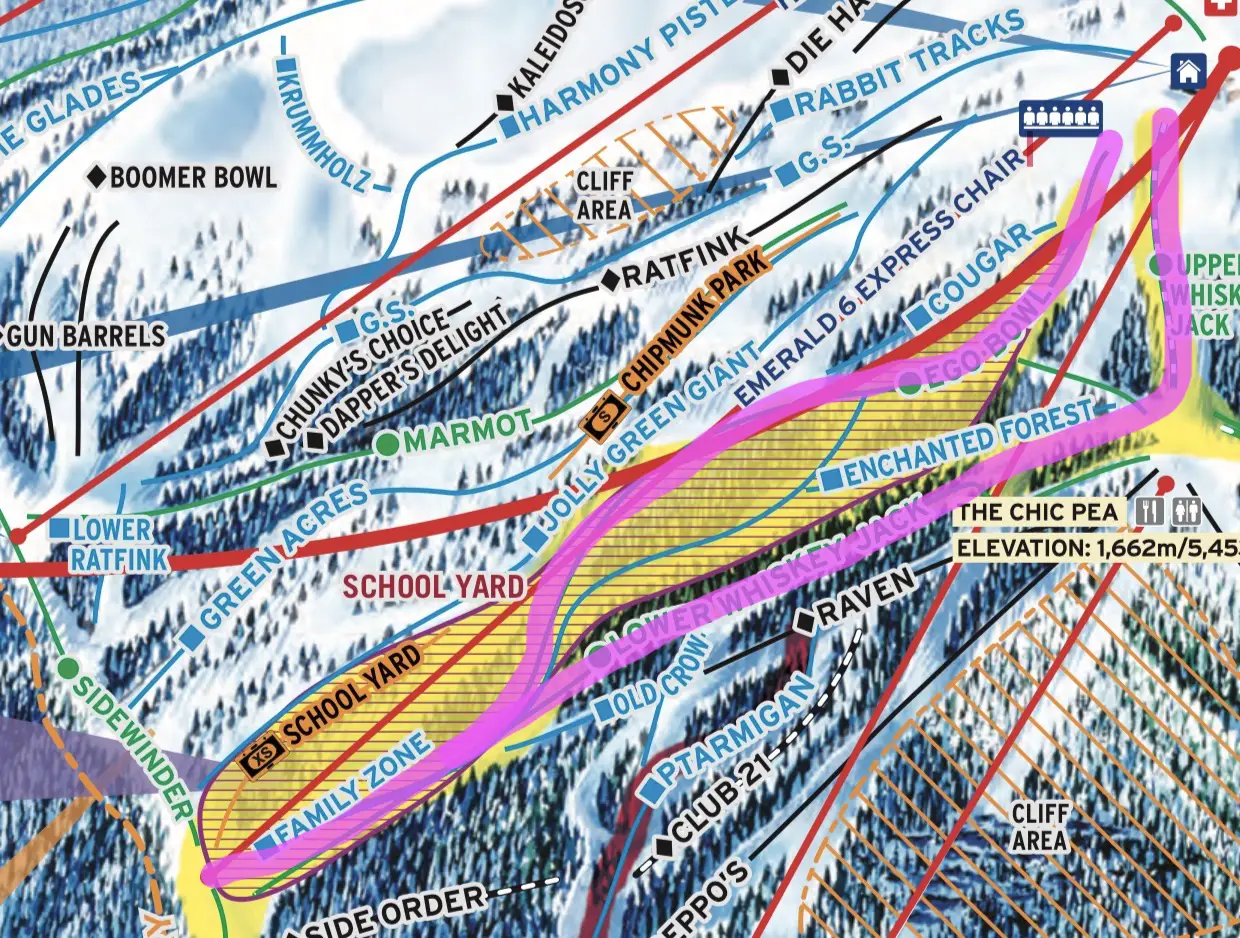
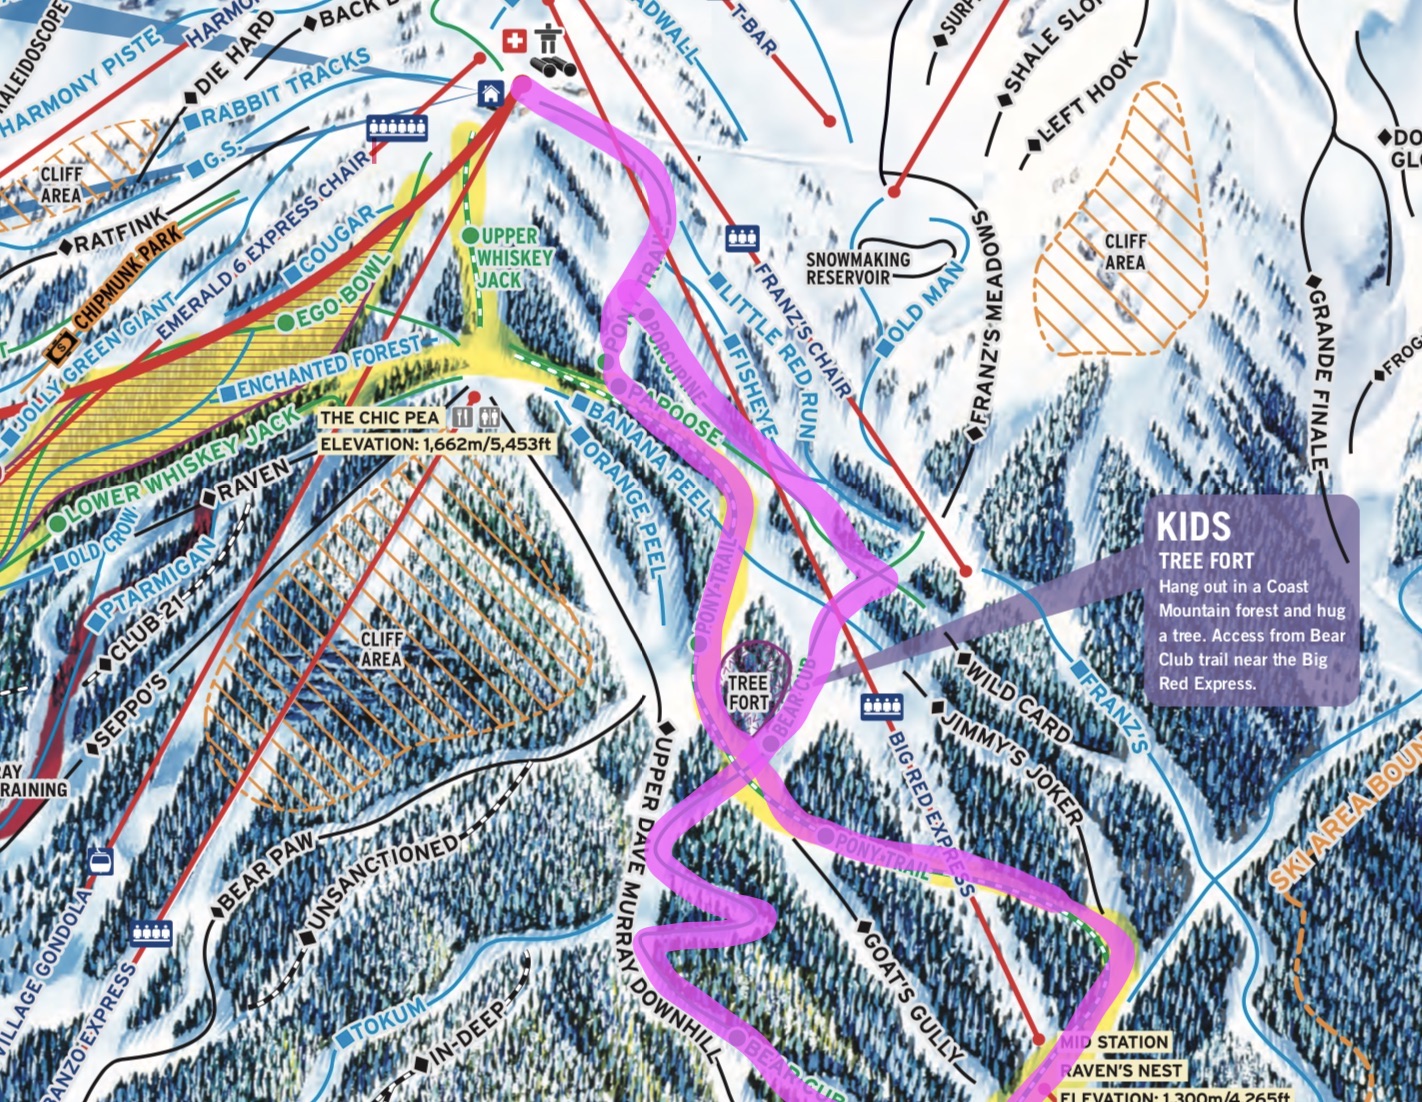
Ego Bowl (Emerald Express)
Ego Bowl is the #1 beginner zone on Whistler. It is the perfect spot to try first when you are transitioning from the Magic Chair or Olympic chair to the mid-mountain terrain. The area is sectioned off as a “Family Zone” which means that skiers and riders need to be cautious of the children and adults learning to ski in this area. I absolutely love the Ego Bowl and love to rip down it early in the morning before it gets busy! It’s a super wide run, the views are fabulous, and the slope is perfect for those skiing in and transitioning out of pizza.
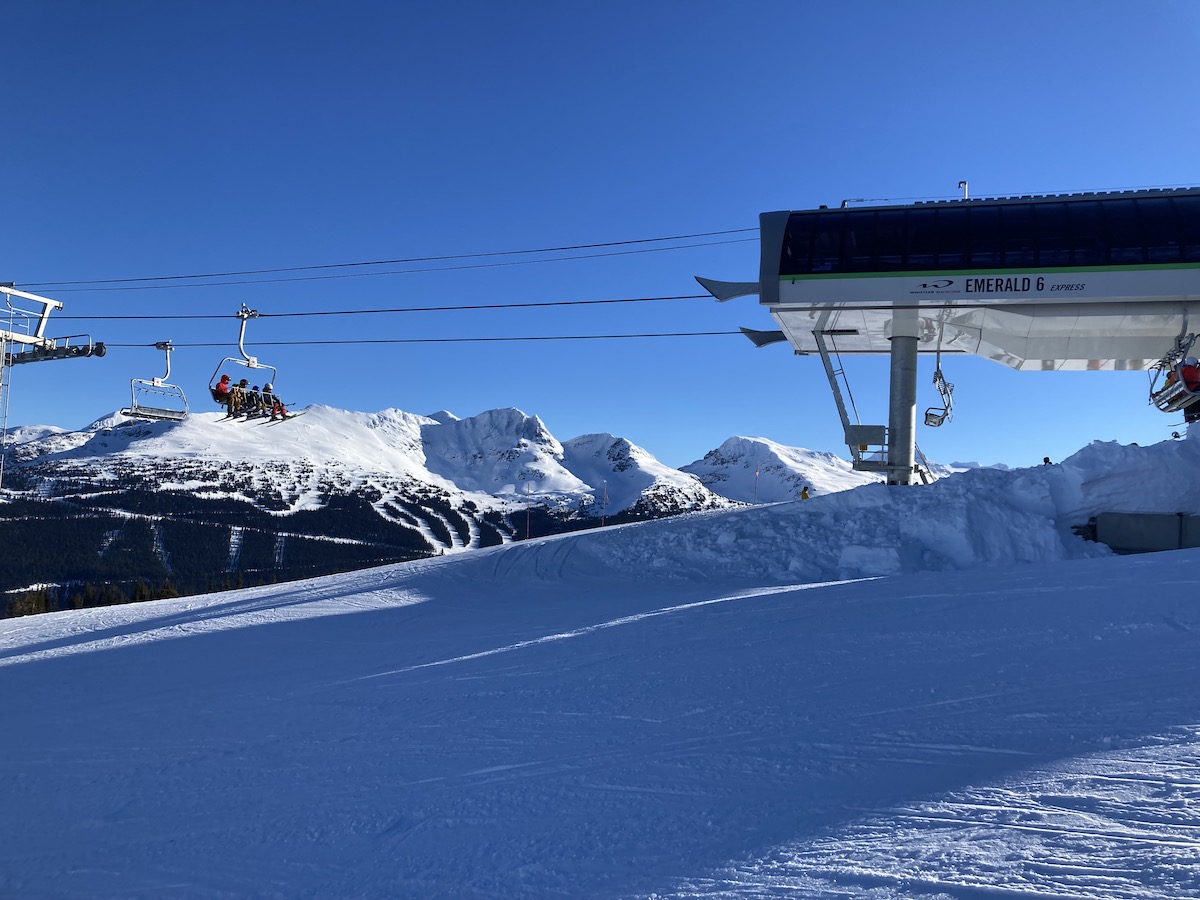
The Emerald Express is the best chairlift for beginners or anyone in search of mellow terrain. Marmot and Upper & Lower Whiskey Jack are fabulous options to try out when you’re hanging out on the Emerald Chair.
-
Pony Trail, Papoose and Bear Cub (Big Red Express)
Pony Trail is very beginner friendly. It’s mellow slopes weave back and forth and under the Big Red Express. It’s a designated slow zone and is a great run option if you want to get to the base of the Big Red Express or Creekside Gondola to download to the Creekside Village. The Trail earned its name Pony Trail as it was the route that packhorses would follow when carrying gear and supplies up to then mountain during construction in the 60’s.
Try Combining Pony Trail, Papoose and Bear Cub for the ultimate green run down to the bottom of the big red express. Bear Cub can be quite flat in sections (but this is fine if you’re learning). Bear Cub is also wider than Pony Trail which makes it enjoyable when practicing larger turn shapes.
-
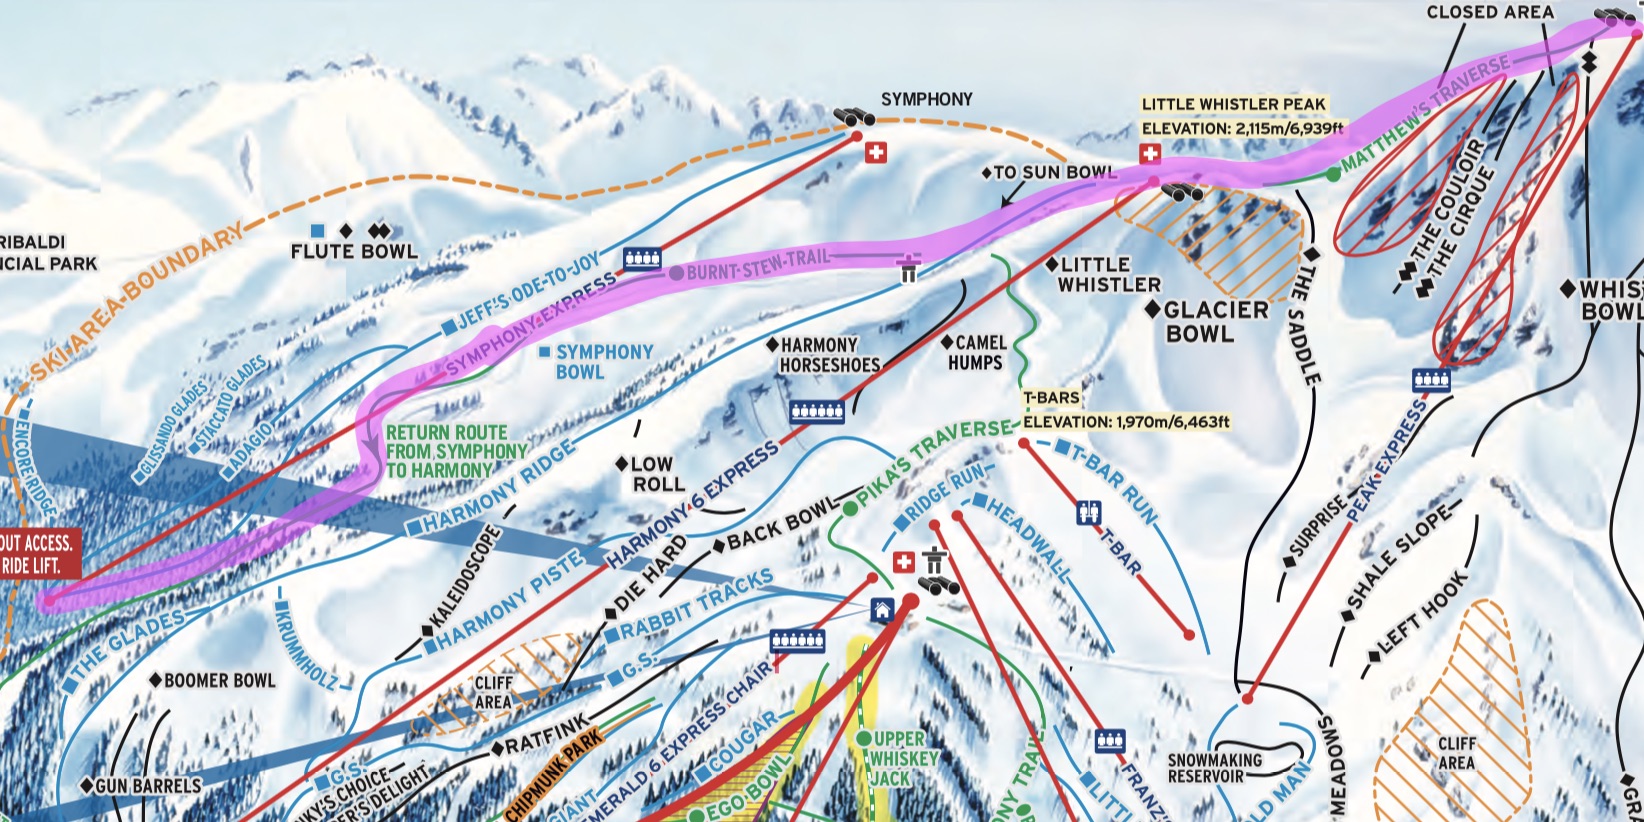
Burnt Stew Trail & Matthews Traverse (Peak & Harmony Chair)
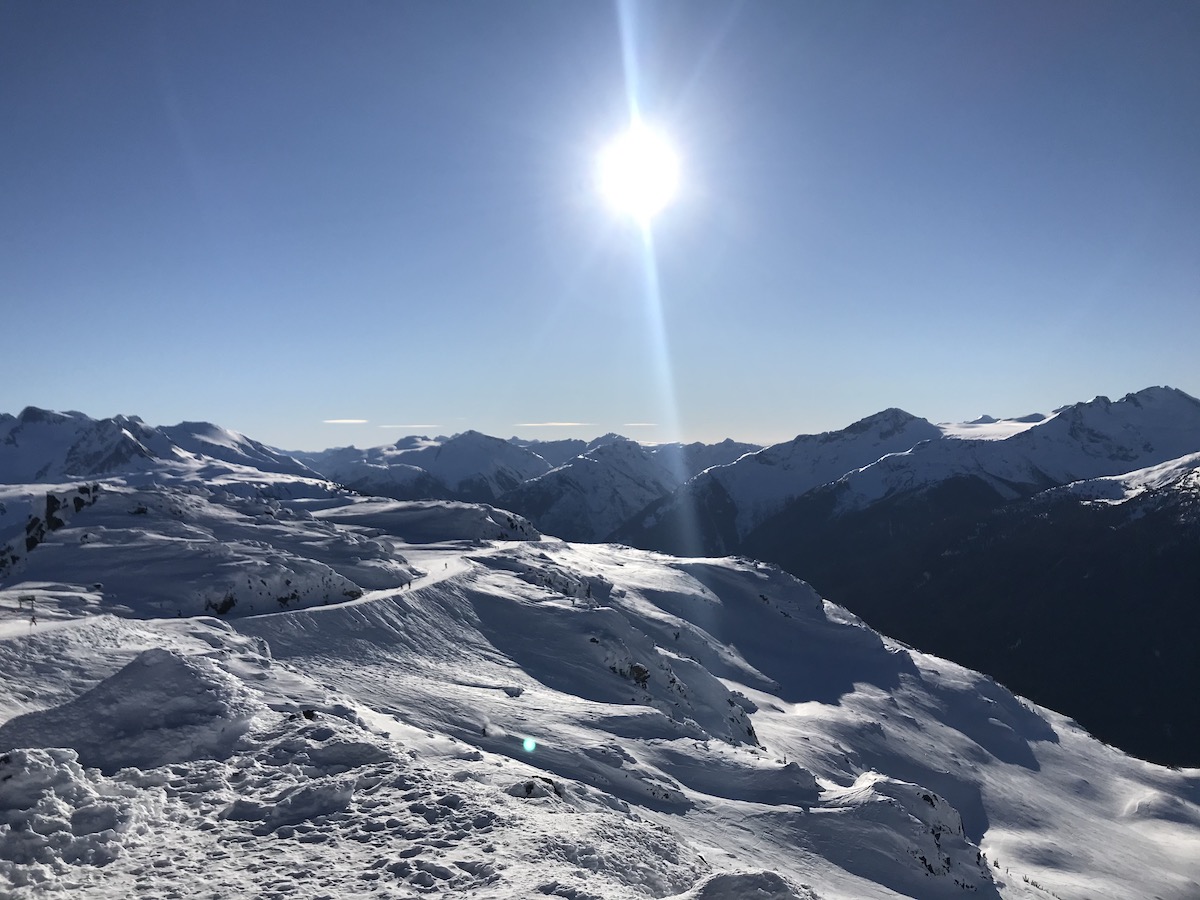
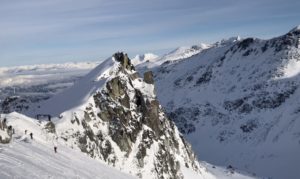
The Burnt Stew Trail is the most scenic beginner run in all of north America. You can ski it from the top of the Peak or Harmony Chair. I would recommend skiing it from the top of the Peak chair via Matthews Traverse. Matthews Traverse is just a simple cat track but the views to the right as you slowly snake your way down to Burnt Stew will ensure you won’t get bored. Once you head down Burnt Stew you are going to enter a whole new world. Enjoy the mellow and wide groomed track as you stare out into the backcountry mountains beyond. Stay on the groomed track and make sure to stay left back to the Harmony Chair. There are no Green runs on the Symphony Chair!
Transitioning to Blue Runs on Whistler
If you feel like you’ve got the green runs nailed then start playing around on some Intermediate/Blue runs. Intermediate terrain is still groomed but has a steeper slope than green runs. Use your turns to stay in control when skiing blue runs!
Try Harmony Ridge it’s a scenic and very doable blue run for skiers ready to challenge themselves with Intermediate terrain.
CLICK HERE to Check out my FAVOURITE Intermediate Groomed Runs on Whistler Mountain.
Blackcomb’s Best Beginner Runs
-
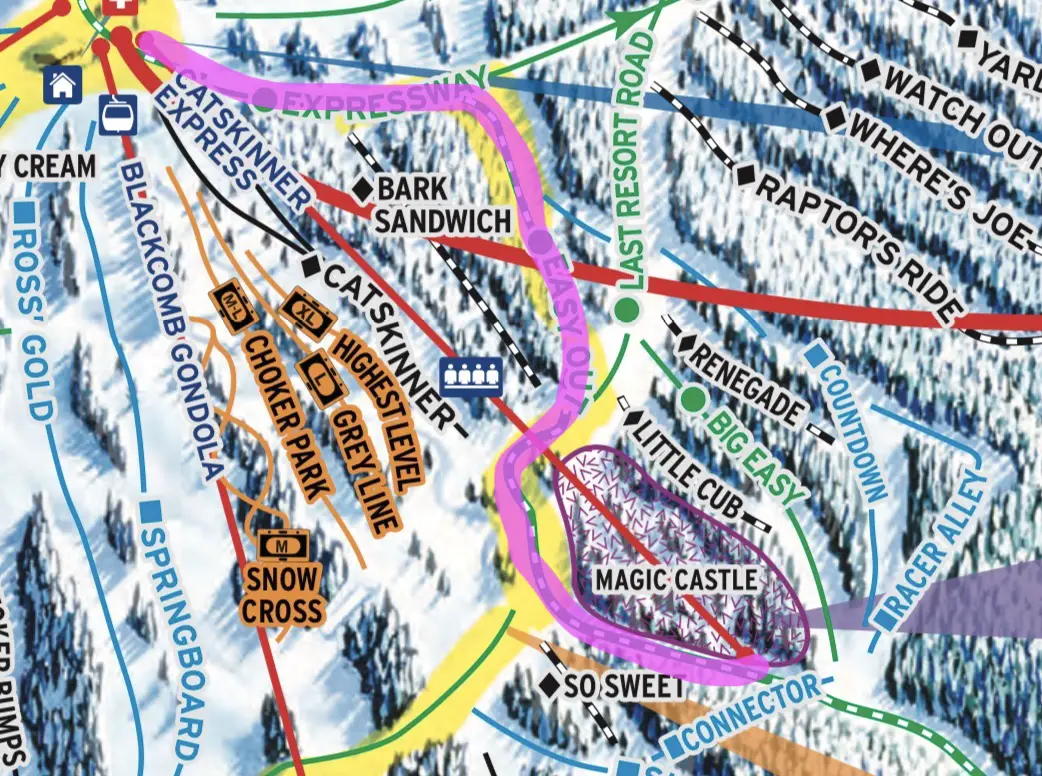
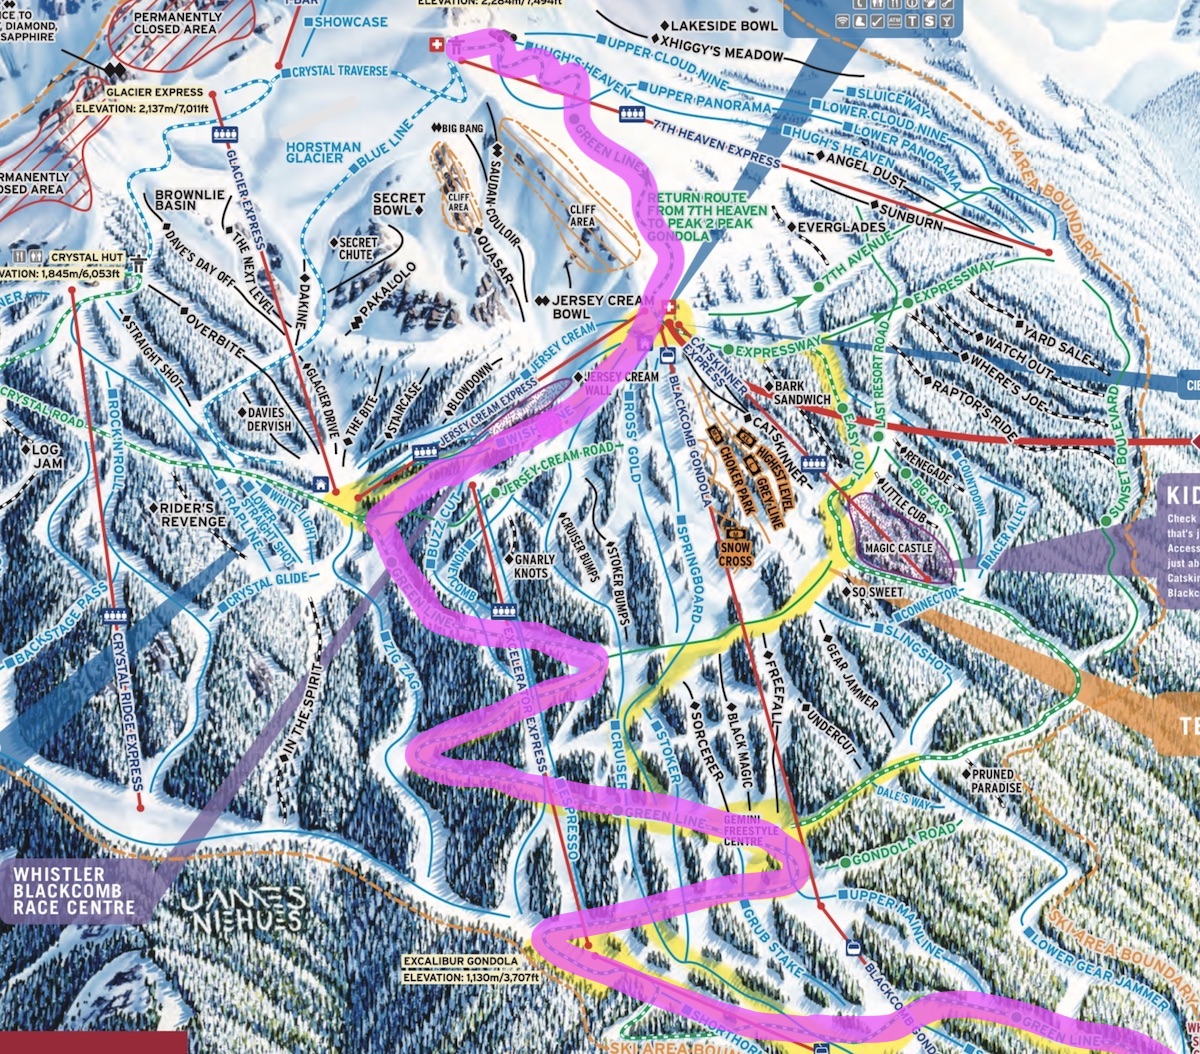
Easy Out (Catskinner Chair)
Upon exiting the Blackcomb Gondola you will see the Catskinner Express up and to your right. The Catskinner chair is is home to Easy Out the best run for beginners on Blackcomb Mountain. Easy out is a nice width, has a very mellow slope and can take you to the base of the Catskinner Chair or the Blackcomb Gondola. If you have kids with you make sure you check out the Magic Castle. It’s great fun and awesome motivation for little ones learning to ski in the trees.
-
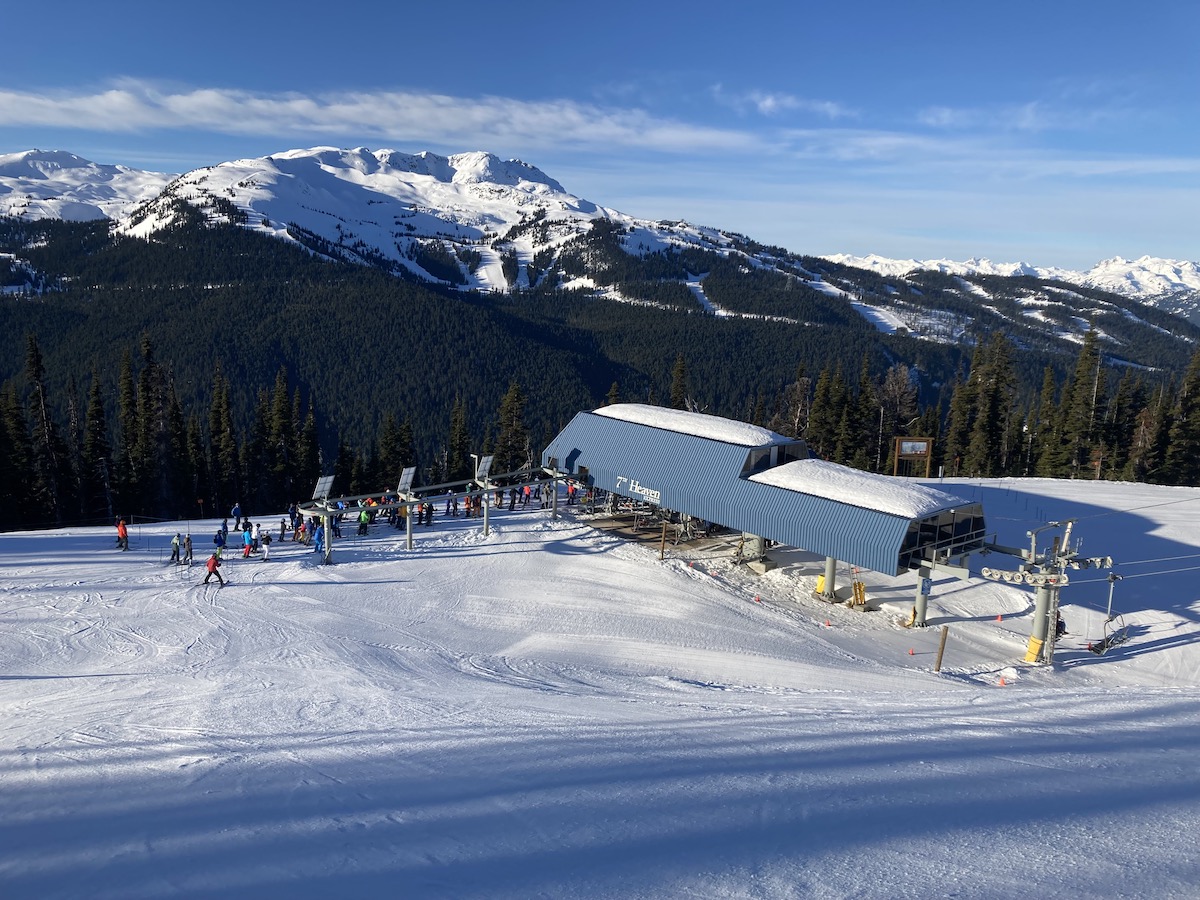
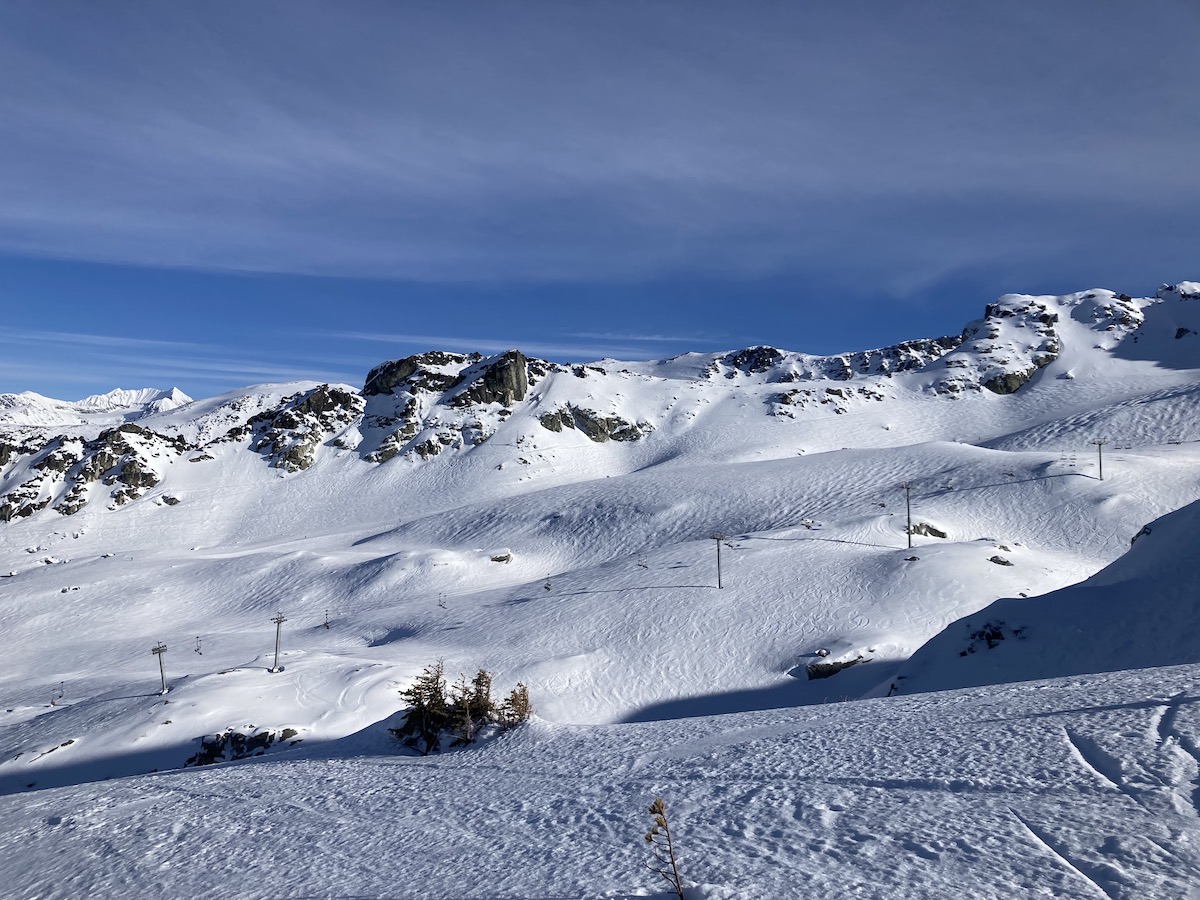
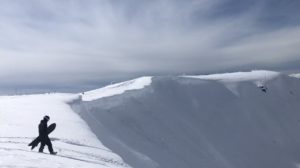
Greenline (7th Heaven Express)
The Greenline trail is the runner up to Burnt Stew Trail for the best views on a beginner run in North America. Green Line begins at the top of the 7th Heaven Chair on Blackcomb mountain and traverses back and forth through the high alpine and all the way to the base of the mountain. Take the Expressway in order to get to the 7th Heaven Chair. Expressway is as flat as they come and is a one way ticket for novice riders to enjoy big mountain views on very easy terrain.
Transitioning to Blue Runs on Blackcomb
Like I mentioned earlier in the post Blackcomb has less Novice skiing options compared to Whistler. When you are ready to try intermediate terrain, pop on over to the Crystal Chair and ski Ridge Runner. Ridge Runner has a great pitch, lots of rollers and is very wide. The Crystal Chair is the ideal spot to get comfortable with Intermediate terrain.
CLICK HERE to learn more about the best Intermediate Groomed Runs on Blackcomb Mountain.
Don’t Be Afraid To Download (Especially to Creekside)
There is an age old adage at Whistler “Death Before Download”. If you are in good health and have the skillset, then you absolutely should always download.
However, this rule does not apply to beginners. Don’t be afraid to download. The end of the day is when injuries happen and learning to ski is physically and mentally exhausting. The exit runs become extremely icy and busy with people skiing down at the end of the day making things even more dangerous.
Please remember that YOU ARE ALLOWED TO RIDE DOWN ANY GONDOLA ON THE MOUNTAIN.
This tip especially applies for any skiers or riders who need to go back to Creekside. All of the runs leading back to Creekside are blues and there are no beginner options to get back down to the Creekside base.
Downloading is totally normal and I know loads of senior (expert) skiers and riders who always download to avoid the crowds and the cruddy snow near the bottom. Staying injury free and enjoying your turns for the whole year is more important than one crap run to the bottom of Whistler.
Go at Your Own Pace
Skiing is such an amazing sport because it’s just you and the mountain. It’s not a competition and skiing development should be done at your own pace. Injuries and dangerous situations happen because skiers and riders push themselves on challenging terrain too soon. Go at your own pace and make sure that you’ve got the basics down and are comfortable with beginner runs before you try the intermediate and advanced runs. The more you improve the more amazing terrain opportunities you will open up at Whistler Blackcomb.
Hopefully the information in this post will help you better enjoy your trip to Whistler and assist you in navigating the mountain in a way that is suitable for your skill level. If you want to learn more about what Whistler Blackcomb has to offer you can check out my Full Whistler Ski Guide & Review Here. The views and vibe up on the mountain are awesome and I can’t wait for you all to make amazing memories.
Let me know in the comments if you have any Whistler Blackcomb related questions!


6 Responses
Thank you sooooo much for this amazing green run article, your blue run video, and all your amazing videos James & Laura! You articles and vids are the BEST WB resource, bar none. You’ve helped to foster excitement in our family of 5 as we plan our WB trip. We look forward to each new YouTube post. Because of you and Laura we are sure to make the most of our four ski days from Creekside. You both rock!
Hey Deryk,
Your comment just made my day. I live to get people young and old excited about the outdoors! You’re going to have such a fun trip 🙂 Let me know if you have any questions about Whistler!!!
Hi Rise and Alpine!
Recently came across your videos by searching “best month to ski Whistler/Blackcomb” in preparation for a ski vacation and have been hooked on your content since! That video was super informative, and now I’m finding your website to be equally full of high quality content. I am a beginner skier and hope to be transitioning to blues by the time we get to WB in late Feb/early March, and this article is incredibly helpful in helping me feel comfortable with the terrain we’ll be facing! Also, as we’ll be staying in Creekside, knowing about the option to download on the gondola is wonderful advice!
Thanks for the content – looking forward to 23/24 season!
Hey Kevin,
So glad you’re finding my content helpful. Have an awesome trip and don’t hesitate to fire me questions over email. See ya up there!
Cool article! How would a beginner get to the Peak Lift? Looking at the maps, there’s only blue and black leading to the base. I can handle maybe a short, easy stretch of blue – what do you recommend? Thanks,
Todd
Hey Todd, take the cattrack an follow the burnt stew trail all the way down from the top of peak chair and loop around to the bottom of Harmony. Will be a really cool lap for you!