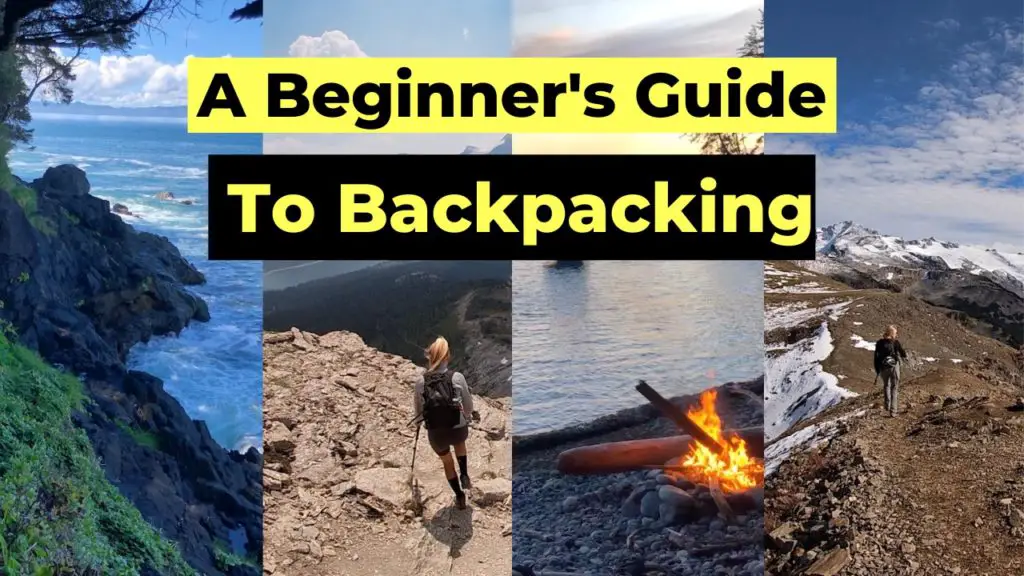
There is no better feeling than spending a night among the stars in the beautiful BC backcountry.
British Columbia is home to some of North America’s best backpacking opportunities, pristine parks and diverse terrain. From the West Coast Trail Stretching Vancouver Island’s Coastline to Mt Assiniboine Provincial park, there are never ending opportunities for hiking enthusiasts.
Backpacking is always the highlight of my summer and I truly cherish every moment I spend hiking through sandy beaches, majestic forests and reaching mountain summits.
Don’t be intimidated by the gear or planning. Getting out on your first overnight hike in British Columbia is quite simple.
You deserve to experience these moments!
In this guide I am going to share everything you need to know to plan, prepare and enjoy your first ever overnight hiking trip in the BC backcountry.
Remember the Backcountry Basics
- Carry your Survival Kit & Essentials
- Let someone know where you’re going with a Trip Plan
- Know how to avoid negative wildlife encounters
- Practice Leave No Trace to keep the wilderness pristine
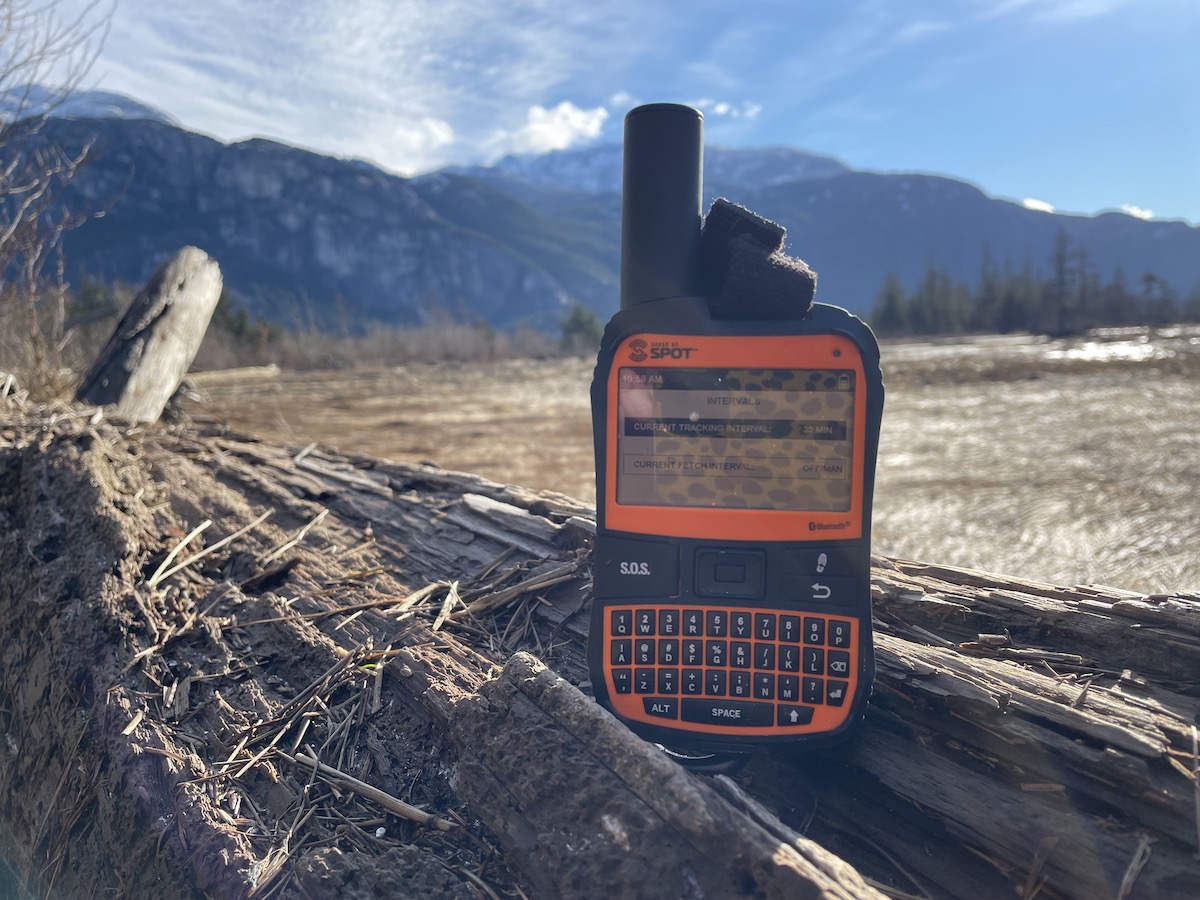
- Carry a Satellite Communicator like SPOT X
Table of Contents
Picking The Trail
The first step in planning the perfect overnight hiking trip in British Columbia is to pick your trail. The great thing about BC is there are many trails to choose from and all of them are AWESOME!
If it is your first time backpacking I would recommend starting off with a moderately challenging trail that requires 1-3 sleeps. This will allow you to get into the swing of things testing out your gear, hiking with a pack, and most importantly figuring out if you even like backpacking in the first place. A “test hike” so to speak is always helpful before commiting to a longer backpacking adventure.
Obviously this is just a recommendation and if you are fit and confident with the outdoors and certain you will love backpacking, than go ahead and plan a long trip right off the hop.
Top 8 Hiking Trails For First Time Backpackers in BC
1. Joffre Lakes
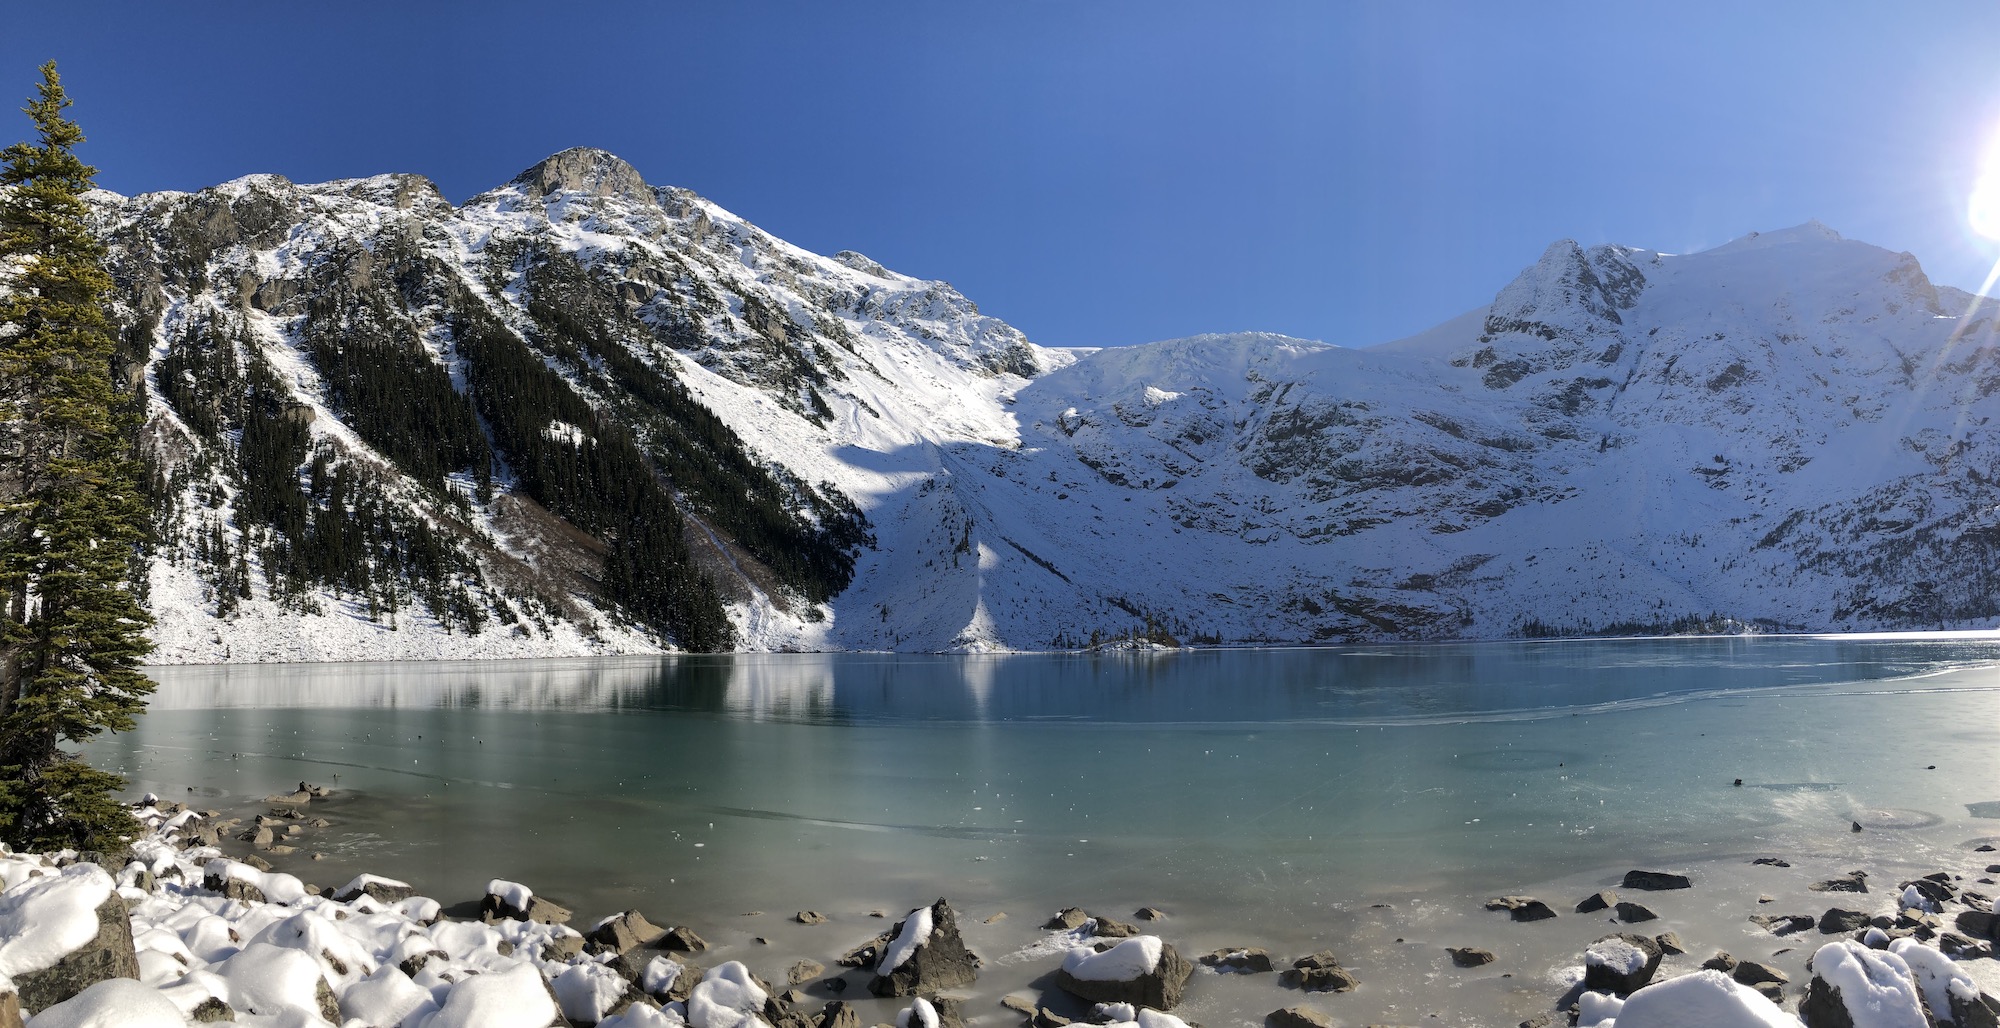
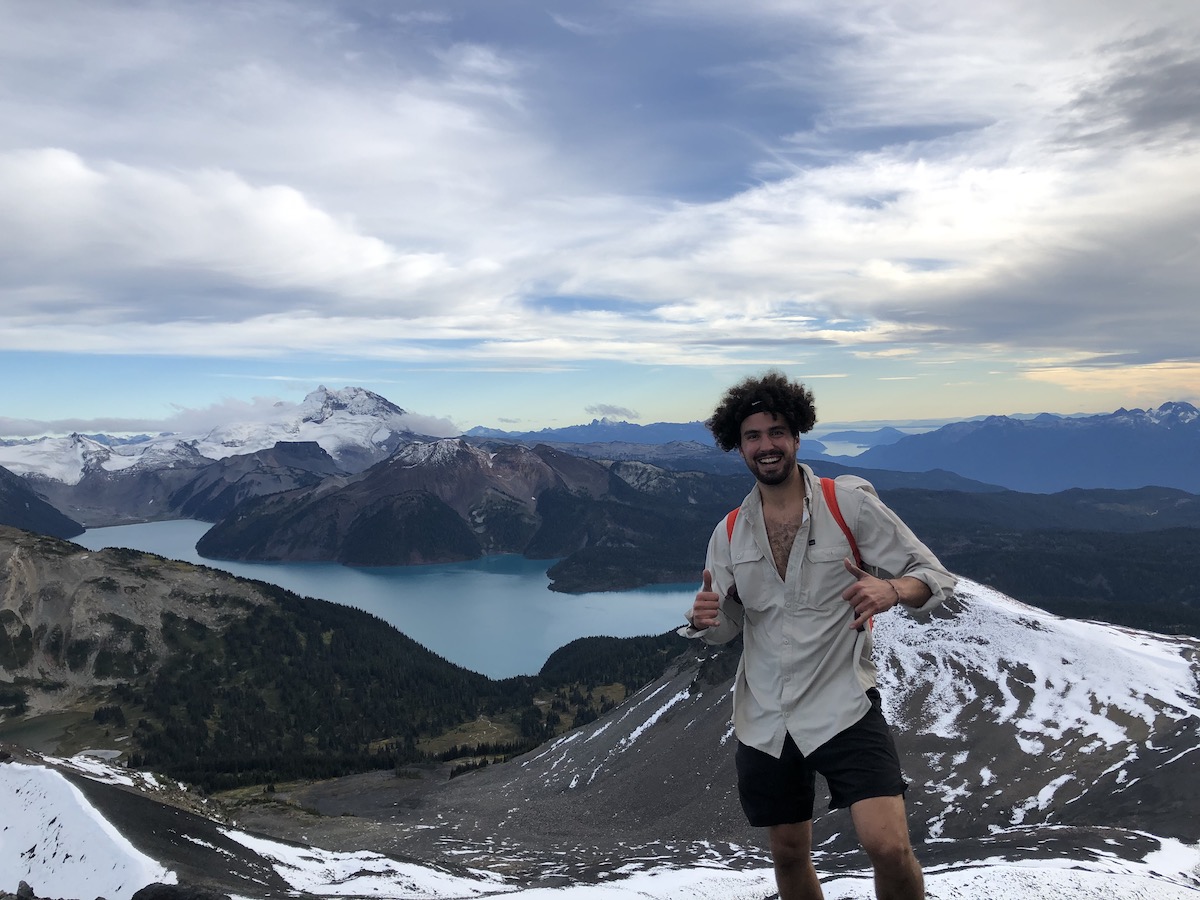
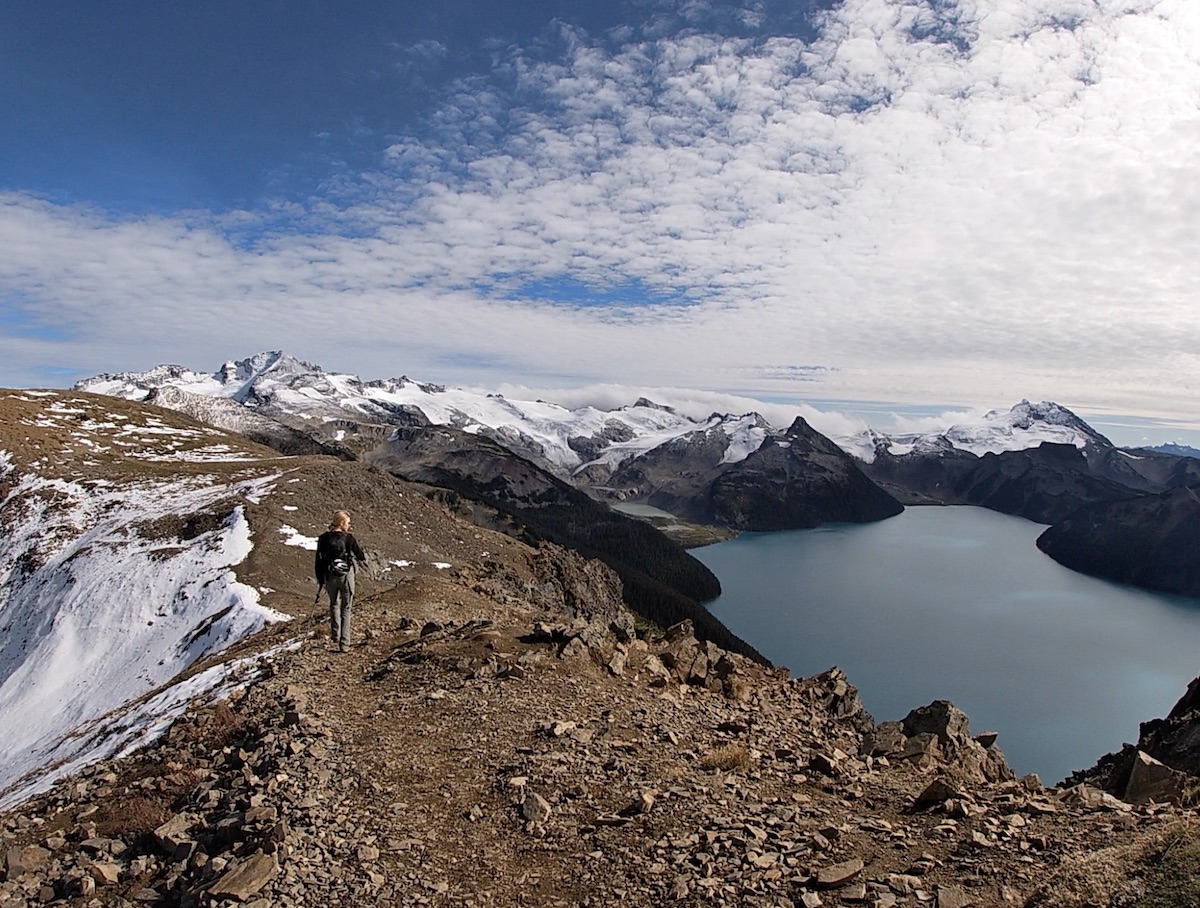
2. Garibaldi, Black Tusk & Panorama Ridge
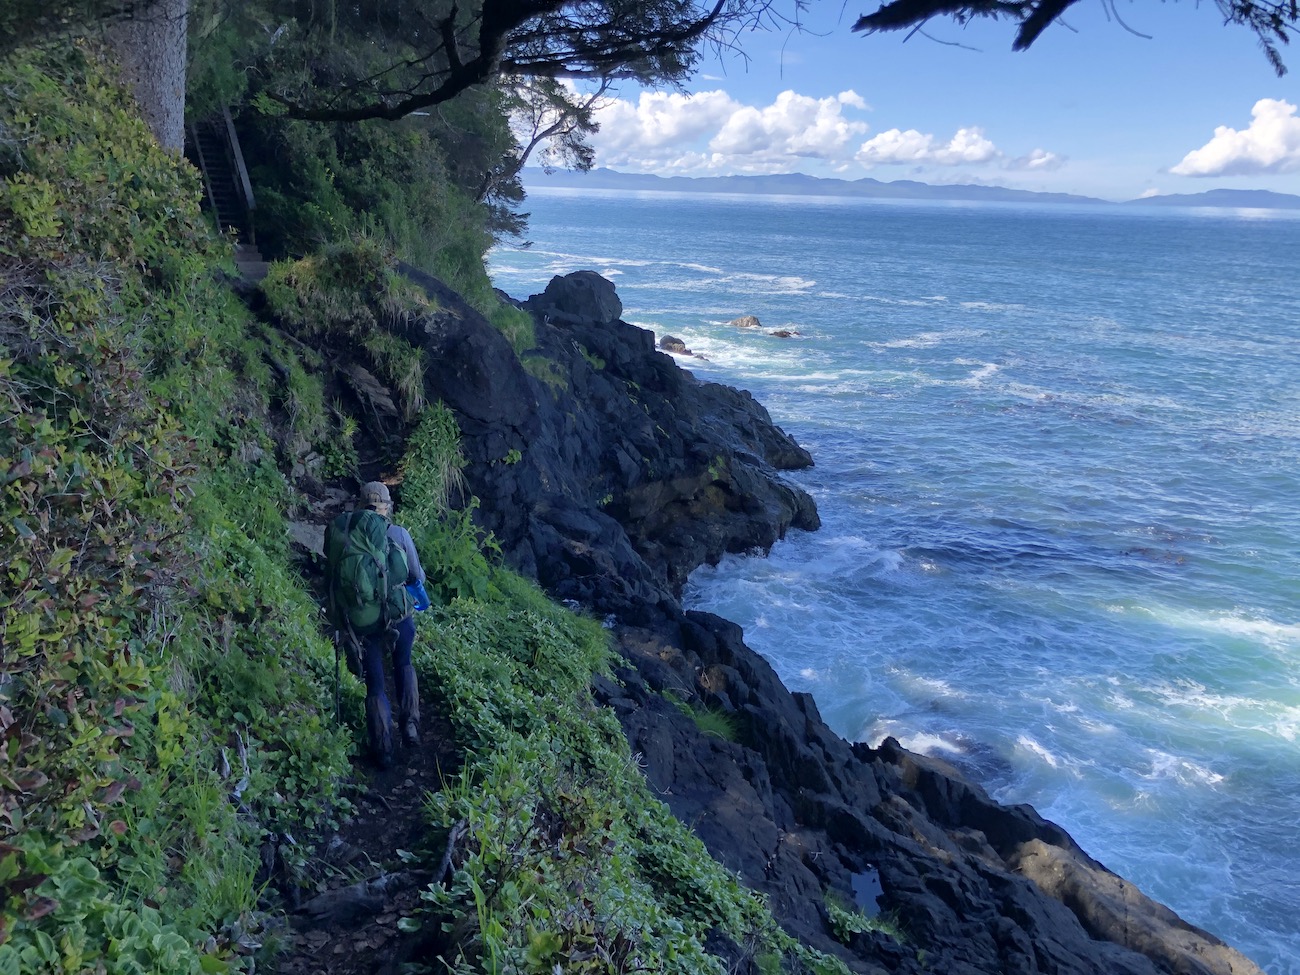
3. Juan De Fuca Trail
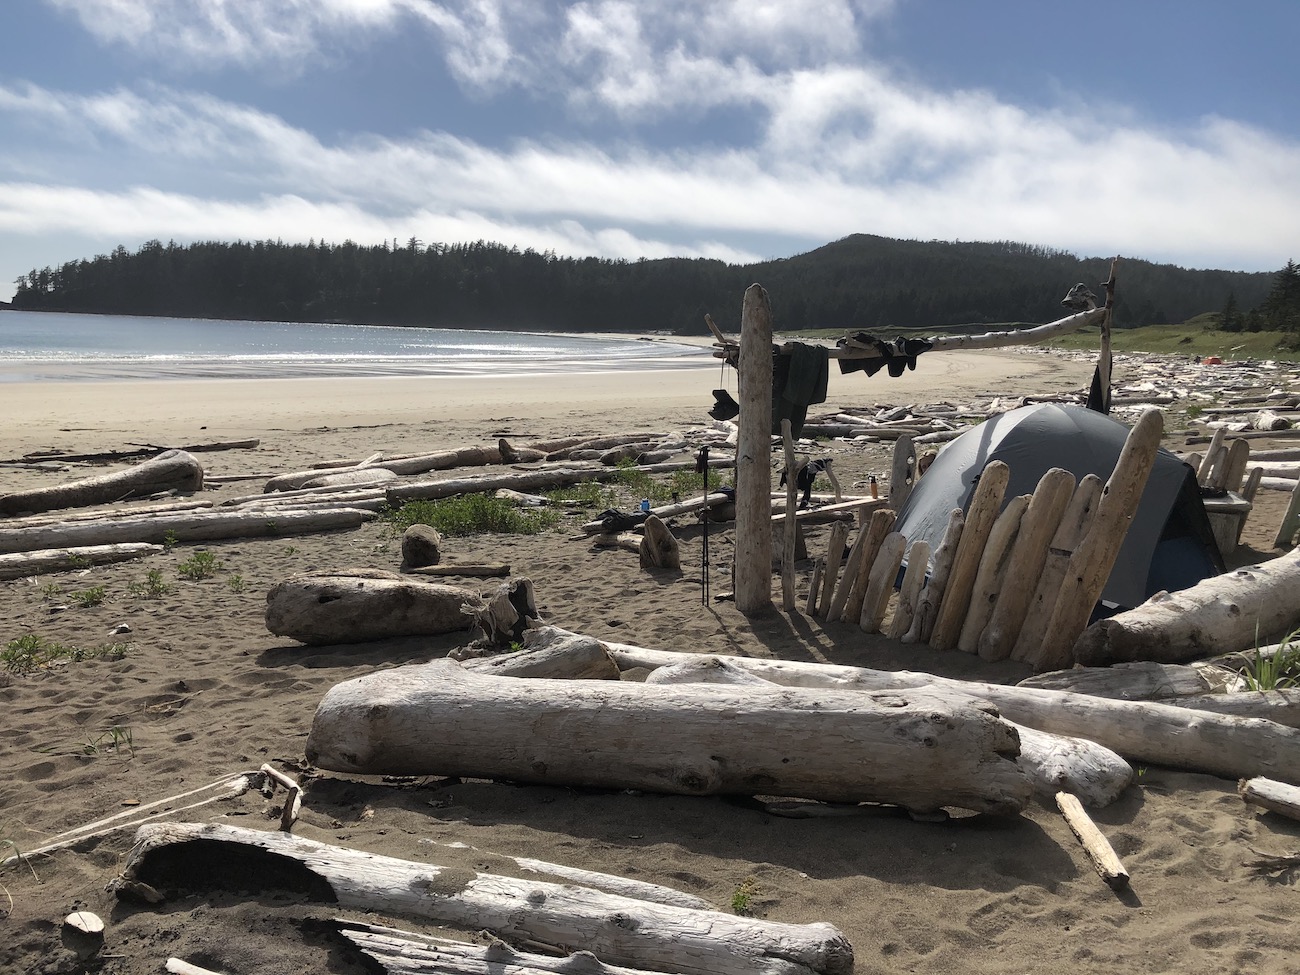
4. Cape Scott Trail
5. Skyline Trail
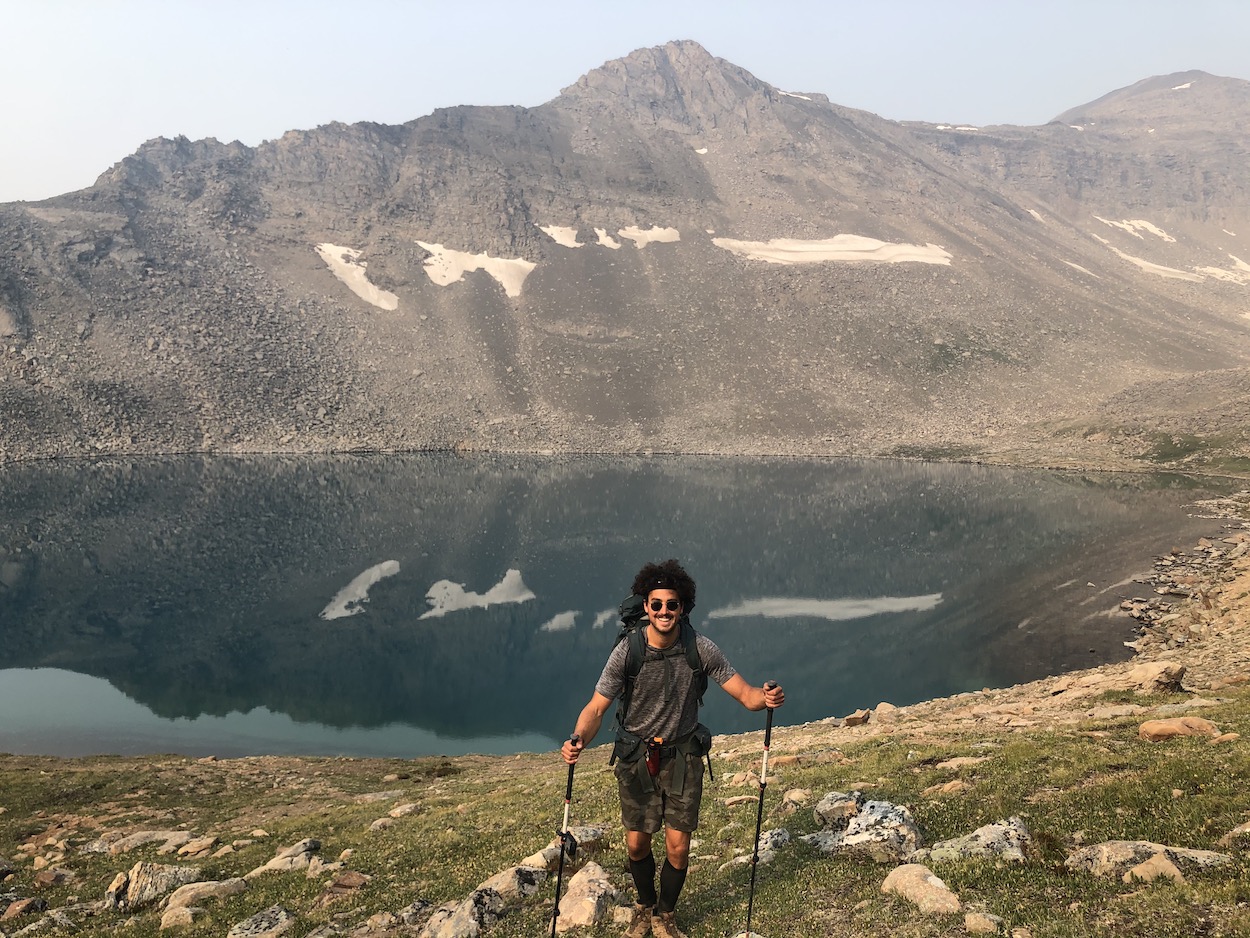
6. Berg Lake Trail
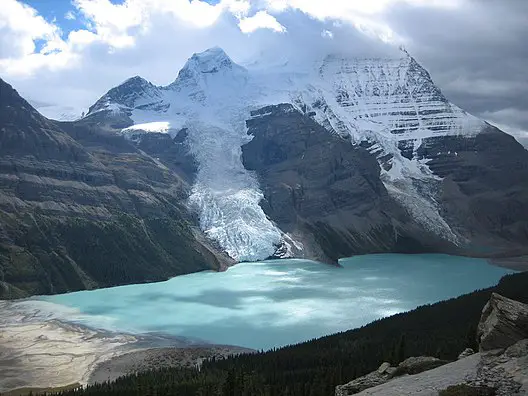
7. Tin Hat Hut (Sunshine Coast Trail)
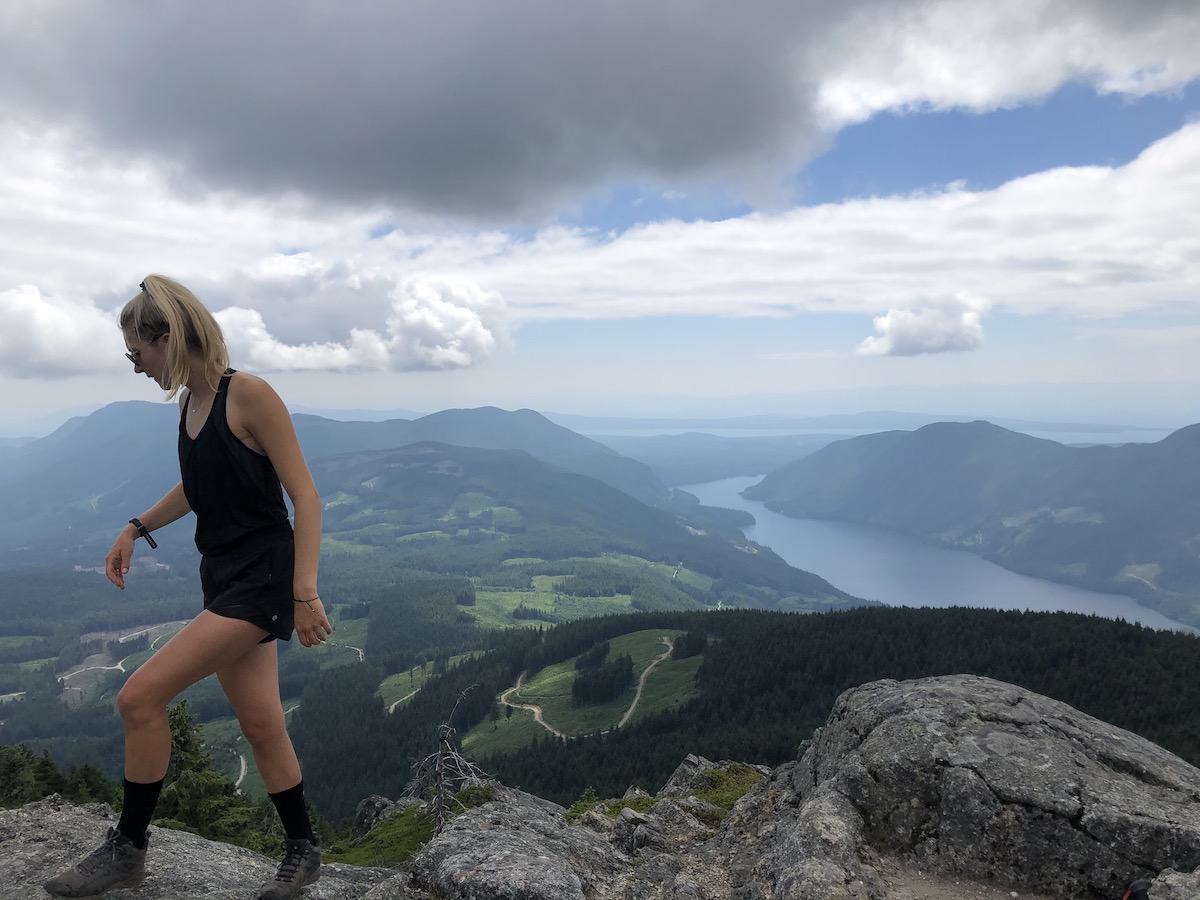
8. Elfin Lakes
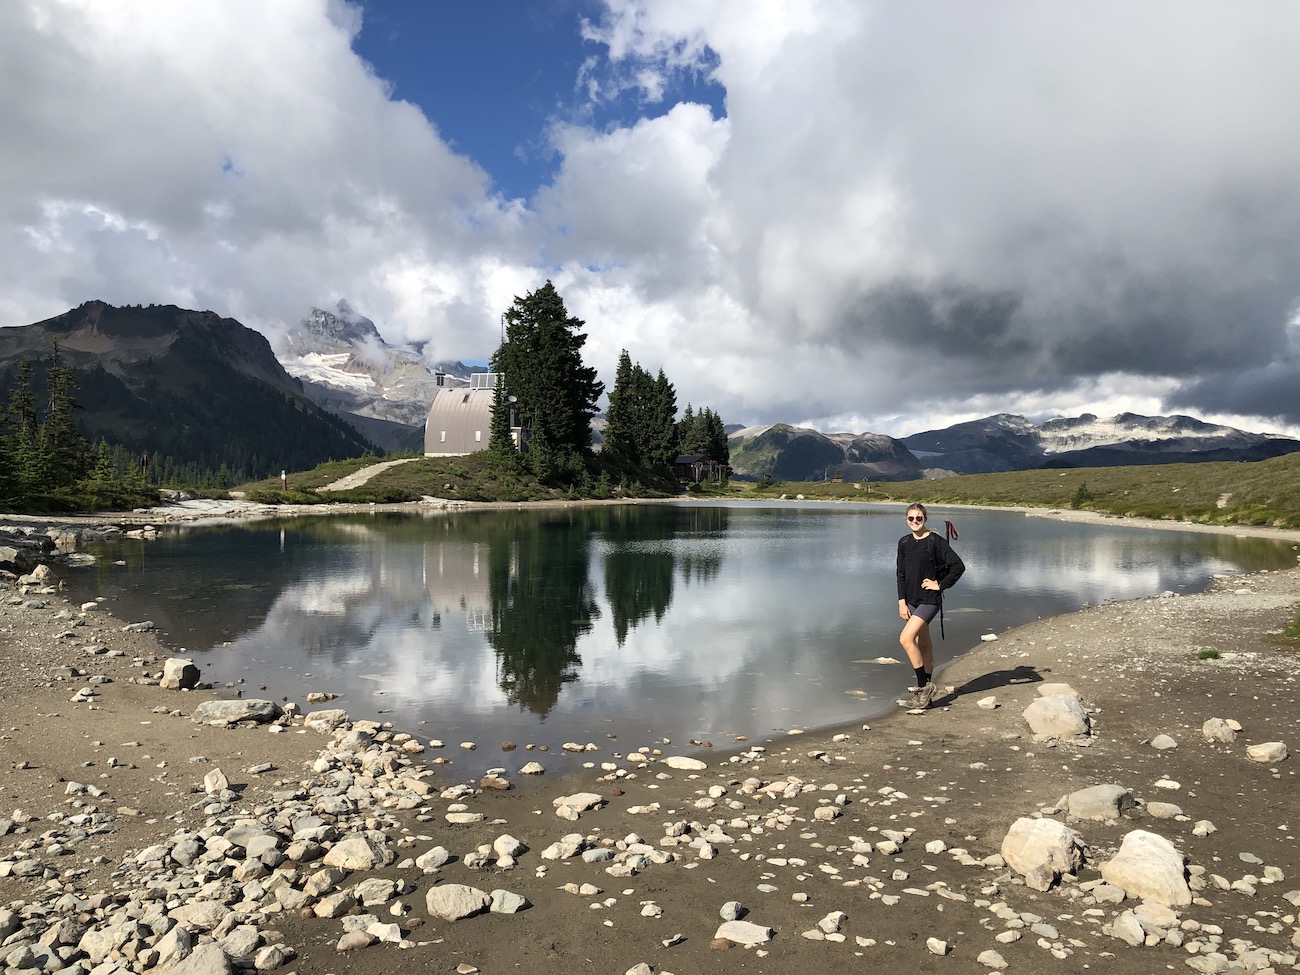
Do Your Research
Once you have chosen a trail it’s time to get planning. I used to have a baseball coach that used to teach us that “Proper preparation prevents poor performance”. I have adjusted this phrase to better suit backpacking and use it when teaching all the time. It goes like this, ‘Proper Preparation Prevents PAIN’.
Hiking and camping in the wilderness with the wrong gear or inadequate amounts of food and water can simply be a very painful experience.
If you take a few extra minutes and be diligent about planning your trip details you can greatly reduce the potential for a painful experience on the trail.
Transportation
Depending on the trail you will need to figure out some basics about the area. Determine how you are going to transport yourself to and from the trailhead. Maybe you will need two vehicles if you are doing a thru-hike or maybe you can organize a shuttle service to pick you up. (Shuttles are available for some BC trails like the West Coast Trail, Juan De Fuca Trail and Mt Assiniboine.
Check The Weather
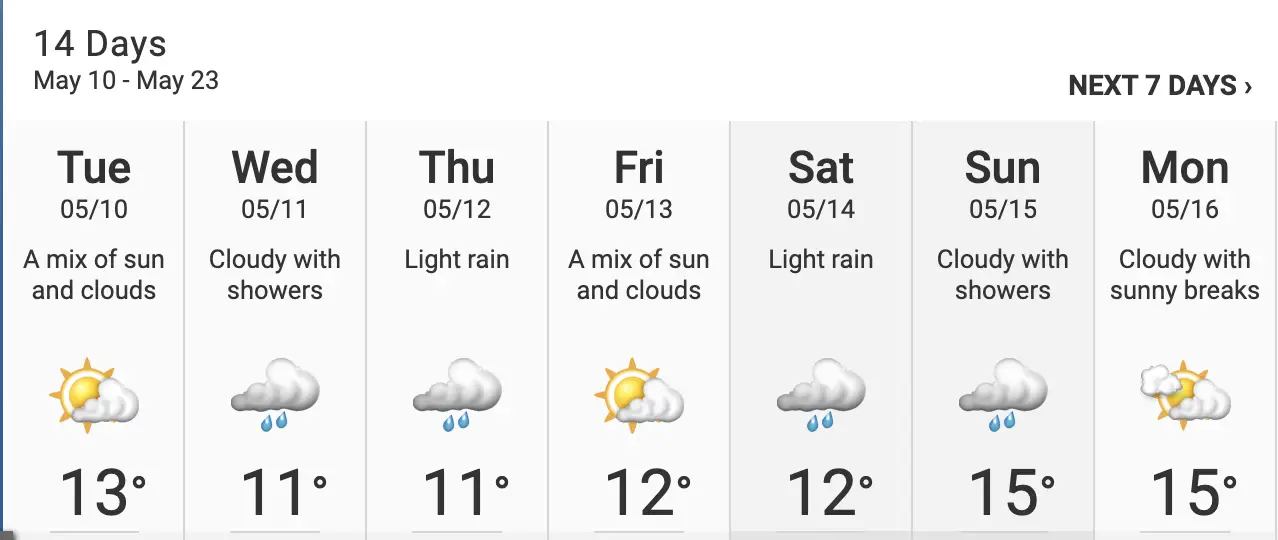
Understand the historical weather of the area you will be hiking so you can figure out what gear and clothing is going to be most suitable for your trip. If you are hiking trails at higher elevations make sure to check the weather mountain weather, not just the local forecast.
Backcountry Reservation & Registration
Hiking trails in British Columbia parks require a Backcountry Permit or Camping Reservation if you are camping overnight.
Reservations
Trails that are extremely popular like Garibaldi Lake, Berg Lake, Mt Assiniboine, Joffre Lakes ect. require hikers to physically reserve a spot in a campsite prior to arrival. These ultra-popular trails are notoriously hard to book in peak season. Typically you can only book these campsites 2 months in advance of your desired date and the cost of a reservation is $10/night/person.
If you are trying to get specific dates you need to be on your computer, familiar with the camping.bcparks.ca booking system and ready to click the instant booking goes live! It has become increasingly frustrating to reserve these popular hikes, especially on the weekends in peak season.
However, don’t let yourself become too frustrated because you can always choose a first come first serve hike that only requires a Backcountry Permit.
You can reserve campsites for BC hikes on camping.bcparks.ca
Registration
Many backpacking trails like The Juan De Fuca & Cape Scott trails receive less traffic and BC does not require you to reserve a campsite to access the trail. Campsites on these trails are on a first come first serve basis and all you have to do is purchase a backcountry registration (permit) to enjoy these routes.
You can self-register online at camping.bcparks.ca or fill out a registration form and pay in cash at the trailhead. The cost is $10/person/night.
Local Regulations
Please ensure to check any local or park regulations before embarking on your hike. The most typical rules you will encounter in BC are fire bans and the required use of a bear hang or cache.
The Gear & Clothing Required
Overnight backpacking trips require more gear and more planning than your average day hike. You are going to need to carry everything you need to survive as many nights as required to conquer your trail objective.
Don’t feel overwhelmed when trying to acquire all of the necessary hiking equipment. It can be done easily and quite affordably if you buy used.
Backpacking Gear Essentials
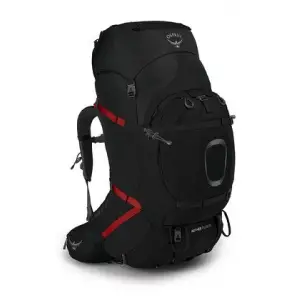
Backpack
- 70-100L Hiking Backpack (I use and 80L pack!)
- 70-100L Backpack Raincover (Mountain Warehouse 100L Rucksack Cover)
- Packable Day Pack
Safety
You always should be carrying some form of survival/emergency kit while hiking. Most importantly this needs to include a first aid kit, headlamp, water tablets, fire starters and bear spray.
Additionally, I always bring along my Spot X Satellite Communicator when I’m hiking in the Backcountry.
CLICK HERE to learn more about the contents in my Backpacking Survival Kit
Sleeping
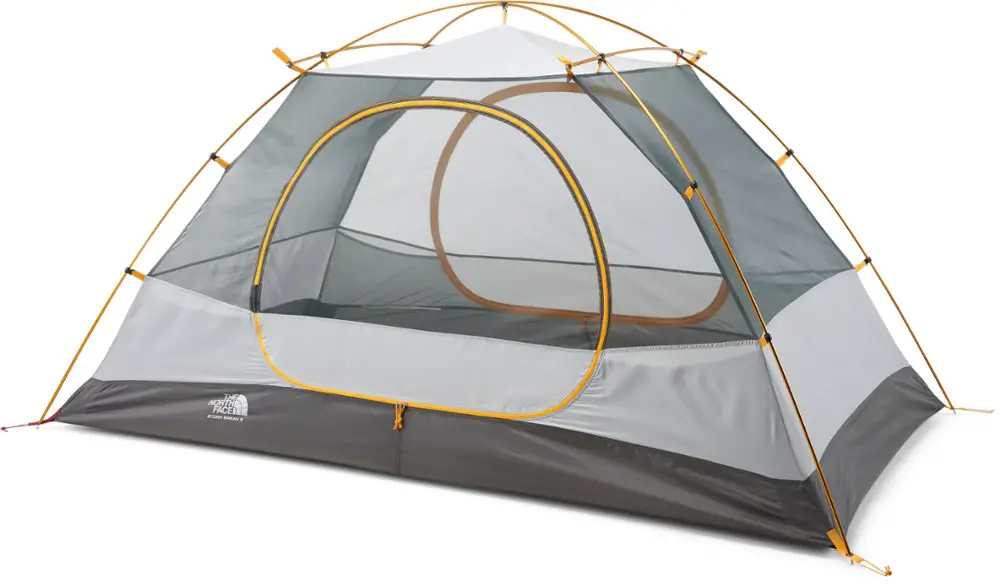
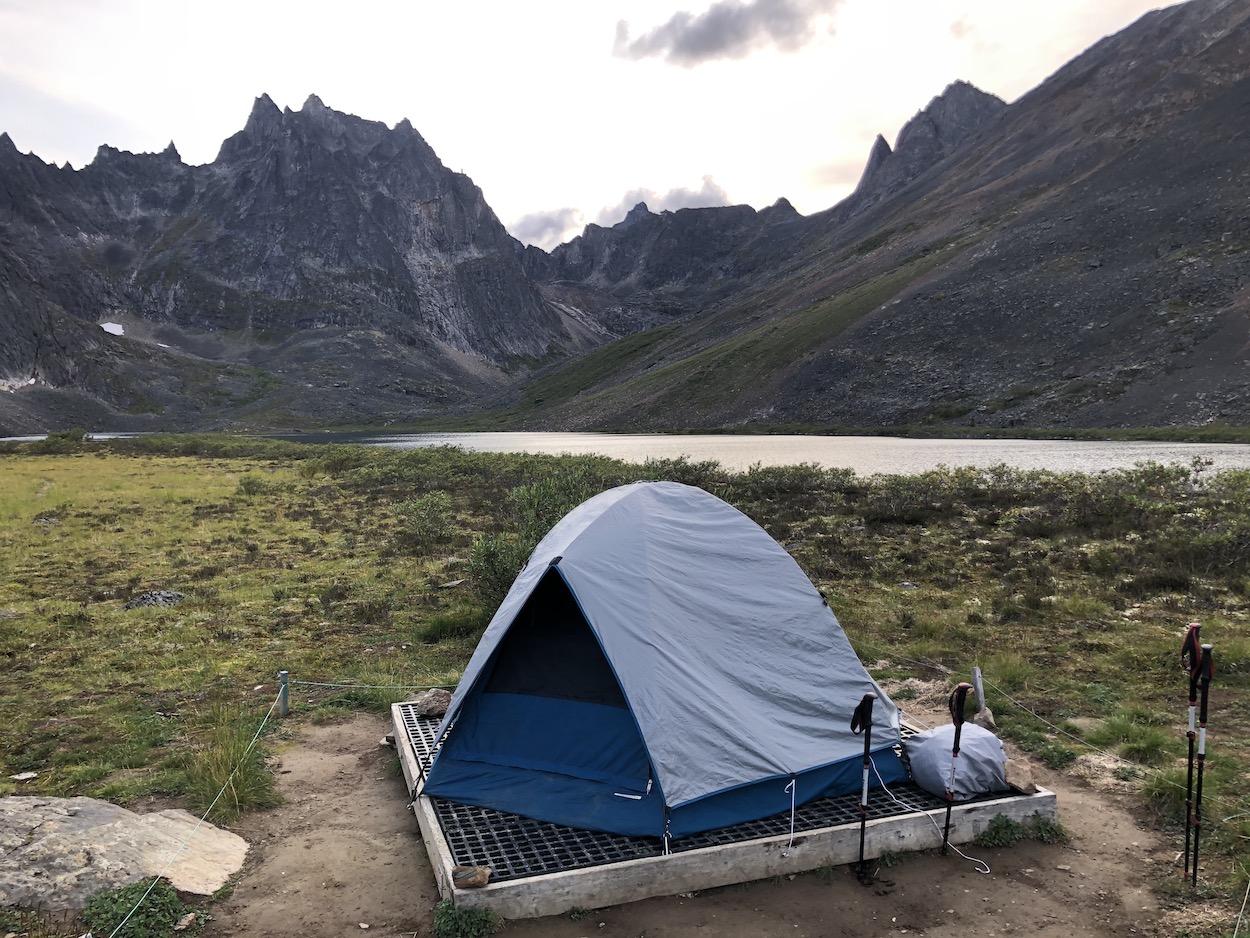
We actually used an old 90’s outbound tent this summer until the rain got the better of it hiking in the Yukon. We have since upgraded to the North Face Model listed below. Just another reminder you don’t need top of the line gear to have top notch experiences.
- Tent (North Face Stormbreak 2) w/footprint
- Lightweight tent stakes
- Tarp
- Paracord/Rope (tie tarp and make a clothes hang)
- Mountain Warehouse Summit 250 Sleeping Bag
- Klymit Double V Sleeping pad
Cooking
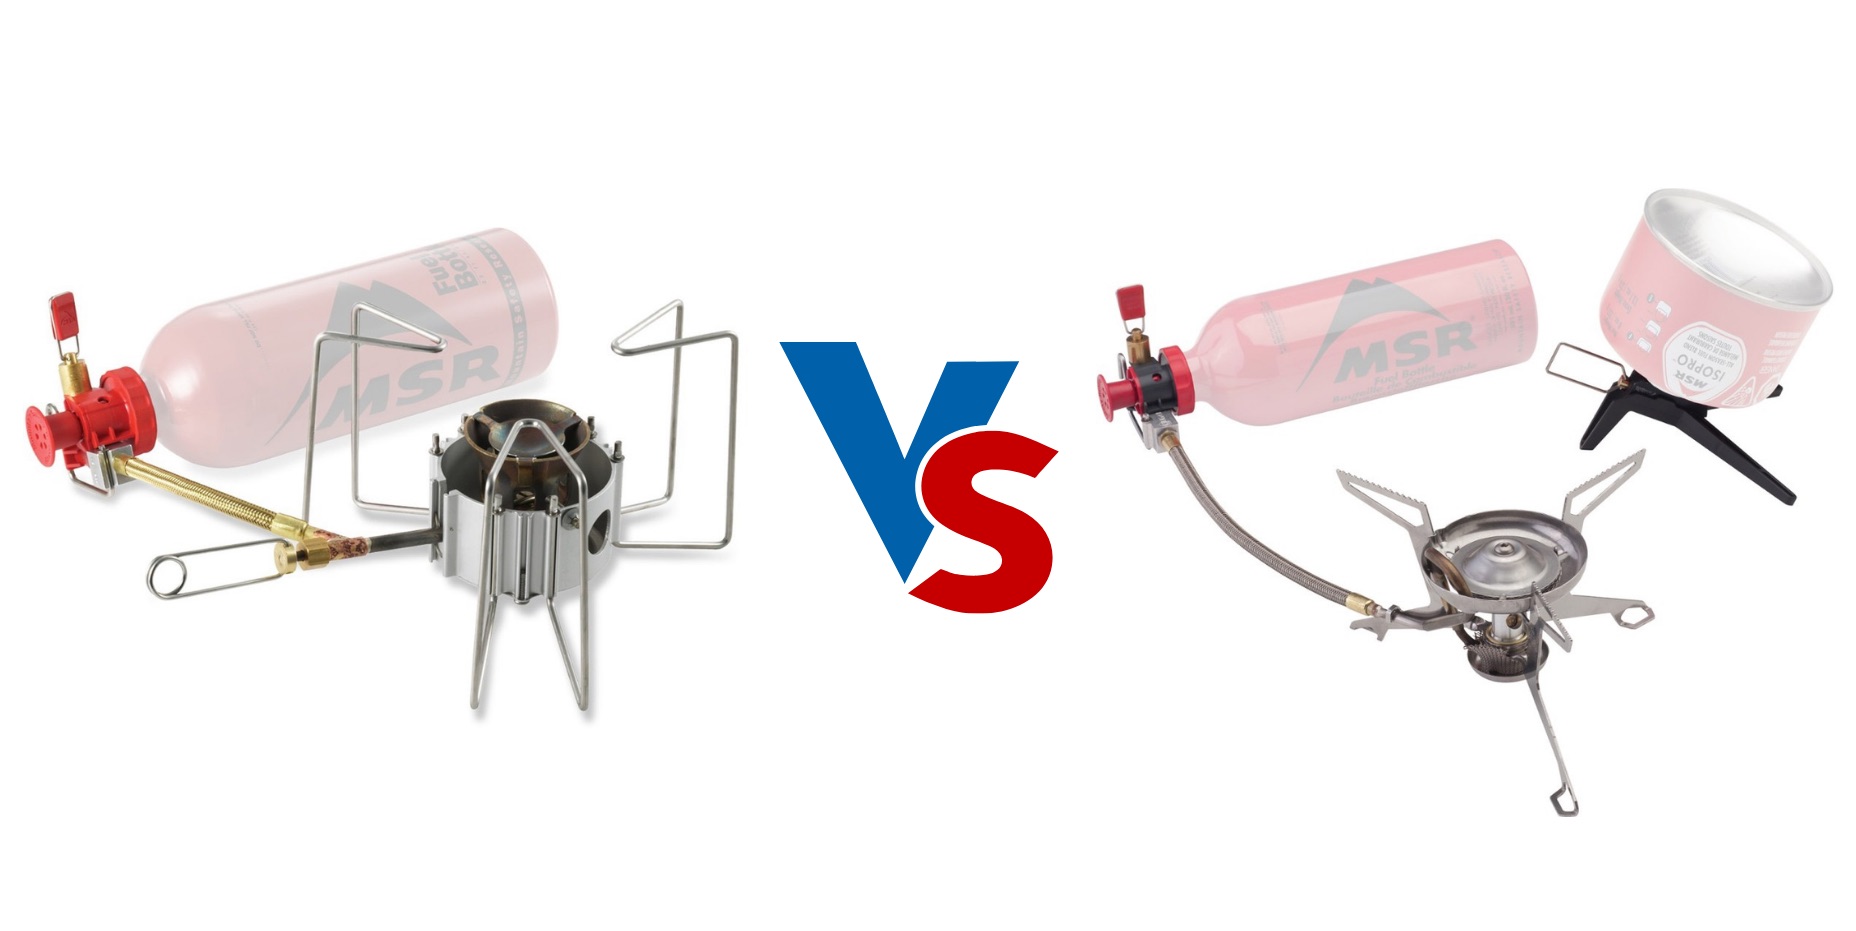
Check out my post HERE to learn what hiking stove is best for you!
- MSR Pocket Rocket 2 Stove
- Waterproof Matches
- Spork
- MSR Cookset (or any sort of other lightweight pots/pans/bowls)
- Small drying towel
Water
Boots & Poles
- Merrell Moab 2 Hiking Boots
- Black Diamond Expedition 2 Poles
Navigation
- Map
- Compass
Backpacking Clothing Essentials
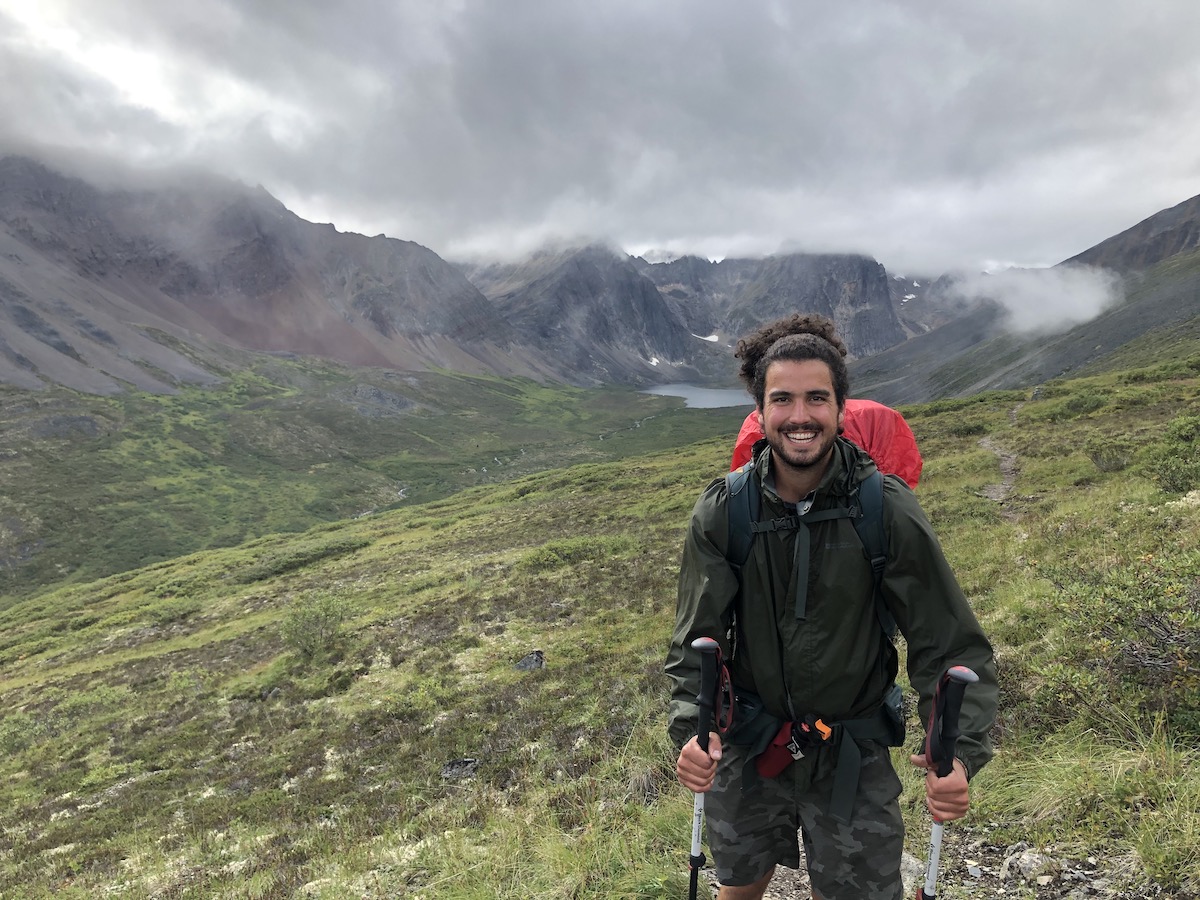
What I Wear
- Merino wool baselayer – top + bottoms (Stanfields)
- Warm socks
- 1 extra underwear
- 1 extra t-shirt/shorts (depending on duration of hike)
- Packable raincoat (Mountain Warehouse Pakka Rainjacket)
- Packable rain pants (Mountain Warehouse Pakka Rainpants)
- Toque
- Down Puffer (Eddie Bauer Cirrus Light Down Hooded Jacket)
- Wool Gloves
- Crocs/Sandals (Crocs Classic Clogs)
- MSR Crocodile Gaiters
Do Not Feel Pressured to Buy NEW
Having new and high quality gear is awesome, but, if you’re starting out keep it simple. Find used gear at consignment stores or on facebook marketplace. Laura and I hiked an entire season with an old 80’s outbound tent that had little to no waterproof capabilities and we still had an amazing time, minus a few damp nights, but it was an adventure. The bottom line is I never want you to feel like you have to keep up with the jones on the trail. If your gear functions and gets the job done, slowly upgrade when you learn more about your hiking style and preferences.
Planning Food & Water
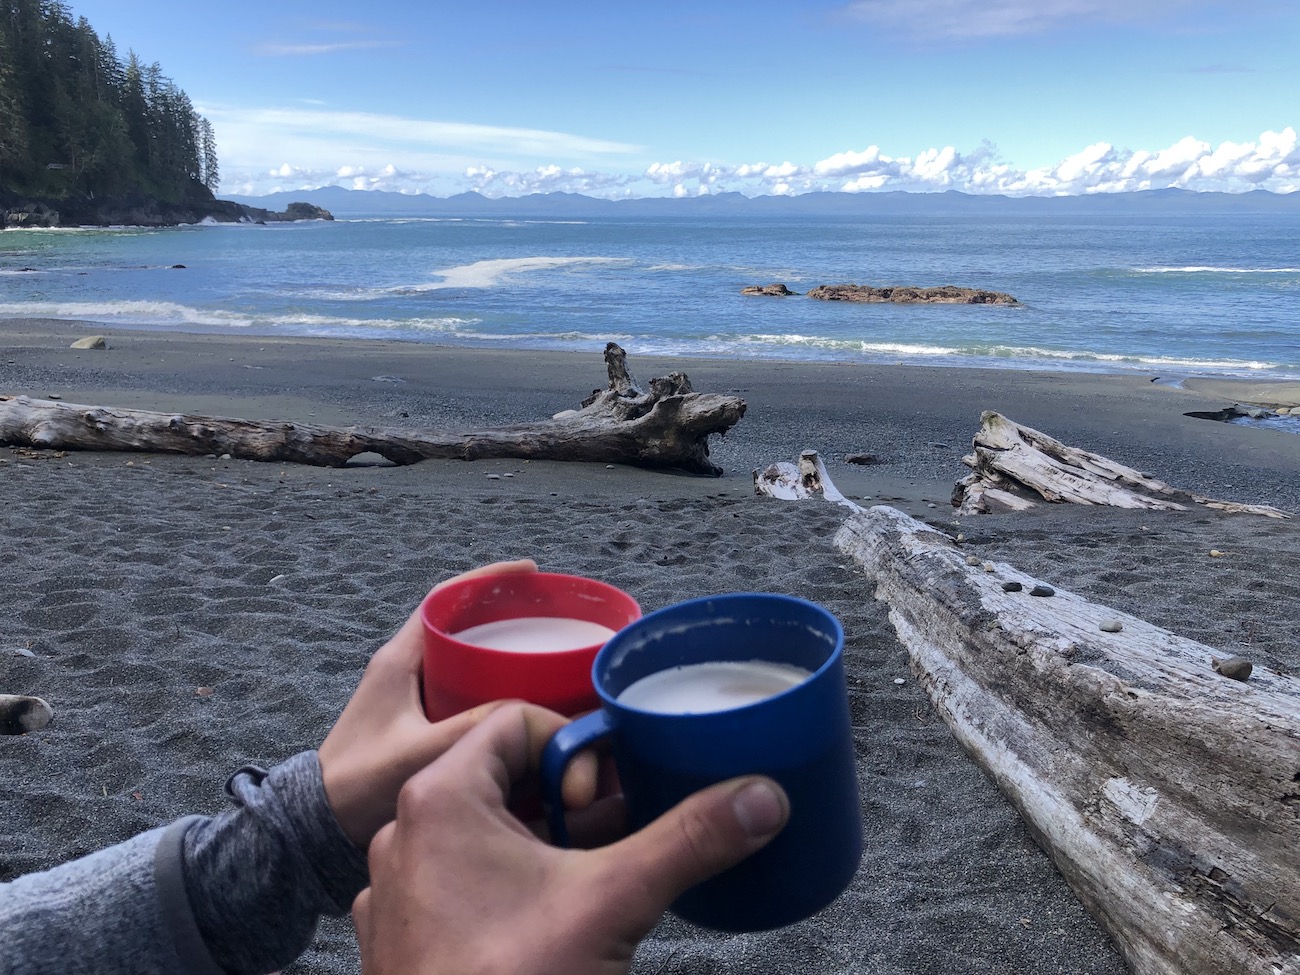
On overnight hikes we usually have coffee and sometimes oats with nuts in the morning. For lunch we typically have snacks and a protein bar. Our entrees are usually pastas (sidekicks), curry, chili, rice & tortillas or instant mash potatoes. Our 4 days of food is broken down as follows.
For water, ensure that there are water sources along the trail. Most BC trail campsites are situated near a water source. Ensure you treat your water with a filter or tablets before consuming. Typically I like to carry 1-2 litres of water while I’m hiking and will filter/drink more throughout the day as needed.
Sample 4 Day Hiking Meal Plan
Day 1
Breakfast: 2 whole wheat tortillas with peanut butter
Lunch/Snacks: Nuts, Jerky, Brookside Chocolates, Banana Chips
Dinner: Uncle Bens Mexican Ready Rice, small white tortillas (we had makeshift tacos with the rice in the tortillas)
Desert: Tea & Chocolates
Day 2
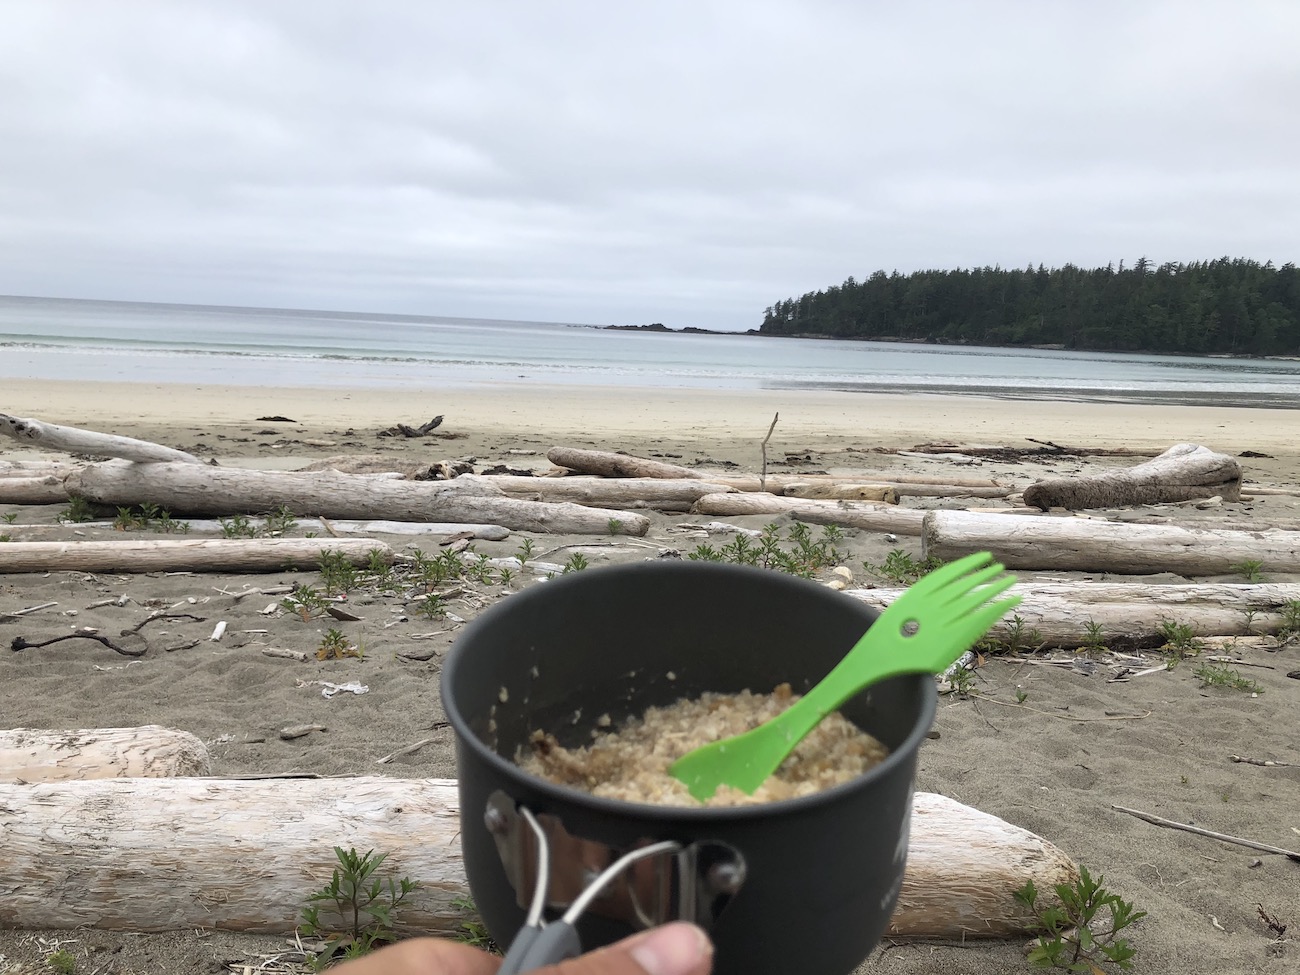
Breakfast: Instant Coffee and Instant Oats
Lunch: Cliff Builders Bar
Snacks: Nuts, Jerky, Brookside Chocolates, Banana Chips
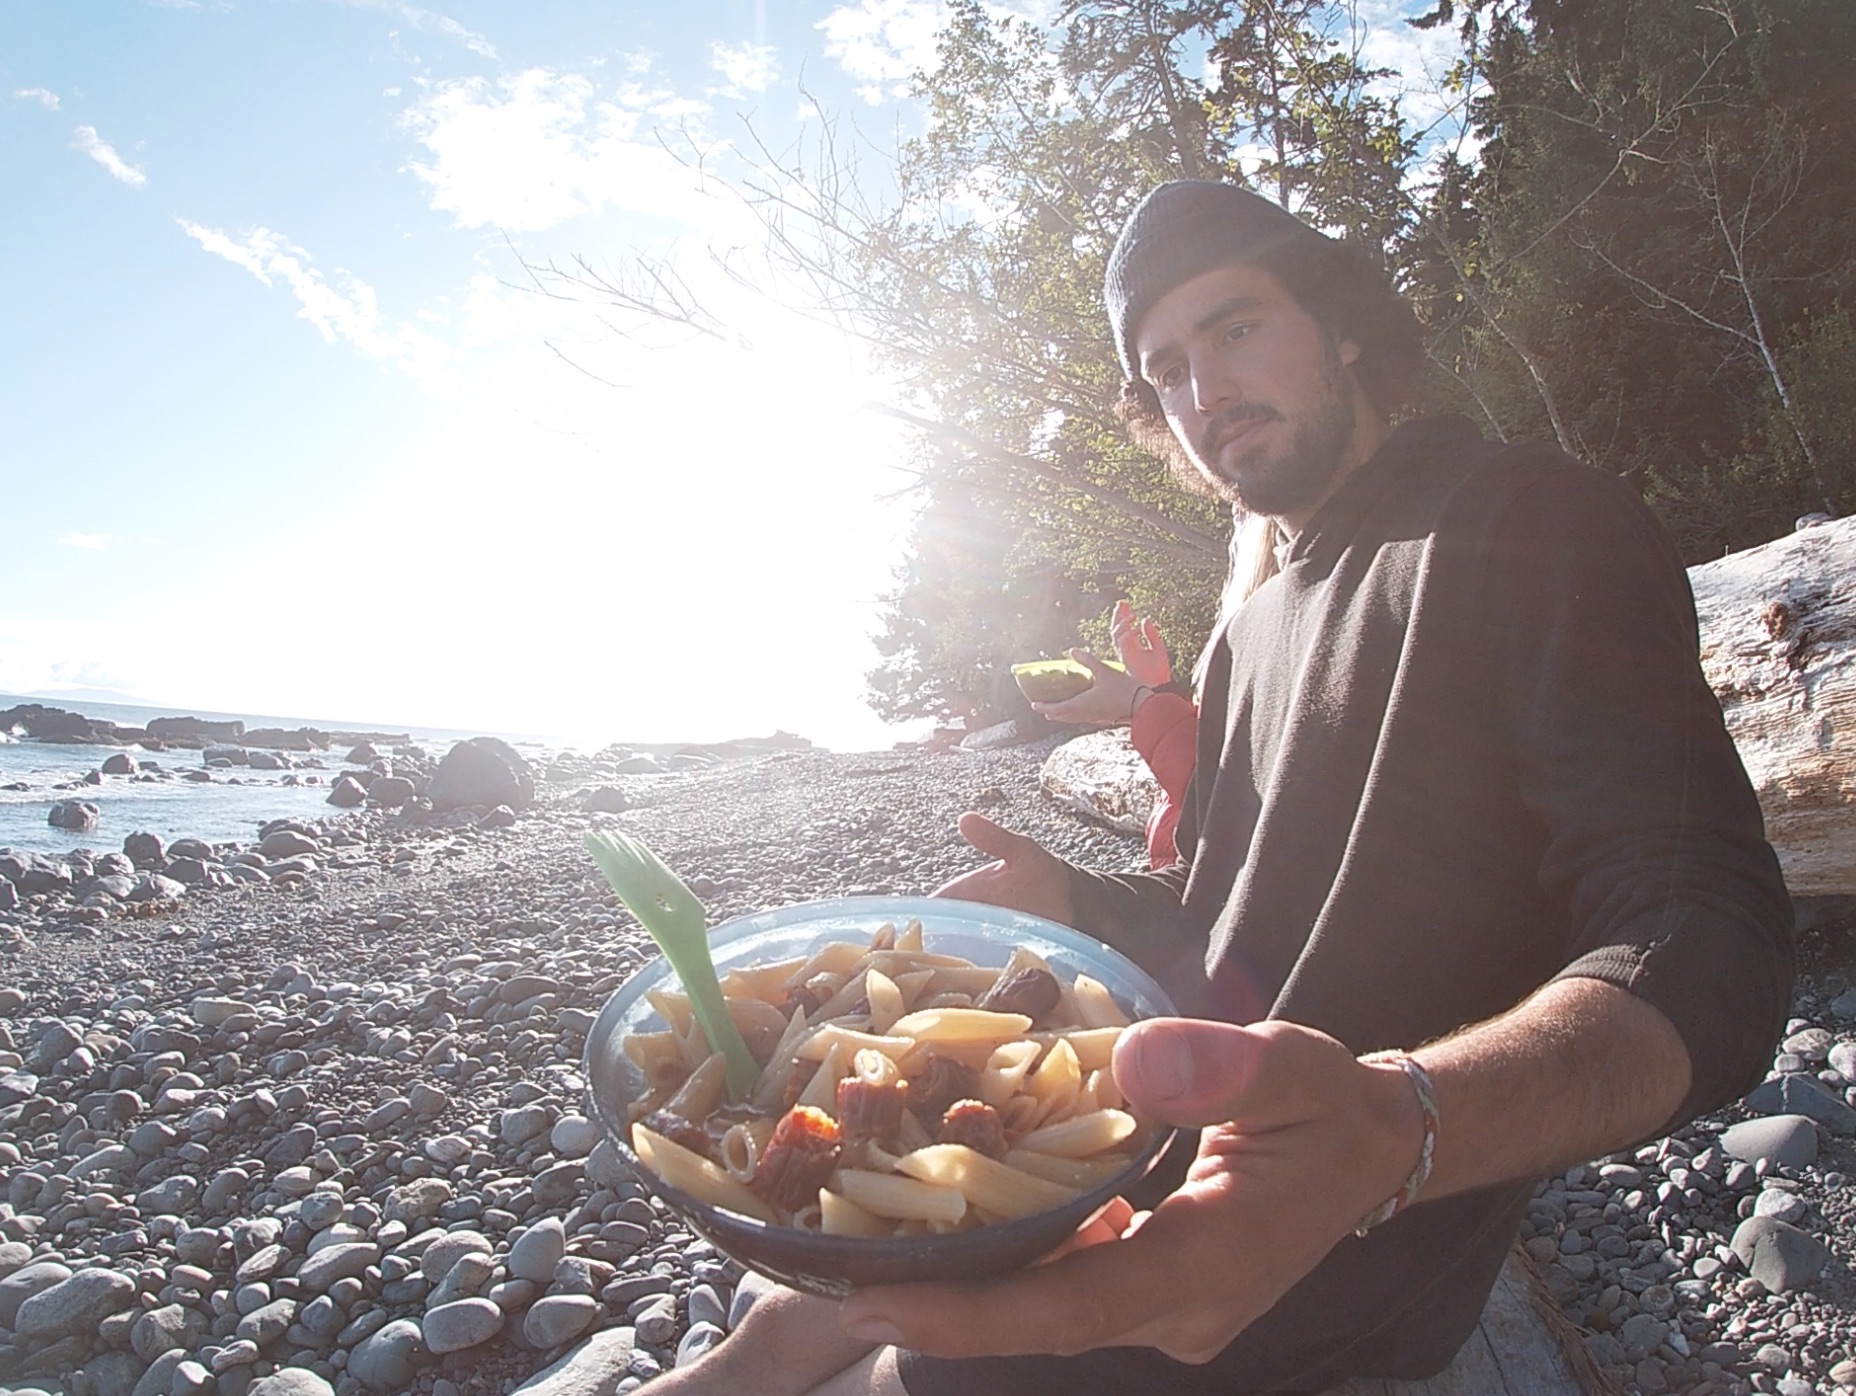
Dinner: Sidekicks Penne with Pepperoni Sticks and Instant Mashed Potatoes Appetizer
Day 3
Breakfast: Instant Coffee and Instant Oats
Lunch: Cliff Builders Bar
Snacks: Nuts, Jerky, Brookside Chocolates, Banana Chips
Dinner: Curry, Uncle Bens Rice, Flour Tortillas
Create a Trip Plan
No one ever plans on getting into trouble in the outdoors. However, a simple mistake, changing weather, lapse in judgement, random injury, equipment disfunction or loss of daylight can change even the most basic recreational activity into a troublesome situation. By creating and sharing a simple trip plan with family or friends, someone will be able to contact authorities enabling you to have a better chance of rescue and survival in an emergency.
A trip plan is a semi-detailed or detailed plan that you send to family and friends before heading out on an adventure. Whether you are going for a quick hour hike close to home or a 15 day expedition in Alaska, you should always design and share a trip plan with family or friends (who would be concerned if something happened to you). Don’t share it with your uncle bill who is trying to get you inheritance because he will surely burn it in hopes something goes wrong on your outdoor adventure. Share the trip plan with someone who is hoping you will come back in one piece. When I’m going on a quick hike or remote fish I usually shoot a family member or my girlfriend a text letting them know where I’m hiking and when they should hear from me upon return. For longer journeys and ski touring day trips, I’ll draft a quick plan on the computer and email it to my loved ones.
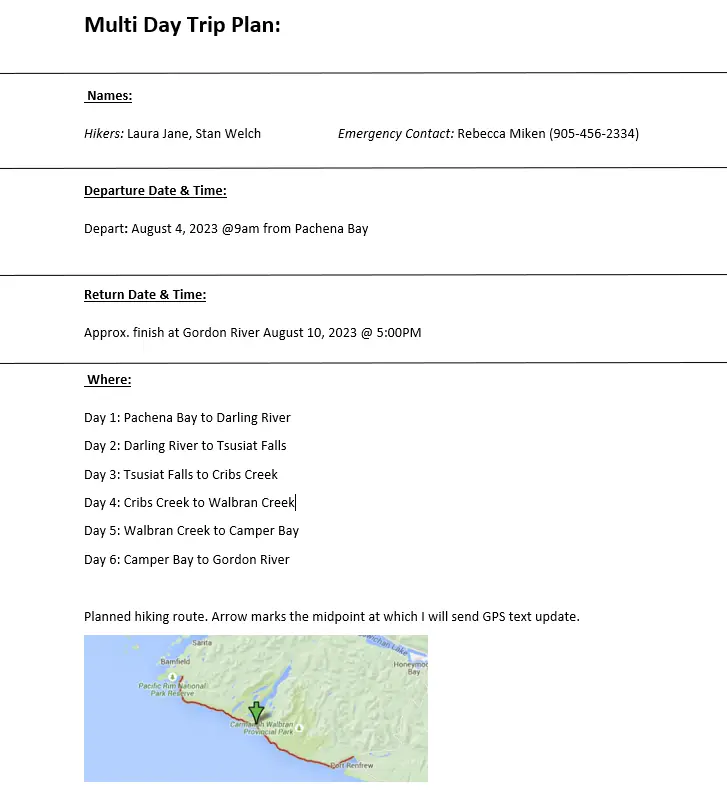
Learn More About Creating a TRIP PLAN
How To Pack Your Hiking Pack
Although this may seem like a minor detail, having an improperly packed bag can feel uncomfortable and unbalanced on the trail and can also be a serious nuisance if you need quick access to that rain jacket that you packed on the bottom.
The first step is to lay out everything on the floor, couch or bed that you will be packing in your bag. The bottom portion of your bag should be home your sleeping bag and other light items. A sleeping bag acts as great structure at the bottom of the bag. In the middle part of the bag closest to your back store all of your heavy items. Finally medium weight and bulkier items can be placed in the remainder of the pack depending on how frequent you may need to access them.
The overall goal is to avoid having a well-balanced pack that isn’t top or bottom heavy. By keeping those heavy items nearest to your back you will feel more balanced and natural with your pack on.
Maybe you learned something new from this post or maybe you just used it as a checklist to ensure you didn’t forget any of the essentials for your next trip.
Now its time to GO HIKING!

